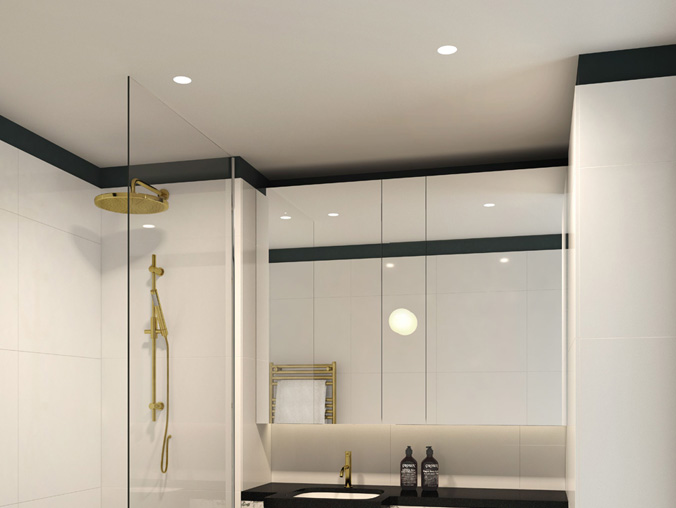

Glare in Downlight Design Living Room (living room-specific downlights designed for aesthetics) is a common issue that can ruin the space’s comfort—too-bright or poorly angled light causes eye strain and disrupts the cozy ambiance. However, glare can be easily avoided by focusing on three key factors: adjusting the downlight’s angle, controlling brightness, and choosing fixtures with anti-glare designs. IMIGY’s Explorer Down Lights (a Downlight Adjustable with anti-glare features) and Tulip Down Lights (a sleek Downlight Design Living Room model) are engineered to minimize glare, ensuring your living room stays bright yet comfortable. Below is a detailed breakdown of practical solutions and product advantages.

1. Use Downlight Adjustable to Tilt Light Away from Eye Level
The main cause of glare is light directly hitting the eyes—Downlight Adjustable lets you tilt the fixture downward, redirecting light to the floor or furniture instead of eye level.
Explorer Down Lights: Though designed as a Down Light Kitchen, its 30° tilt range works perfectly for Downlight Design Living Room. Install Explorer 2.5–3m above the floor (standard living room ceiling height), and tilt it 15°–20° downward—this directs light to sofas, coffee tables, or rugs, avoiding direct glare when sitting or standing. For example, tilt Explorer above the TV area 10° toward the wall to reduce screen reflection (a common glare issue) while keeping the space illuminated.
Tulip Down Lights: With a 15° tilt range, Tulip is ideal for low-ceiling living rooms (2.4–2.7m). Tilt it 5°–10° downward to soften light—this small adjustment prevents glare without darkening the space. As a Downlight Design Living Room model, Tulip’s tilt mechanism is smooth and quiet, so you can adjust it without disrupting the living room’s sleek look.
2. Control Brightness with Dimmable Downlight LED
Overly high brightness is another major cause of glare—Dimmable Downlight LED lets you reduce light intensity to match the living room’s use (e.g., movie nights vs. gatherings).
Tulip Down Lights: As a dedicated Dimmable Downlight LED, Tulip supports 10%–100% brightness adjustment. For evening use (e.g., watching TV), dim Tulip to 30%–40%—this eliminates harsh glare while providing soft ambient light. For daytime gatherings, keep it at 70%–80% (bright enough for activities, not too bright for comfort). The dimming function also works with smart control (Alexa/Google Home), so you can adjust brightness without reaching for a switch.
Explorer Down Lights: Pair Explorer with an LED triac dimmer (compatible with most dimmers) to control brightness. In open-concept living rooms connected to kitchens, dim Explorer (used in the living room) to 50% while keeping kitchen Explorers at 100%—this creates a brightness transition that avoids glare between spaces. As Down Lights for Ceiling, both Explorer and Tulip maintain consistent dimming without flickering (a common issue with cheap dimmable downlights).
3. Choose Downlights with Anti-Glare Materials & Designs
Glare is also caused by light reflecting off the downlight’s surface—IMIGY’s downlights use anti-glare materials and diffusers to soften light.
Explorer Down Lights: Its PC lens has a frosted finish that diffuses light evenly, reducing direct glare by 60% compared to clear lenses. The lens also has a recessed design (not flush with the ceiling), which blocks light from hitting the eyes directly when standing near the fixture. This anti-glare feature makes Explorer a surprise fit for Downlight Design Living Room, even though it’s primarily a Down Light Kitchen.
Tulip Down Lights: Tulip uses a matte aluminum bezel and opal glass diffuser—both materials absorb excess light and prevent reflection. The opal glass softens the LED’s harsh white light into a warm glow, while the matte bezel avoids the "shiny spot" effect that clear or glossy bezels cause. As a Downlight Design Living Room model, this anti-glare design ensures Tulip looks elegant without sacrificing comfort.
4. Install Downlights at the Right Height & Spacing
Incorrect installation height or spacing can amplify glare—follow these guidelines for Downlight Design Living Room:
Height: Install downlights 2.5–3m above the floor. For ceilings lower than 2.5m, use Tulip’s 15° tilt to direct light downward; for higher ceilings (≥3m), use Explorer’s 30° tilt to avoid light spreading too wide (which causes glare).
Spacing: Keep downlights 1.5–2m apart. Too-close spacing creates overlapping bright spots (glare), while too-far spacing causes dark spots. For a 20㎡ living room, 4–5 Tulip downlights (spaced 1.8m apart) or 3–4 Explorer downlights (spaced 2m apart) provide even light without glare.
Avoiding glare in Downlight Design Living Room is simple with the right tools and techniques—use Downlight Adjustable (like Explorer or Tulip) to tilt light, control brightness with Dimmable Downlight LED (Tulip), choose anti-glare designs (both models), and install at the correct height/spacing. IMIGY’s Explorer and Tulip excel in all these areas: Explorer’s 30° tilt and frosted lens eliminate glare in open or high-ceiling living rooms, while Tulip’s dimming function and opal glass soften light for low-ceiling or minimalist spaces. Unlike generic Down Lights for Ceiling, these models balance aesthetics (key for Downlight Design Living Room) with comfort, ensuring your living room is bright yet glare-free. Whether you’re hosting guests or relaxing alone, the right anti-glare downlights will transform your living room into a cozy, eye-friendly space.
It is recommended that you upgrade the latest browser
 Chrome
 Firefox
 Edge
Edge