


Replacing an LED ceiling light (including supporting fixtures like down light ceiling) without harming the ceiling requires careful preparation, gentle operation, and adherence to product-specific guidelines—especially for IMIGY’s dimmable downlight led such as Wave Down Lights (slim down panel light) and Grace Down Lights (versatile downlight 5 inch). Ceiling damage (e.g., chipped paint, cracked drywall, or stripped screw holes) often results from rushed disassembly, mismatched hardware, or excessive force. Unlike traditional heavy fixtures, modern LED options like IMIGY’s down lights are lightweight, but improper handling can still disrupt downlight ceiling design or damage the ceiling. Below is a step-by-step guide to safe replacement, with tips tailored to IMIGY products.
1. Pre-Replacement: Safety & Tool Preparation
a. Cut Power & Gather Suitable Tools
First, turn off the circuit breaker for the ceiling light and down light ceiling (never rely solely on wall switches) to avoid electric shock. Gather tools: a magnetic Phillips screwdriver (prevents dropping screws on the ceiling), a plastic putty knife (for prying old fixtures without scratching paint), a soft microfiber cloth (protects the ceiling surface), and a drill with 3mm bits (for new holes if needed). For IMIGY’s Grace Down Lights (downlight 5 inch), prepare the included mounting bracket and screws—their pre-sized design (3–4cm length) avoids piercing the ceiling.
b. Inspect the Old Setup & Ceiling Condition
Examine how the old LED ceiling light and dimmable downlight led are mounted (screws, brackets, or adhesive). Use the plastic putty knife to gently separate old fixtures from the ceiling—apply even, light pressure to avoid peeling paint. Check for existing damage (e.g., loose drywall around downlight ceiling design areas) and mark them; avoid applying force near these spots. For fragile ceilings (e.g., popcorn texture), place cardboard between tools and the ceiling for extra protection.
2. Remove Old Fixtures Gently
a. Dismantle the Main Ceiling Light
Unscrew the main light’s mounting bracket or retaining screws one by one, placing screws in a container to avoid loss. Lower the fixture slowly, disconnect wires (label them “hot,” “neutral,” and “ground” with tape). For heavy old lights, use a temporary hook to hang it while disconnecting wires—prevents sudden drops that crack the ceiling.
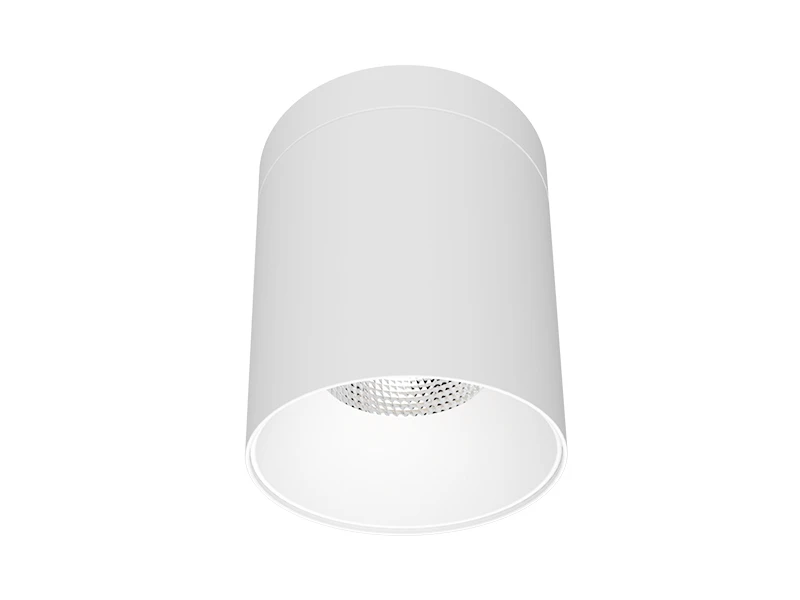
b. Remove Old Down Light Ceiling Fixtures
For old down lights, twist the trim ring gently to release the fixture from the ceiling (avoid yanking). Disconnect wires and remove the mounting bracket if replacing with IMIGY’s Wave Down Lights (down panel light) or Grace Down Lights (downlight 5 inch). Wipe the ceiling with the microfiber cloth to remove dust and debris.
3. Install New IMIGY Fixtures Safely
a. Install Wave Down Lights (Down Panel Light)
Align & Drill (If Needed): Use Wave’s included template to mark drill points for the mounting bracket—ensure alignment with downlight ceiling design layout. Drill 3mm holes (smaller than screw diameter) to avoid over-enlarging.
Secure Gently: Attach the bracket with the included screws, tightening until “snug” (over-tightening compresses drywall). Connect wires, then snap Wave’s slim panel into place—its ≤3cm profile avoids pressing against the ceiling, preventing damage.
b. Install Grace Down Lights (Downlight 5 Inch)
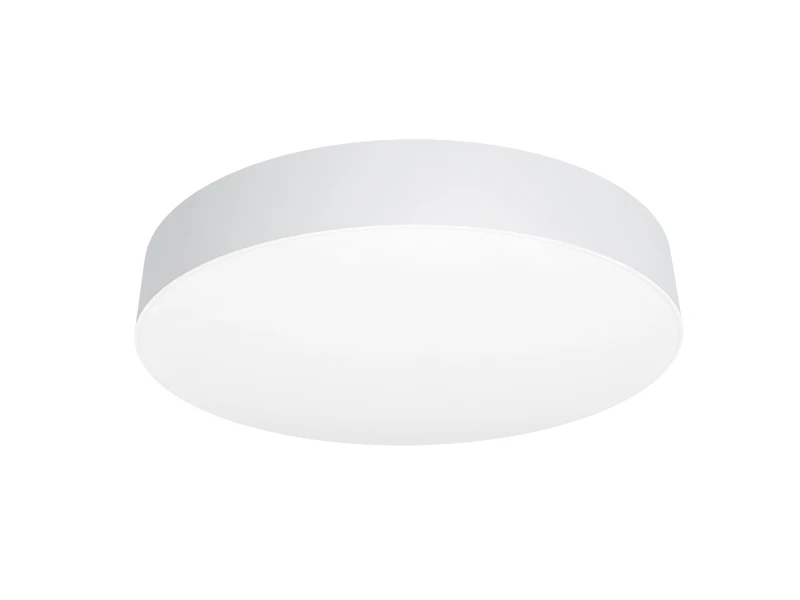
Use Existing Holes (If Possible): Grace’s downlight 5 inch size fits most standard downlight cutouts (12–13cm diameter), eliminating the need for new holes. If new cutouts are required, use a hole saw matching Grace’s size (12.7cm) and cut slowly to avoid ragged edges.
Secure Without Force: Insert Grace’s mounting springs into the ceiling cutout, then push the fixture until it clicks into place. Connect wires to the driver (included), ensuring secure connections—Grace’s lightweight design (≤500g) avoids straining the ceiling.
c. Install the Main LED Ceiling Light
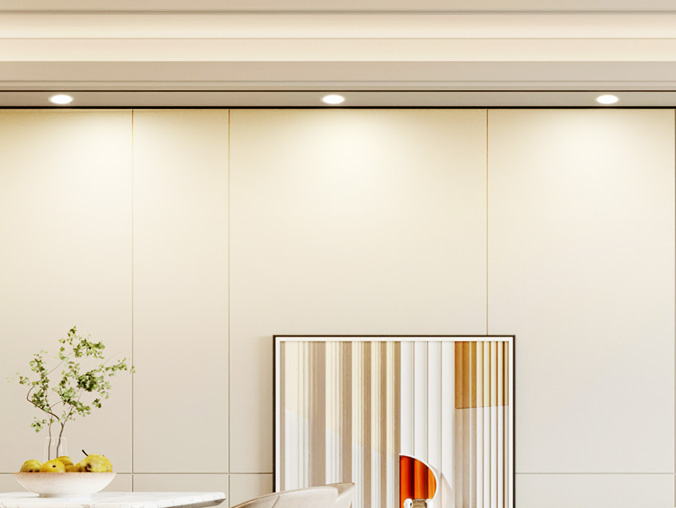
Align the main light’s mounting bracket with existing holes (or use the template to mark new ones). Secure the bracket, connect wires, then attach the main light—have a helper hold it to avoid swaying and scraping the ceiling. Ensure the main light and dimmable downlight led are synced for consistent downlight ceiling design.
4. Post-Installation: Check & Touch Up
a. Verify Stability & Fix Minor Issues
Gently wiggle the main light and IMIGY down lights to ensure they’re secure. If there’s a tiny gap between fixtures and the ceiling, use paintable caulk (matching ceiling color) to fill it—never force fixtures closer, as this warps brackets or damages drywall.
b. Touch Up Paint (If Necessary)
If paint chipped during removal, use a small brush to apply matching ceiling paint. For areas around down light ceiling fixtures, use a fine-tip brush to avoid getting paint on the fixtures’ trim.
Replacing an LED ceiling light (and supporting down light ceiling fixtures like IMIGY’s Wave Down Lights and Grace Down Lights) without damaging the ceiling is achievable with careful preparation, gentle handling, and product-specific steps. By using IMIGY’s pre-sized hardware, slim designs, and compatibility with standard cutouts, you’ll preserve the ceiling’s integrity while enhancing downlight ceiling design. Whether installing the downlight 5 inch Grace or down panel light Wave, following these steps avoids common issues like chipped paint or cracked drywall. If you’re unsure about any step, contact IMIGY—we provide detailed installation videos for our dimmable downlight led and main ceiling lights, plus personalized guidance to ensure a smooth, damage-free upgrade.
It is recommended that you upgrade the latest browser
 Edge
Edge


