


Replacing a replace led ceiling light without damaging the ceiling requires following safe, step-by-step procedures—focusing on gentle disassembly, proper tool use, and alignment with the new fixture. Ceiling damage (e.g., cracked paint, loose drywall, or stripped screws) often occurs due to rushed removal, mismatched mounting hardware, or excessive force. Modern fixtures like IMIGY’s Sofing Ceiling Lights (user-friendly modern led ceiling lights for living room) and Gloria Ceiling Lights (lightweight round ceiling light) are designed with easy-install features to minimize risk, but proper technique remains key. Below is a detailed guide to damage-free replacement, including product-specific tips for IMIGY models.

1. Pre-Replacement Preparation (Avoid Accidental Damage)
a. Cut Power & Gather Tools
First, turn off the circuit breaker for the ceiling light (never rely on just the light switch) to avoid electric shock. Gather tools: a Phillips screwdriver (magnetic to prevent dropping screws), a putty knife (for gently prying the old fixture), and a soft cloth (to protect the ceiling from scratches). For IMIGY’s Sofing Ceiling Lights (58cm diameter), have a helper ready to support the fixture during removal—its weight (2.2kg) could pull on the ceiling if held alone.
b. Inspect the Old Fixture & Ceiling
Check how the old light is mounted: most use screws or brackets. Use the putty knife to gently separate the fixture from the ceiling (avoid prying too hard, which can chip paint). Note any existing damage (e.g., loose drywall) to avoid worsening it—if the ceiling is fragile, place a piece of cardboard between the tool and ceiling for extra protection.
2. Step-by-Step Damage-Free Removal
a. Remove the Old Fixture Gently
Unscrew the mounting bracket or screws one by one (keep screws organized for later reference). Lower the old fixture slowly, disconnecting the wires (label them “hot,” “neutral,” and “ground” with tape to avoid confusion). For heavy old fixtures (≥3kg), use a temporary hook to hold it while disconnecting wires—this prevents sudden drops that damage the ceiling.
b. Clean & Repair the Mounting Area
Wipe the ceiling with a dry cloth to remove dust. If there are small holes from old screws, fill them with lightweight spackle (let dry, then sand gently). This ensures the new modern led ceiling light mounts flush, avoiding gaps that cause instability or paint cracks.
3. Installing the New IMIGY Fixture (Minimize Ceiling Stress)
a. Choose Matching Hardware & Align Carefully
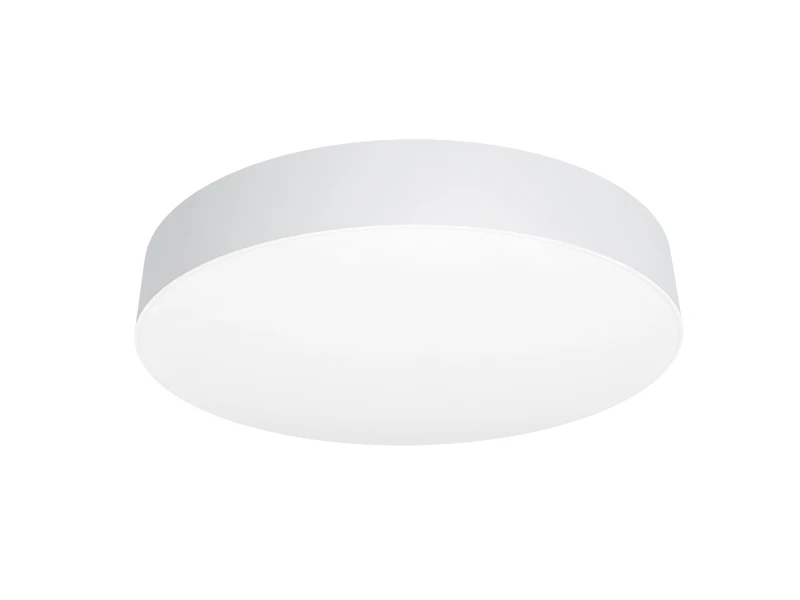
IMIGY’s Gloria Ceiling Lights (50cm diameter round ceiling light) come with pre-matched mounting screws (length 3cm–4cm) — never use longer screws, which can pierce the ceiling. Align the mounting bracket with the existing holes (if possible) to avoid drilling new ones; if new holes are needed, use a 3mm drill bit (smaller than the screw diameter) to prevent over-enlarging holes.
For Sofing Ceiling Lights (modern led ceiling lights for living room), use the included template to mark drill points (if no existing holes) — the template ensures even spacing and prevents misalignment that could force screws into the ceiling at an angle (causing cracks).
b. Secure the Fixture Without Over-Tightening
Attach the mounting bracket first, tightening screws until snug (not too tight—over-tightening can compress drywall and create cracks). Connect the wires (match labels to the new fixture’s terminals), then attach the fixture to the bracket. For Gloria (lightweight 1.8kg), one person can handle it; for Sofing (2.2kg), have a helper hold it while securing to avoid pulling on the bracket.
4. Post-Installation Checks & Touch-Ups
a. Test Stability & Fix Minor Issues
Gently wiggle the new fixture to ensure it’s secure. If there’s a small gap between the fixture and ceiling, use a small amount of paintable caulk (matching ceiling color) to fill it—avoid forcing the fixture closer, which can warp the bracket or damage the ceiling.
b. Touch Up Paint (If Needed)
If paint chipped during removal, use a small brush to apply matching ceiling paint. For IMIGY’s adjustable ceiling light (like Gloria, which may be repositioned later), keep extra paint on hand for future touch-ups.
Replacing a replace led ceiling light without damaging the ceiling is achievable with careful preparation, gentle removal, and proper alignment—especially when using user-friendly fixtures like IMIGY’s Sofing Ceiling Lights (designed for easy, low-stress installation) and Gloria Ceiling Lights (lightweight to reduce ceiling strain). By following these steps, you’ll avoid common issues like cracked paint, loose drywall, or stripped holes, while enjoying the functionality of your new modern led ceiling light (whether a round ceiling light for small spaces or modern led ceiling lights for living room for larger areas). If you’re unsure about any step, contact IMIGY—we can provide a detailed installation video for your specific fixture, ensuring a smooth, damage-free upgrade.
It is recommended that you upgrade the latest browser
 Edge
Edge


