


Replacing led ceiling light safely without professional help is totally achievable—you just need to follow strict safety steps, prepare basic tools, and choose user-friendly fixtures like IMIGY’s Sofing Ceiling Lights (lightweight round ceiling light) and Gloria Ceiling Lights (luxury but easy to install). Many people worry about electric shock or installation mistakes, but with proper preparation (e.g., cutting power, checking wiring) and fixtures designed for DIY, the process takes only 30–45 minutes. Below is a step-by-step safety guide, tailored to IMIGY’s products, and key tips to avoid risks.
1. Prepare Tools & Safety Gear First
a. Essential Tools
Insulated screwdriver (to avoid electric shock), voltage tester (to confirm power is off), tape measure (to check new light size), and wire nuts (to secure connections). For IMIGY’s Sofing Ceiling Lights (which use magnetic mounting for some parts), no extra tools are needed beyond a screwdriver.
b. Safety Gear
Wear rubber-soled shoes (insulates against electric shock) and work gloves (protects hands from sharp edges). If the ceiling is high, use a stable step ladder (not a chair)—never stand on unstable surfaces to replace led ceiling light.
2. Step 1: Cut Power Completely (Critical!)
Turn off the light switch first, then go to your home’s circuit breaker panel and turn off the breaker for the room (labeled “Bedroom,” “Living Room,” etc.). Use a voltage tester to touch the wires in the ceiling electrical box—if the tester shows no light, power is off. Never skip this step: even a small current can cause shock when handling wires.
For example, if replacing an old light with Gloria Ceiling Lights (a Luxury Ceiling Lights for Bedroom), confirm power is off before touching the ceiling box—Gloria’s metal parts conduct electricity if power is on.
3. Step 2: Remove the Old Light Fixture
Remove the light cover (use a screwdriver if it’s screwed on, or gently pry if it’s clipped) and disconnect the wires: twist off wire nuts connecting the old light’s wires to the ceiling wires, then separate the wires (usually black = live, white = neutral, green/bare = ground).
Unscrew the old light’s mounting bracket from the ceiling box and take down the fixture. For heavy old lights, ask someone to hold it while you unscrew—avoid dropping it.
4. Step 3: Install the New IMIGY Light (Sofing/Gloria)
a. Install the Mounting Bracket
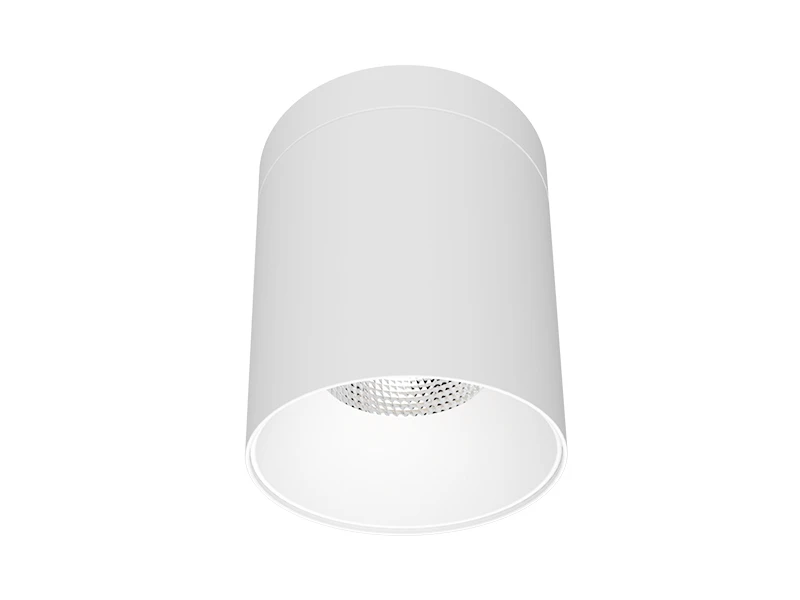
For Sofing Ceiling Lights (a lightweight round ceiling light): Screw Sofing’s included mounting bracket to the ceiling box using the provided screws—its compact design fits most standard boxes. The bracket has labeled wire holes (L, N, G) to avoid confusion.
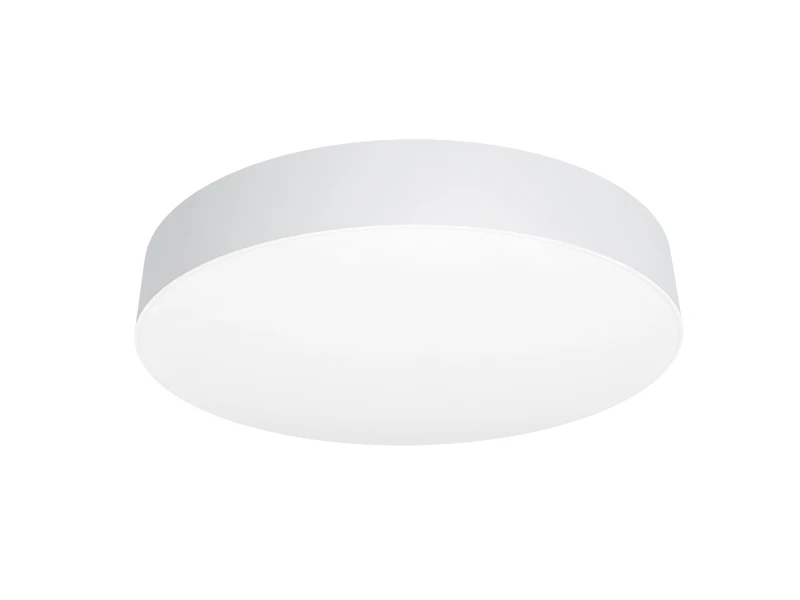
For Gloria Ceiling Lights (a Luxury Ceiling Lights for Bedroom): Gloria’s bracket is slightly larger but still easy to install—align the bracket with the ceiling box, screw it in, and ensure it’s level (use a small level tool if needed).
b. Connect Wires Safely
Match wires by color: Connect Sofing/Gloria’s black wire to the ceiling’s black wire, white to white, and green/bare to green/bare. Twist wire nuts clockwise until tight, then wrap each connection with electrical tape for extra safety.

For IMIGY’s lights, the wires are pre-stripped (1cm exposed) — no need to strip them yourself, saving time and avoiding wire damage.
c. Attach the Light Fixture
Sofing Ceiling Lights: Align Sofing’s base with the mounting bracket and twist clockwise to lock (or snap into place, depending on the model)—its lightweight (≤1.5kg) means you can hold it with one hand while securing.
Gloria Ceiling Lights: Hang Gloria’s base on the bracket’s hooks (included), then tighten the small set screw to fix it—no heavy lifting needed. Attach the crystal accents last (they’re magnetic on some Gloria models, so no screws required).
5. Step 4: Test & Clean Up
Turn the circuit breaker back on, then flip the light switch—if the light works (and no sparks or strange noises occur), installation is successful. For dimmable modern led ceiling light (like Sofing/Gloria), test the dimmer to ensure it works.
Dispose of the old light properly (recycle if possible) and put away tools. Wipe the new light’s cover with a dry cloth to remove dust.
6. Common Mistakes to Avoid
Forgetting to Test Power: Always use a voltage tester—even if the switch is off, the breaker may still be on.
Loose Wire Connections: Tighten wire nuts fully—loose wires cause flickering or overheating. IMIGY’s labeled wires help avoid misconnections.
Using the Wrong Screws: Use only the screws included with Sofing/Gloria—longer screws may damage the ceiling box or wires.
With the right steps and user-friendly best quality ceiling lights like IMIGY’s Sofing Ceiling Lights and Gloria Ceiling Lights, you can replace led ceiling light safely without professional help. These fixtures are designed for DIY: lightweight, clear wire labeling, and simple mounting systems reduce risks and make the process smooth. Whether you’re upgrading to a modern led ceiling light (Sofing) or a Luxury Ceiling Lights for Bedroom (Gloria), following safety rules (cutting power, proper wiring) is key. If you get stuck, IMIGY’s online installation videos (for Sofing/Gloria) or customer support can help—contact us for guidance. Replacing your light yourself saves money and gives you the satisfaction of a job well done!
It is recommended that you upgrade the latest browser
 Edge
Edge


