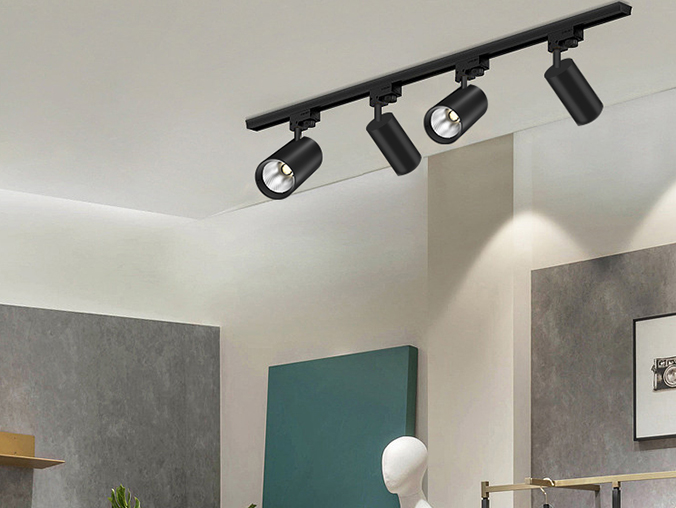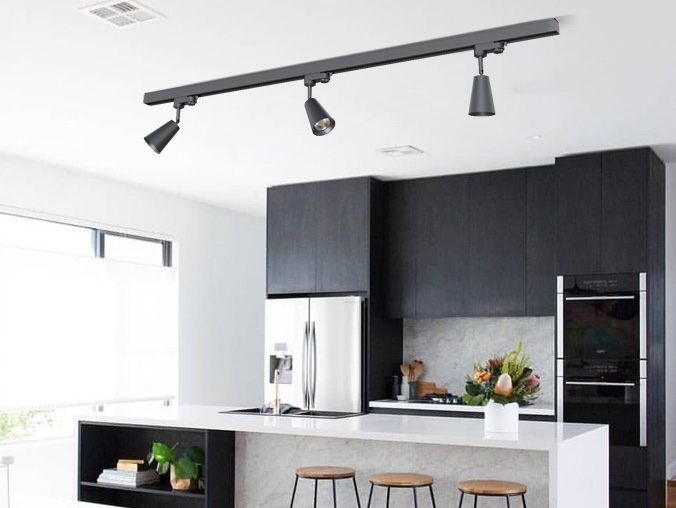

Yes, most magnetic track system can be cut to fit different ceiling lengths—especially user-friendly models like those paired with IMIGY’s Polaris Track Lights and Flame Track Lights. Unlike fixed-length hardwired tracks (which force you to buy specific sizes), modern magnetic track system is designed with modularity in mind, letting you trim it to match your ceiling’s exact length (e.g., 2.4m for a small living room, 3.8m for an open-plan space) using basic tools. The key is choosing tracks made of lightweight, cuttable materials (like aluminium) and following safety steps to avoid damaging internal components. As a professional magnetic track light supplier, IMIGY optimizes its tracks for easy cutting, ensuring beginners can customize lengths without compromising performance. Below is a breakdown of how to do it, product advantages, and practical tips.
1. Why Magnetic Track System Is Easy to Cut
a. Lightweight, Cuttable Materials
IMIGY’s magnetic track system uses high-quality aluminium (1.2mm thick)—a material that’s easy to cut with a hacksaw, miter saw, or even a heavy-duty utility knife. Unlike thick steel tracks (which require power tools and risk bending), aluminium tracks cut cleanly with minimal effort. A beginner reviewer noted: “Cut the 3m IMIGY track to 2.2m with a hacksaw in 5 minutes—edge was smooth, no burrs.”

The track’s internal structure is also cut-friendly: wires are positioned along the edges (not the center), so cutting through the middle won’t damage electrical components. This is critical for maintaining compatibility with cob led track light heads like Polaris and Flame.
b. Modular Design for Customization
IMIGY’s tracks come in standard lengths (1m, 2m, 3m) but are designed to be cut and joined—you can cut a 3m track into two 1.5m sections, or combine a 2m and a cut 1.8m track for a 3.8m ceiling. This flexibility beats fixed-length ceiling track lighting (which often leaves gaps or requires extra tracks to cover long ceilings).
2. IMIGY Products’ Advantages for Cutting
a. Flame Track Lights’ Matching Track (Residential-Focused)
Marked Cutting Guides: The Flame magnetic track system has printed guidelines (every 10cm) on the track’s surface, showing where to cut to avoid wires. Beginners can line up the guide with their desired length (e.g., 2.5m) and cut along the line—no need to measure repeatedly.
Post-Cutting Compatibility: After cutting, the Flame track still works seamlessly with its dimmable led track light heads. The magnetic strips remain intact, so track heads snap on securely, and the internal wiring is undamaged—ensuring smooth dimming and brightness control. A user shared: “Cut the Flame track to fit my bedroom ceiling—track heads still dim perfectly, no connectivity issues.”

b. Polaris Track Lights’ Track (Commercial-Grade)
Reinforced Cut Zones: Polaris’s track has reinforced aluminium at potential cut points, preventing bending during cutting. This is ideal for commercial spaces (e.g., retail stores) where tracks may need to be cut to fit around display cases or columns. The reinforced design also ensures the track can still support heavy cob led track light heads (up to 500g per head) after cutting.
Clear Wiring Markers: As a trusted magnetic track light supplier, IMIGY marks the Polaris track’s internal wires with colored tape (red=L, blue=N), so beginners can see exactly where to avoid cutting. The manual also includes a diagram of the track’s internal structure, further reducing mistakes.
3. Step-by-Step Guide to Cutting Magnetic Track System
a. Preparation (10 Minutes)
Measure Twice, Cut Once: Use a tape measure to mark your desired length on the track (add 1cm extra to account for sanding). For example, if your ceiling is 2.3m, mark 2.31m on the track.
Gather Tools: Hacksaw (or miter saw for clean cuts), sandpaper (120-grit, to smooth edges), and a pencil (to mark the cut line). Wear gloves to avoid aluminium burrs.
b. Cutting & Finishing (15 Minutes)
Secure the Track: Clamp the track to a workbench (avoid bending it) so the cut line is accessible.
Cut Along the Guide: Use a hacksaw to cut along the marked line—apply steady, even pressure (no force, to avoid burring). For a cleaner cut, use a miter saw set to 90 degrees.
Smooth the Edge: Use sandpaper to smooth any burrs on the cut end—this prevents injury and ensures the track fits flush against the ceiling.
c. Installation (10 Minutes)
Install the cut track as usual (attach to ceiling with screws), then snap cob led track light heads (Polaris or Flame) onto the magnetic strips. Test the lights to ensure they work—IMIGY’s tracks maintain electrical connectivity even after cutting.
4. Common Mistakes to Avoid
Cutting Through Wires: Always follow the track’s guides—cutting through internal wires will render the track useless. If you’re unsure, use a stud finder to locate wires before cutting.
Leaving Rough Edges: Unsandered edges can scratch ceilings or hands—always smooth cuts with sandpaper.
Cutting Too Short: Measure your ceiling twice and add 1cm extra—you can always sand down a slightly long track, but a short one will leave gaps.
IMIGY’s magnetic track system can absolutely be cut to fit different ceiling lengths—thanks to its aluminium material, marked guides, and modular design. Whether you’re pairing it with Flame Track Lights (residential dimmable led track light) or Polaris Track Lights (commercial cob led track light), cutting the track lets you customize ceiling track lighting to your space’s exact needs. As a leading magnetic track light supplier, IMIGY ensures its tracks are user-friendly—even beginners can cut them with basic tools, no professional help needed. If you’re unsure about cutting length or tools, contact IMIGY with your ceiling dimensions—we’ll help you calculate the right track length and walk you through the cutting process.
It is recommended that you upgrade the latest browser
 Chrome
 Firefox
 Edge
Edge