


Replacing a replace led ceiling light by yourself is safe and feasible with the right tools, clear steps, and user-friendly fixtures—you don’t need professional electrician skills. The key is to prioritize electrical safety (never work with live wires) and choose easy-to-install best quality ceiling lights (like IMIGY’s Sofing Ceiling Lights and Gloria Ceiling Lights), which feature tool-free mounting, color-coded wires, and lightweight designs. Whether you’re upgrading an old incandescent fixture or replacing a faulty LED light, this guide will help you complete the process in 30 minutes or less. Below is a step-by-step breakdown, product advantages, and critical safety tips.
1. Pre-Replacement Preparation: Safety & Tools
a. Safety First
Turn off the main power supply for the living room (or the specific circuit for the ceiling light) at the breaker box. Use a voltage tester to double-check—touch the tester to the ceiling wires; no light means it’s safe to proceed.
Let the old light cool down (if it was on recently) to avoid burns, especially for halogen or incandescent fixtures.
b. Essential Tools (All Basic & Easy to Find)
Phillips screwdriver (for removing old fixture screws).
Wire stripper (optional, if you need to trim wire ends).
Electrical tape (to secure wire connections).
Step ladder (stable, not too tall—ensure you can reach the ceiling comfortably).
Soft cloth (to protect the new fixture from scratches).
2. Step-by-Step Replacement: From Old to New
a. Remove the Old Ceiling Light
Step 1: Remove the light cover/lens (twist counterclockwise or gently pry with a flathead screwdriver—check for hidden clips).
Step 2: Unscrew the old fixture’s base from the ceiling electrical box (usually 2–3 screws). Lower the base carefully—don’t pull hard, as wires are still connected.
Step 3: Disconnect the wires: Twist off the wire nuts connecting the old fixture’s wires to the ceiling wires. Separate the wires (live “L”, neutral “N”, ground “PE”) and remove the old fixture.
b. Install the New IMIGY LED Ceiling Light
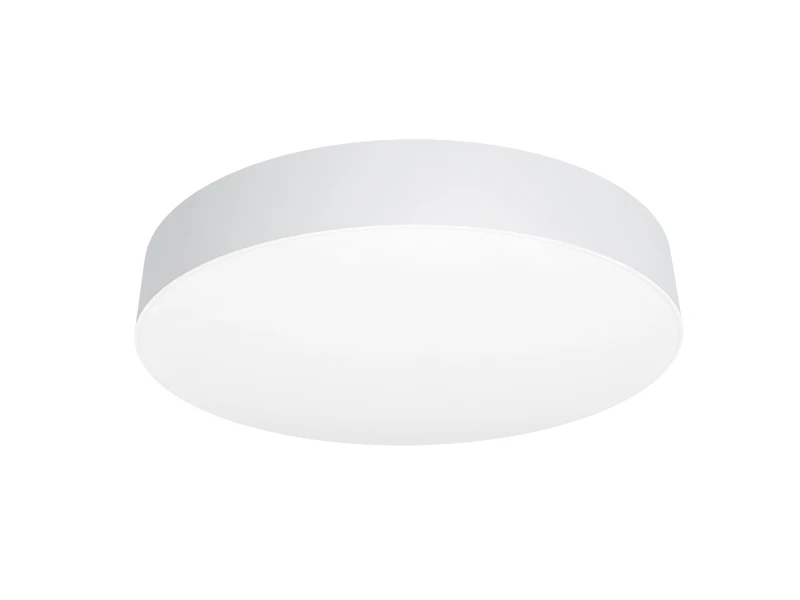
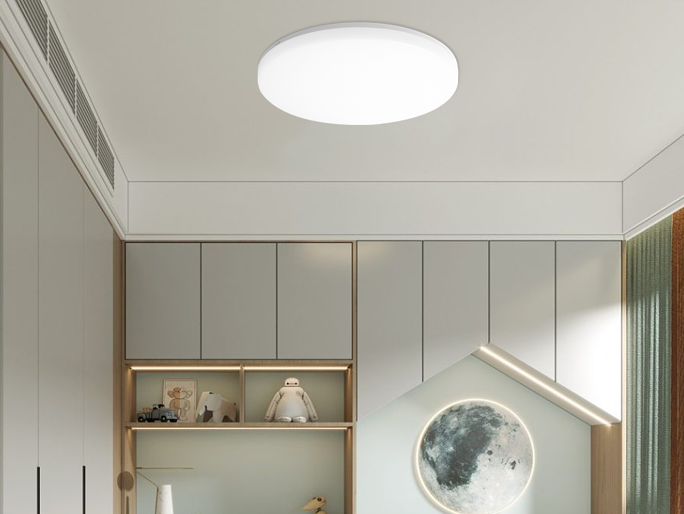
Step 1: Prepare the new fixture—we’ll use Sofing Ceiling Lights 35cm (a popular round ceiling light) as an example. It has color-coded wires (red=L, blue=N, yellow-green=PE) and a pre-assembled base for easy mounting.
Step 2: Connect the wires: Match the new fixture’s wires to the ceiling wires (red→red/brown, blue→blue/black, yellow-green→green/bare copper). Twist the wires together and secure with wire nuts (included in the Sofing kit), then wrap with electrical tape for extra safety.
Step 3: Mount the fixture: Lift the Sofing’s base to the electrical box, align the mounting holes, and screw it in (2 screws, included). For Gloria Ceiling Lights 42cm (a sleek Luxury Ceiling Lights for Bedroom adapted for living rooms), the base uses a snap-on design—no screws needed for gypsum ceilings (just press the base into the ceiling until it clicks).
Step 4: Attach the light cover: For Sofing, twist the cover clockwise to lock it in place; for Gloria, snap the crystal-accented cover onto the base (no tools required).
3. Post-Installation Check & Tips
a. Test the New Light
Turn the power back on at the breaker box. Flip the light switch—if it doesn’t turn on, turn off power immediately and check wire connections (loose nuts are the most common issue).
b. Tips for Specific IMIGY Models
Sofing Ceiling Lights: If you’re replacing a non-dimmable fixture with a dimmable Sofing model, ensure your wall switch is a compatible LED dimmer (IMIGY sells matching dimmers for seamless use).
Gloria Ceiling Lights: The crystal strips are pre-attached—avoid touching them during installation to prevent fingerprints. If the fixture is heavy (≤2kg), have a helper hold it while you connect the wires.
4. Why IMIGY Fixtures Make DIY Replacement Easy
a. Sofing Ceiling Lights (User-Friendly Design)
Tool-Free Mounting: The base has built-in alignment marks, so you don’t need a level to ensure it’s straight. The lightweight design (≤1.2kg) means you can hold it with one hand while connecting wires.
Clear Instructions: The kit includes illustrated guides with photos, labeling every part (e.g., “wire nut”, “mounting screw”)—even beginners can follow along. As a modern led ceiling light, it also has a low profile, so it fits easily in small spaces.
b. Gloria Ceiling Lights (Luxury Without Complexity)
Simplified Wiring: Unlike bulky Luxury Ceiling Lights for Bedroom (which often have multiple wires), Gloria uses only 3 color-coded wires—no confusion during connection.
Secure Snap-On Base: For standard ceilings, the base locks into place with spring clips, eliminating the need to drill extra holes. This is perfect if you’re renting and can’t make permanent changes.
Replacing a replace led ceiling light without an electrician is simple when you follow safety steps and use IMIGY’s easy-to-install fixtures like the Sofing Ceiling Lights (compact round ceiling light) and Gloria Ceiling Lights (sleek Luxury Ceiling Lights for Bedroom adapted for living rooms). These best quality ceiling lights are designed for DIY users—with color-coded wires, tool-free mounting, and clear instructions—so you can upgrade your lighting in minutes. Whether you’re replacing an old fixture or switching to a modern led ceiling light, IMIGY’s products make the process safe and stress-free. If you run into issues, contact IMIGY’s customer support for video tutorials or step-by-step help—we’re here to ensure your replacement goes smoothly.
It is recommended that you upgrade the latest browser
 Edge
Edge


