


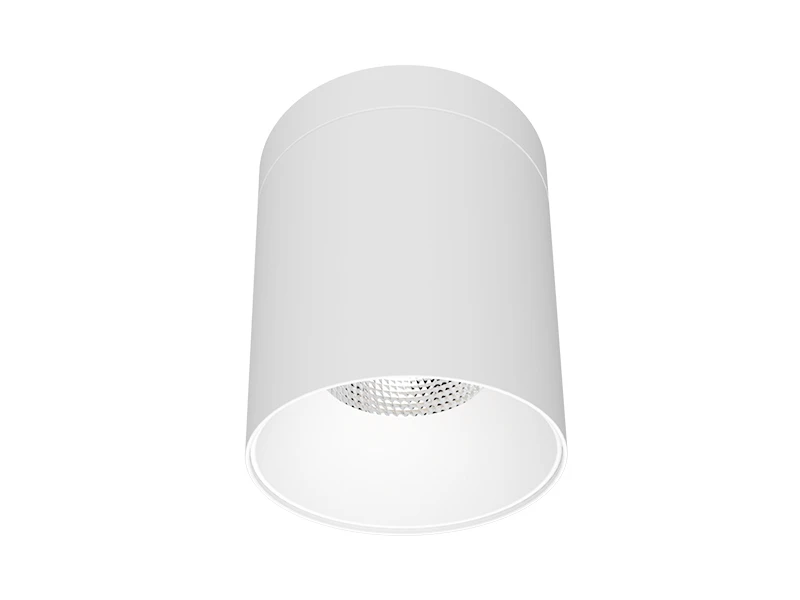


Installing a recessed light fixture by yourself is feasible with proper safety steps and tools—but it requires prioritizing electrical safety, accurate measurements, and compatibility with your ceiling type. Unlike surface-mounted lights (e.g., simple ceiling lamps), recessed light installation involves cutting holes in the ceiling, handling electrical wiring, and ensuring the fixture fits securely (to avoid falling). As a professional lighting brand, IMIGY designs its recessed lights and complementary products (like Polaris Track Lights and Flame Track Lights) for DIY-friendly safety—with clear instructions, heat-resistant materials, and standardized parts. Below is a concise, step-by-step guide to safe installation, including product tips and critical safety rules.

1. Pre-Installation Preparation (Safety First)
a. Gather Tools & Check Materials
Essential tools: Voltage tester, electric drill with hole saw (matching your recessed light fixture diameter), Phillips screwdriver, wire stripper, tape measure, pencil, and ladder (stable, non-slip).
Materials: IMIGY recessed light (confirm ceiling cutout size—e.g., 15cm diameter for most models), electrical box (if not pre-installed), wire nuts, electrical tape, and a recessed light track (if pairing with track lights like Flame Track Lights).

b. Confirm Safety & Ceiling Compatibility
Turn off the main power supply for the installation area. Use a voltage tester to double-check—never work with live wires.
Check ceiling type: For gypsum ceilings (most common), use standard drywall anchors; for concrete ceilings, prepare a hammer drill and concrete anchors. Ensure the ceiling can support the fixture (IMIGY’s recessed lights weigh ≤0.8kg each, suitable for most residential ceilings).
2. Core Installation Steps (Safe & Accurate)
a. Mark & Cut the Ceiling Hole
Use the fixture’s template (included in IMIGY’s kit) or a tape measure to mark the cutout on the ceiling. For spacing, install recessed lights 60cm–80cm apart (avoid joists—use a stud finder to locate them).
Attach the correct-sized hole saw to the drill. Cut slowly along the marked line to avoid damaging ceiling wires. For beginners, drill a small pilot hole first to confirm no hidden wires.
b. Wire the Recessed Light Fixture
Pull the ceiling wires (live “L”, neutral “N”, ground “PE”) through the fixture’s wire hole. Strip 1cm of insulation from each wire.
Connect wires: Twist the fixture’s live wire with the ceiling’s live wire, secure with a wire nut, and wrap with electrical tape. Repeat for neutral and ground wires (IMIGY’s recessed light has color-coded wires—red=L, blue=N, yellow-green=PE—to avoid mistakes).
c. Secure the Fixture & Test
Push the fixture into the ceiling hole. Most IMIGY recessed lights use spring clips—press the clips inward, insert the fixture, and release to lock it in place (no screws needed for gypsum ceilings).
Turn on the power temporarily. Use a voltage tester to confirm the fixture works—if it doesn’t, turn off power and check wiring (loose connections are the most common issue).
3. Pairing with IMIGY Track Lights (Layered Lighting)
a. With Flame Track Lights (Ambient Lighting)
If installing a recessed light track above a kitchen island or living room area, mount the track first (follow the same pre-installation safety steps).
Pair 10W–12W recessed lights (for ambient glow) with Flame Track Lights (12W, 960lm) on the track (for focused light). Ensure the track’s power supply is separate from the recessed lights to avoid overloading the circuit.
b. With Polaris Track Lights (Work Zones)
For high-demand areas (e.g., kitchen stovetops), pair 15W recessed lights (IP44 waterproof) with Polaris Track Lights (18W, 1440lm) on a heat-resistant recessed light track. The track’s adjustable heads direct extra light to work zones, while the recessed lights provide consistent illumination—both are heat-resistant (≤120℃) for safety.
4. Critical Safety Rules to Avoid Risks
Never skip the voltage test: Even if you turned off the power, a faulty circuit breaker could leave wires live.
Don’t overload the circuit: Each recessed light fixture uses 8W–15W—ensure the circuit (usually 15A, 1800W max) can handle the total load (e.g., 10×15W lights = 150W, safe for most circuits).
Use fire-rated fixtures for insulated ceilings: If your ceiling has insulation, choose IMIGY’s IC-rated recessed lights (prevents overheating and fire risks).
Installing a recessed light fixture safely by yourself is achievable with careful preparation, adherence to safety steps, and quality products like IMIGY’s recessed lights. By following this guide, you avoid common risks (electric shock, fixture falling) and create a functional lighting system—whether pairing with Flame Track Lights for ambient living room recessed lighting or Polaris Track Lights for kitchen work zones. IMIGY’s products are designed to simplify DIY installation: color-coded wires, spring-clip mounting, and compatibility with recessed light track make the process smooth even for beginners. If you encounter challenges, contact IMIGY for video tutorials or technical support—we’re committed to helping you install recessed lights safely and efficiently.
It is recommended that you upgrade the latest browser
 Edge
Edge


