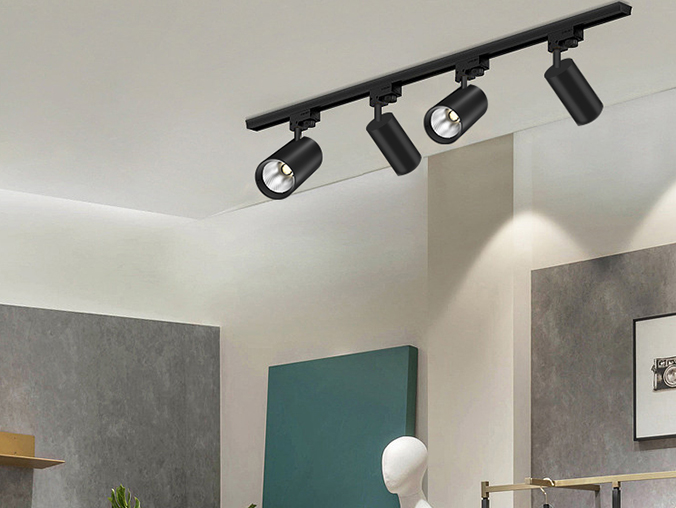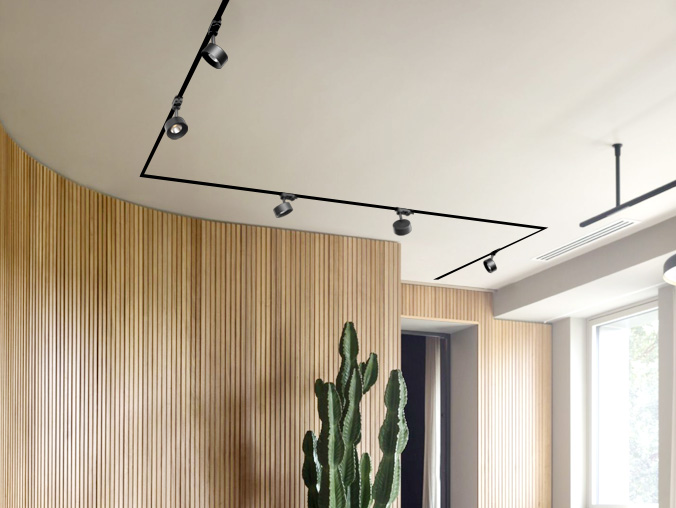

Installing a magnetic track correctly is key to ensuring stable power transmission, safe use of magnetic track lighting, and alignment with overall space decor (e.g., living rooms, lobbies). Unlike installing simple living room ceiling lights (which often involve only fixing a fixture to the ceiling), magnetic track installation requires attention to track positioning, wiring safety, and compatibility with track heads—mistakes like misaligned tracks or exposed wires can cause flickering, short circuits, or even safety hazards. As a professional lighting brand, IMIGY provides user-friendly installation solutions for its magnetic track systems, and its Polaris Track Lights (versatile for multi-scenes) and Flame Track Lights (compact for small spaces) can also be paired with magnetic tracks for layered lighting. Below is a concise, step-by-step guide to correct installation, including safety tips and product suggestions.

1. Pre-Installation Preparation
a. Check Tools & Materials
Essential tools: Electric drill, Phillips screwdriver, spirit level, tape measure, pencil, wire stripper, and voltage tester. For concrete ceilings, prepare a hammer drill and concrete anchors.
Materials: IMIGY magnetic track (cut to required length in advance), mounting brackets (included in the kit), power feed connector, end caps, and screws. Ensure the track length matches the installation area (e.g., 1.5m track for a small living room, 3m track for a lobby).

b. Confirm Installation Environment & Safety
Turn off the main power supply for the installation area (critical to avoid electric shock). Use a voltage tester to confirm no electricity in the ceiling circuit.
Check ceiling load-bearing: Ensure the ceiling (gypsum, wood, or concrete) can support the track (IMIGY’s magnetic track weighs ≤1.2kg/m, suitable for most residential and commercial ceilings). For suspended ceilings, add extra support brackets if needed.
2. Core Installation Steps
a. Mark Track Position & Install Mounting Brackets
Use a tape measure and pencil to mark the track path on the ceiling. For living rooms, install the track along the wall above the sofa (align with living room lighting fixtures layout); for lobbies, install it horizontally above the reception area (coordinate with lobby ceiling lights).
Place the spirit level on the marked line to ensure it’s straight. Install mounting brackets every 50cm along the line (use screws and anchors to fix them to the ceiling)—IMIGY’s kit includes universal brackets that fit all track models.
b. Fix Magnetic Track to Brackets
Place the magnetic track on the installed brackets. Align the track’s mounting holes with the brackets, then use small screws to secure the track. Ensure the track is tightly attached (no wobbling) to prevent it from falling when track heads are added.
Install end caps on both ends of the track (snap-on design, no tools needed) to block dust and prevent wire exposure.
c. Connect Power Feed & Wiring
Locate the power feed connector (included in the kit). Strip the ceiling circuit wires (live “L”, neutral “N”, ground “PE”) and connect them to the corresponding terminals on the power feed—IMIGY’s connector has color-coded labels (red=L, blue=N, yellow-green=PE) to avoid confusion.
Insert the power feed into the end of the magnetic track (until it clicks into place). Turn on the main power temporarily to test if the track has electricity (use a voltage tester on the track’s power slot)—if no power, check wiring connections and re-connect if needed.
3. Post-Installation Checks & Matching with Other Fixtures
a. Test Track & Track Heads
Turn off the power again. Attach magnetic track heads (e.g., IMIGY’s mini track heads compatible with the system) to the track—they should 吸附 firmly (no sliding). Turn on the power to test if the heads light up normally (no flickering).
Adjust track heads’ positions to ensure they provide targeted lighting (e.g., point them at wall art in the living room or reception desk in the lobby).
b. Match with Other Ceiling Lights
In living rooms, pair the magnetic track with Polaris Track Lights (installed in the ceiling center) for layered lighting—use the track for accent lighting (reading, decor highlighting) and Halo for ambient lighting.
In small living rooms, combine the track with Flame Track Lights (surface-mounted) to avoid overcrowding the ceiling. Ensure the track’s light color temperature (2700K–6500K) matches other living room ceiling light fixtures for a cohesive look.
4. Common Mistakes to Avoid
Don’t install the track with power on: Even experienced installers must follow this rule to prevent electric shock.
Don’t skip mounting brackets: Installing the track without enough brackets (e.g., only 1 bracket for a 1.5m track) causes sagging, affecting safety and aesthetics.
Don’t mix incompatible components: Use only IMIGY’s original power feeds, brackets, and track heads—third-party parts may cause poor contact or damage the track.
Installing a magnetic track correctly is a manageable task with proper preparation and adherence to steps—IMIGY’s user-friendly kit and clear instructions make it easy for both professionals and DIY enthusiasts. By following the steps above, you can ensure the track is safe, stable, and perfectly integrated with your space’s lighting system (paired with living room ceiling lights like Halo and Bean, or lobby ceiling lights for commercial areas). Whether you’re upgrading a living room’s living room lighting fixtures or optimizing a lobby’s lighting layout, a correctly installed magnetic track provides flexible, long-lasting illumination. Contact IMIGY for installation videos or technical support—we’re here to help you achieve the best lighting effect with our magnetic track and ceiling light products.
It is recommended that you upgrade the latest browser
 Chrome
 Firefox
 Edge
Edge