


Whether you need a professional to install led ceiling light depends on the light’s design, your DIY experience, and electrical knowledge. For basic models (like IMIGY’s latest ceiling lights), most users can complete installation independently in 15–30 minutes—thanks to tool-free designs, clear manuals, and simplified wiring. However, complex setups (e.g., large flood light ceiling mount with hardwired connections, or multi-light systems) may require professionals to ensure safety. Unlike heavy traditional ceiling lights or bulky flood light ceiling mount (old models), modern options like IMIGY’s Sofing Ceiling Lights and Halo Ceiling Lights (top-tier dimmable ceiling lights and flat ceiling lights) are engineered for user-friendly installation, reducing reliance on professionals. The following breaks down installation scenarios and our products’ advantages.
1. Scenarios: Professional or DIY?
a. DIY-Friendly (No Professional Needed)
Basic flat ceiling lights (e.g., Sofing Ceiling Lights): Lightweight (≤1.5kg), spring-clip or 2-screw mounting, and color-coded wiring (red/live, blue/neutral) make installation simple. Suitable for users with basic DIY skills (e.g., assembling furniture).
Small dimmable ceiling lights (e.g., Halo Ceiling Lights for bedrooms): APP-guided steps and detachable drivers eliminate wiring confusion—no electrical expertise required.
b. Professional Recommended
Large flood light ceiling mount (>3kg): Heavy weight increases installation risk; professionals ensure secure fixing to avoid falls.
Hardwired systems (no plug-in): Rewiring or connecting to existing circuits needs electrical knowledge to prevent short circuits or fire hazards.
High ceilings (>3.5m): Professionals have ladders/equipment to ensure safety, unlike DIY which may cause accidents.
2. IMIGY Products’ DIY Installation Advantages

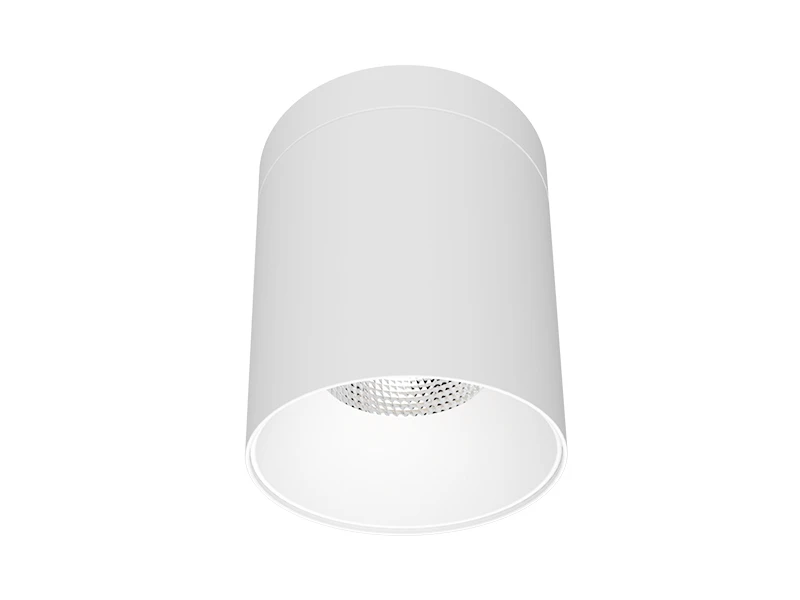
As a slim flat ceiling lights and dimmable ceiling lights, it’s designed for DIY installation:
Simplified steps: 3 steps total—1) Mark 2 screw holes (template included), 2) Connect color-coded wires (plug-in design, no stripping), 3) Fix with screws or spring clips. Total time: 15 minutes.
Safety features: Insulated wire terminals prevent electric shock, and a weight of 1.2kg means one person can handle it (no need for a helper). It’s compatible with standard ceiling boxes, so you don’t need to modify the ceiling—unlike old flood light ceiling mount which requires extra brackets.
Manual & APP guidance: The manual includes step-by-step images, and the IMIGY App has a “installation guide” section with videos—even first-time DIY users can follow easily.
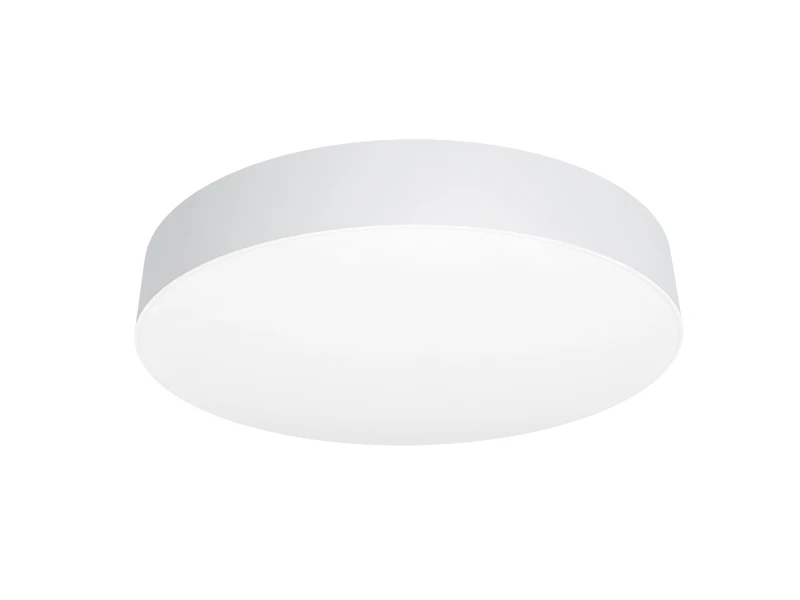
b. Halo Ceiling Lights
This versatile latest ceiling lights (also a dimmable ceiling lights) further reduces installation difficulty:
Tool-free mounting: Spring clips replace screws—just push the light into the ceiling cavity (after wiring) to secure it. No drill needed for wooden/gypsum ceilings.
Wiring simplicity: A detachable terminal block lets you connect wires on a table (instead of overhead), reducing eye strain. It works with both plug-in and basic hardwired setups—for hardwired, the App provides clear wire-matching tips (but still recommends professionals for complex circuits).
Compatibility: Fits standard ceiling cavities (9cm depth) and pairs with small flood light ceiling mount (for accent lighting)—both follow similar DIY steps, so you can install multiple fixtures without extra help.
3. Practical Tips for DIY Installation
a. Prepare Tools
Gather a Phillips screwdriver, pencil, and voltage tester (to check if the circuit is off)—all basic tools most households have. Avoid using uninsulated tools to prevent shocks.
b. Safety First
Turn off the power at the breaker (not just the switch) before install led ceiling light.
For dimmable ceiling lights (like Sofing/Halo), test the light after wiring (before fully fixing) to ensure it works—this avoids disassembling if there’s a wiring error.
c. Ask for Help When Needed
If the light weighs >2kg (e.g., some flood light ceiling mount), have a friend hold it while you wire—don’t risk dropping it.
4. Mistakes to Avoid (DIY or Professional)
Don’t skip power checks: Even if the switch is off, the circuit may still have power—use a tester to confirm.
Don’t over-tighten screws: This can damage the ceiling or light housing (IMIGY’s lights have torque markers to prevent over-tightening).
Don’t ignore weight limits: Ensure the ceiling can bear the light’s weight—Sofing (1.2kg) and Halo (1.5kg) fit most drywall/wooden ceilings, but heavy flood light ceiling mount may need reinforcement.
You don’t always need a professional to install led ceiling light—IMIGY’s Sofing Ceiling Lights (15-minute DIY) and Halo Ceiling Lights (tool-free mounting) are designed for user-friendly installation, even for beginners. These latest ceiling lights (also flat ceiling lights and dimmable ceiling lights) simplify steps, enhance safety, and reduce reliance on professionals. Only complex scenarios (heavy flood light ceiling mount, hardwired systems, high ceilings) need professional help to ensure safety. Choosing IMIGY’s products means you save on installation costs while enjoying reliable, bright lighting. Contact us if you need installation guidance—we provide manual, video, and one-on-one support to make install led ceiling light easy.
It is recommended that you upgrade the latest browser
 Edge
Edge


