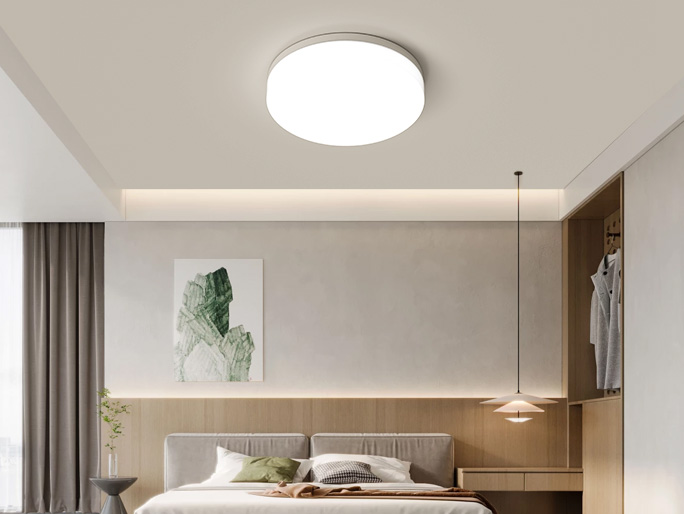

Keeping a round ceiling light level during installation is crucial for both aesthetics and functionality—an uneven fixture looks unprofessional and may cause uneven light distribution or long-term structural strain. Achieving a level mount requires careful preparation, proper tools, and attention to the fixture’s design features. As a leading provider, IMIGY Lighting’s Halo Ceiling Lights (a signature round ceiling light) and Sofing Ceiling Lights (a versatile modern ceiling light for living room) include design elements that simplify leveling, ensuring a polished result. The following explains key steps and our products’ advantages.
1. Pre-Installation Preparation
a. Mark the Ceiling Center
Use a tape measure and pencil to mark the exact center of the installation area—critical for aligning a round ceiling light. For larger models like Sofing Ceiling Lights (a standout in modern ceiling light design), draw a faint circle matching the fixture’s diameter to guide positioning.
b. Check Ceiling Flatness
Ensure the ceiling surface is flat; small bumps or dents can throw off leveling. Sand minor irregularities or use shims (spacers) to compensate—essential for maintaining level with modern led ceiling light fixtures that rely on tight fits.
2. Tools for Leveling
a. Bubble Level or Laser Level
A small bubble level placed on the fixture’s frame during installation ensures horizontal alignment. For precision, a laser level projects a straight line, ideal for aligning Halo Ceiling Lights with other room features (e.g., windows or furniture).
b. Mounting Template
IMIGY provides paper templates for round ceiling light models, including Halo Ceiling Lights. These templates mark screw hole positions, ensuring even spacing that prevents tilting.
3. IMIGY Products’ Leveling Features

Our round ceiling light design includes adjustable mounting brackets with slotted holes, allowing minor position tweaks after initial attachment. This flexibility helps correct slight misalignments, a key advantage for DIY installers during replace led ceiling light projects.
b. Sofing Ceiling Lights
As a premium modern ceiling light for living room, they feature a built-in level indicator on the mounting plate—simplifying real-time checks during installation. Their symmetric design, a hallmark of modern ceiling light design, ensures weight distributes evenly once level, preventing future shifts.
4. Final Adjustments
a. Tighten Screws Gradually
When securing the fixture, tighten screws in a diagonal pattern (e.g., top-left, bottom-right) to avoid pulling the round ceiling light off level. This method works for both Halo Ceiling Lights and Sofing Ceiling Lights.
b. Post-Installation Check
After mounting, step back and visually inspect from multiple angles. Use a level again to confirm—adjust brackets if needed to ensure the modern led ceiling light sits perfectly flat.
Keeping a round ceiling light level during installation relies on careful preparation, proper tools, and fixture design. IMIGY’s Halo Ceiling Lights and Sofing Ceiling Lights simplify this process with adjustable brackets, built-in indicators, and alignment aids—features rooted in thoughtful modern ceiling light design. Whether installing a new modern ceiling light for living room or performing a replace led ceiling light upgrade, these tools and features ensure a level, professional finish. Contact us for further tips on installing our modern led ceiling light models with precision.
It is recommended that you upgrade the latest browser
 Chrome
 Firefox
 Edge
Edge