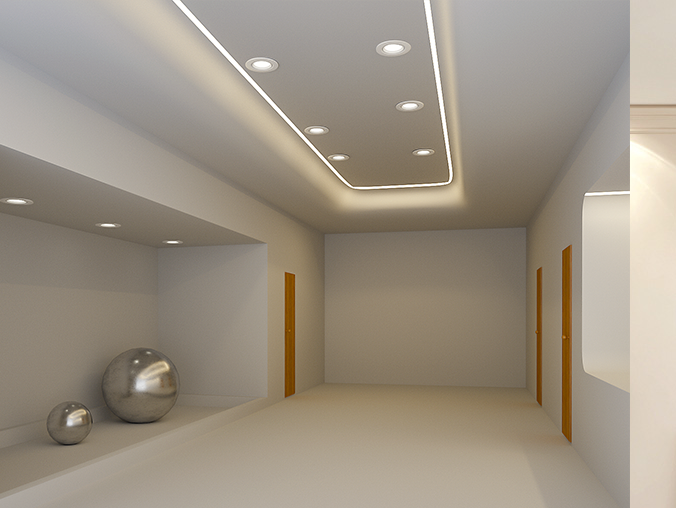

Installing dimmable led downlights requires attention to compatibility, safety, and precision to ensure smooth dimming performance and long-term reliability. A successful installation enhances both functionality and the aesthetics of spaces like living rooms or kitchens. IMIGY Lighting’s Explorer Down Lights (ideal as best led downlights for living room) and Melody Down Lights (suitable for down light kitchen setups) are designed for user-friendly installation, but key steps must be followed. The following outlines the considerations.
1. Ensure Compatibility with Dimmers
a. Match Dimmer Types
dimmable led downlights like our Explorer Down Lights (a top best led downlights for living room) work best with trailing-edge dimmers. Avoid leading-edge dimmers (for incandescent bulbs) as they may cause flickering. Check the dimmer’s specifications to confirm it supports LED loads—critical for stable performance.
b. Check Wattage Limits
Ensure the dimmer can handle the total wattage of all connected dimmable led downlights. For example, 4 Melody Down Lights (each 12W) need a dimmer rated for at least 48W. This prevents overheating, especially important in down light kitchen setups where heat sources are nearby.
2. Safety First During Installation
a. Power Off Completely
Turn off the circuit breaker before wiring, not just the wall switch. This avoids electric shock when connecting led downlight ceiling fixtures like Explorer Down Lights. Wait 5 minutes after powering off to discharge residual electricity.
b. Secure Wiring Connections
Connect wires correctly: match live (brown/black), neutral (blue/white), and ground (green/yellow) wires. Use wire nuts to secure connections, ensuring no exposed copper. For Melody Down Lights in down light kitchen setups, tuck wires neatly to avoid contact with heat sources.
3. Proper Placement and Spacing
a. Living Room Installation
As best led downlights for living room, Explorer Down Lights should be spaced 1.5-2m apart, aligned with seating areas. This ensures uniform light distribution, complementing led downlight ceiling design without glare—ideal for relaxing or entertaining.
b. Kitchen-Specific Placement
Melody Down Lights in down light kitchen setups need closer spacing (1-1.2m) over countertops. Install them 30-40cm from cabinet edges to avoid shadowing on work surfaces, enhancing task lighting efficiency.
4. Post-Installation Testing
a. Test Dimming Range
After installation, test the full dimming range (10%-100%) for dimmable led downlights. Explorer Down Lights should dim smoothly without buzzing; if issues occur, recheck dimmer compatibility or wiring.
b. Check for Overheating
Run the led downlight ceiling fixtures at full brightness for 10 minutes. Touch the dimmer and fixtures—they should feel warm but not hot. Overheating indicates a problem (e.g., mismatched dimmer) that needs fixing.
5. Tips for IMIGY Products

As best led downlights for living room, they come with a template for ceiling cutouts, ensuring precise sizing. Their slim design fits standard led downlight ceiling openings, simplifying retrofits.

Suitable for down light kitchen use, they feature heat-resistant materials. Ensure the ceiling cutout matches their diameter (12cm) to prevent loose fitting, which could affect safety.
Installing dimmable led downlights requires checking compatibility, prioritizing safety, and ensuring proper placement. IMIGY Lighting’s Explorer Down Lights (best led downlights for living room) and Melody Down Lights (for down light kitchen) simplify the process with user-centric designs. By following these steps, you’ll achieve reliable dimming performance that enhances led downlight ceiling aesthetics and functionality. For further help, contact our support team for personalized guidance.
It is recommended that you upgrade the latest browser
 Chrome
 Firefox
 Edge
Edge