


When your existing room roof light starts to dim or no longer fits your decor, the idea of replacing it with a modern led ceiling light might seem daunting. Many homeowners worry that replace led ceiling light is a complex task, requiring professional skills. However, with the right knowledge and tools, it can be a manageable DIY project. At IMIGY Lighting, our Gloria Ceiling Lights and Bean Ceiling Lights are designed for easy installation and replacement, making the process hassle - free. In this super - detailed guide, we'll walk you through each step of replacing your LED ceiling lights, ensuring you can upgrade your space with confidence.

1. Preparation Before Replacement
a. Turn Off the Power
Safety first! Before starting any work on replace led ceiling light, switch off the power supply at the circuit breaker. This prevents the risk of electric shock and ensures a safe working environment. Double - check that the power is off by testing the existing light switch.
b. Gather the Necessary Tools
Prepare tools like a screwdriver, ladder, and voltage tester. If you're replacing your old lights with our Gloria Ceiling Lights or Bean Ceiling Lights, check that the new modern led ceiling light comes with all the required mounting hardware, including screws and brackets.
c. Inspect the New Light Fixture
Carefully examine the new led ceiling light. For example, if you've chosen the round ceiling light version of Bean Ceiling Lights, make sure all parts are in good condition and that any smart ceiling light features, like remote - control functionality, are working properly.

2. Removing the Old LED Ceiling Lights
a. Detach the Cover or Trim
Most room roof light fixtures have a cover or trim. For older models, gently remove it using a screwdriver. Some lights might have clips or latches; release them carefully to access the internal components.
b. Disconnect the Wiring
Once the cover is off, identify the wires connected to the old light. Usually, there are live, neutral, and ground wires. Use a voltage tester to confirm there's no electricity flowing. Then, carefully disconnect the wires by unscrewing wire nuts or releasing connectors.
c. Remove the Mounting Screws
After disconnecting the wires, remove the screws that hold the old led ceiling light to the ceiling. Lower the light fixture carefully and set it aside.
3. Installing the New LED Ceiling Lights
a. Mount the New Bracket
If your new modern led ceiling light, such as Gloria Ceiling Lights, comes with a mounting bracket, attach it to the ceiling using the provided screws. Ensure it's level and firmly secured.
b. Connect the Wiring
Match the wires of the new led ceiling light to the corresponding wires in the ceiling. Connect the live wire to the live terminal, the neutral wire to the neutral terminal, and the ground wire to the ground terminal. Secure the connections with wire nuts or connectors.
c. Attach the Light Fixture
For Bean Ceiling Lights, especially the round ceiling light models, attach the main light fixture to the mounted bracket. If it's a smart ceiling light model, follow the instructions to set up the connectivity, such as pairing it with your smartphone app.
4. Testing and Adjusting
a. Restore the Power
After installation, turn the power back on at the circuit breaker. Flip the light switch to test if the new led ceiling light works. If it doesn't, double - check the wiring connections and power supply.
b. Make Final Adjustments
Check if the modern led ceiling light is properly aligned and level. For Gloria Ceiling Lights or Bean Ceiling Lights, adjust the position or angle if needed to ensure optimal lighting distribution in the room.
5. IMIGY Lighting’s Product Advantages
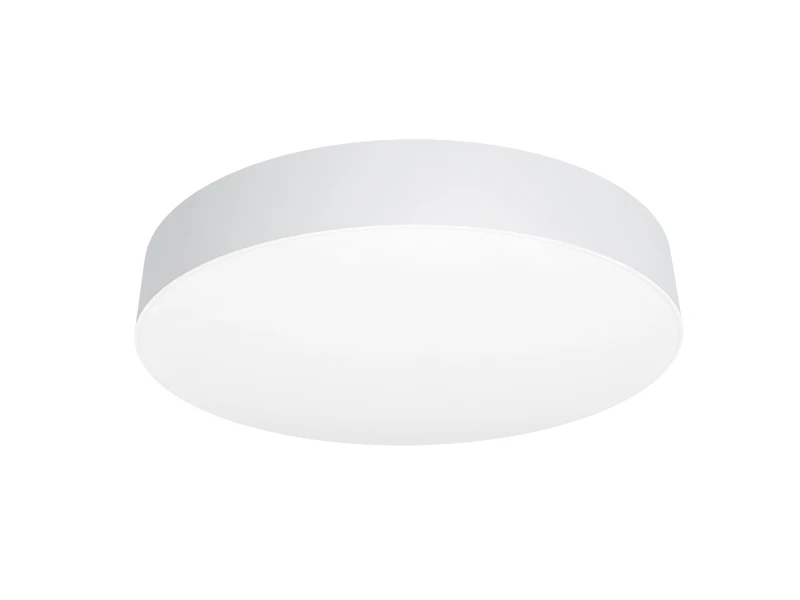
a. Gloria Ceiling Lights
Our Gloria Ceiling Lights are designed for easy replace led ceiling light projects. With a simple mounting structure and clear wiring instructions, even beginners can install them without trouble. As modern led ceiling light fixtures, they offer adjustable color temperature, enhancing the ambiance of your room.
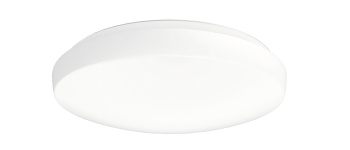
b. Bean Ceiling Lights
The Bean Ceiling Lights, available in stylish round ceiling light designs, combine ease of installation with advanced features. The smart ceiling light models allow you to control the light via your phone, and their energy - efficient LED technology ensures long - lasting performance.
6. Why Choose IMIGY Lighting?
User - Friendly Design: Our Gloria Ceiling Lights and Bean Ceiling Lights are crafted with DIYers in mind. The intuitive design and detailed installation guides make replace led ceiling light a breeze.
Quality Assurance: Made from high - quality materials, our modern led ceiling light products guarantee durability and reliable performance after replacement.
Comprehensive Support: Our team is always ready to help with any questions during the replace led ceiling light process. Whether it’s about wiring or product features, we’re here to ensure a successful upgrade.
Replacing LED ceiling lights doesn't have to be a difficult task. With the step - by - step guide above and IMIGY Lighting’s user - friendly Gloria Ceiling Lights and Bean Ceiling Lights, you can easily replace led ceiling light in your home. Whether you’re upgrading to a more energy - efficient modern led ceiling light, a stylish round ceiling light, or a convenient smart ceiling light, our products provide a seamless replacement experience. Say goodbye to your old lights and hello to a brighter, more beautiful space!
It is recommended that you upgrade the latest browser
 Edge
Edge


