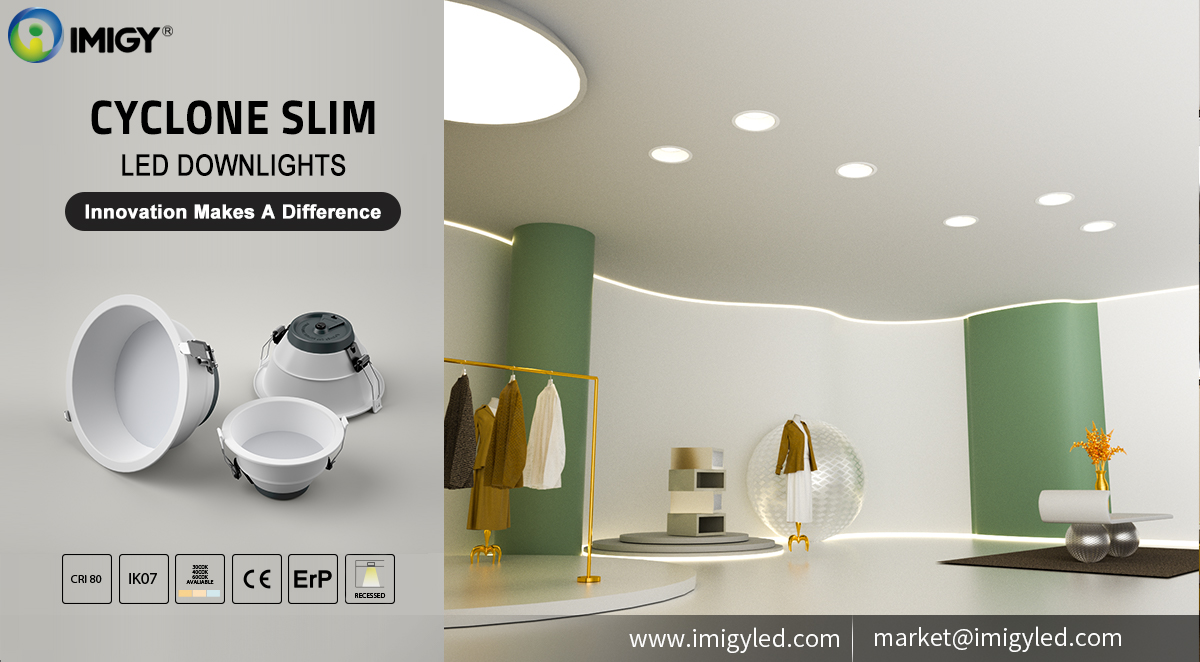

When it comes to kitchen lighting, choosing the right downlight can significantly enhance both functionality and aesthetics. A 12W adjustable downlight not only provides the necessary illumination but also offers energy efficiency and flexibility in lighting direction. IMIGY Lighting, with its expertise in LED technology, offers high-quality and versatile downlight solutions. In this article, we will explore the benefits of a 12W adjustable downlight, discuss common installation mistakes, and provide practical tips to ensure a successful installation.
A 12W LED downlight is highly energy-efficient, consuming significantly less power compared to traditional lighting options like incandescent or halogen bulbs. This reduction in energy consumption translates to lower electricity bills over time. Additionally, LED lights have a much longer lifespan, often lasting up to 50,000 hours or more, which means fewer replacements and lower maintenance costs.
One of the key advantages of an adjustable downlight is its ability to direct light precisely where it is needed. In a kitchen, this feature is particularly useful for highlighting specific areas such as countertops, stovetops, and sinks. You can easily adjust the angle of the light to reduce shadows and create a well-lit workspace, enhancing both safety and functionality.
Adjustable downlights are available in various designs and finishes that can complement any kitchen decor. Whether your kitchen has a modern, sleek look or a more traditional style, you can find a downlight that matches your aesthetic preferences. The compact size of these lights also allows for seamless integration into different ceiling types, including recessed ceilings and drop ceilings.
One of the most common mistakes is improper placement of downlights. To avoid this, plan the layout carefully before installation. Consider the key work areas in your kitchen, such as the sink, stove, and countertops, and ensure that the downlights are positioned to provide adequate illumination for these areas. Use a layout grid or consult with a lighting specialist to determine the optimal spacing and placement.
Another frequent issue is using downlights that are not compatible with the existing electrical system or dimming controls. Always check the voltage requirements of the downlight to ensure it matches your home’s electrical supply. If you plan to use dimming features, verify that both the downlight and the dimmer switch are compatible. Incompatible dimming can lead to flickering lights or reduced lifespan of the LED bulbs.
Downlights require adequate clearance around them to prevent overheating and ensure proper airflow. Installing downlights too close to insulation or other materials can be a fire hazard. Follow the manufacturer’s guidelines for clearance requirements and, if necessary, use special housing or insulation clips to maintain safe distances.
The color temperature of your downlights can affect the overall ambiance of your kitchen. For a bright and inviting atmosphere, a color temperature of around 4000K to 5000K is recommended. This range provides a natural white light that enhances visibility and creates a clean, modern look.
While it is possible to install adjustable downlights yourself, it is highly recommended to hire a professional electrician. Proper installation ensures safety, compliance with electrical codes, and optimal performance of the lighting system. A professional can also help troubleshoot any issues and ensure that the installation meets local regulations.
Regular cleaning is essential to maintain the performance and longevity of your downlights. Use a soft, dry cloth to gently wipe the surface of the light fixtures. Avoid using harsh chemicals or abrasive materials that could damage the finish. If the lights are installed in a dusty environment, you may need to clean them more frequently to prevent dust buildup, which can reduce light output.

It is recommended that you upgrade the latest browser
 Chrome
 Firefox
 Edge
Edge