


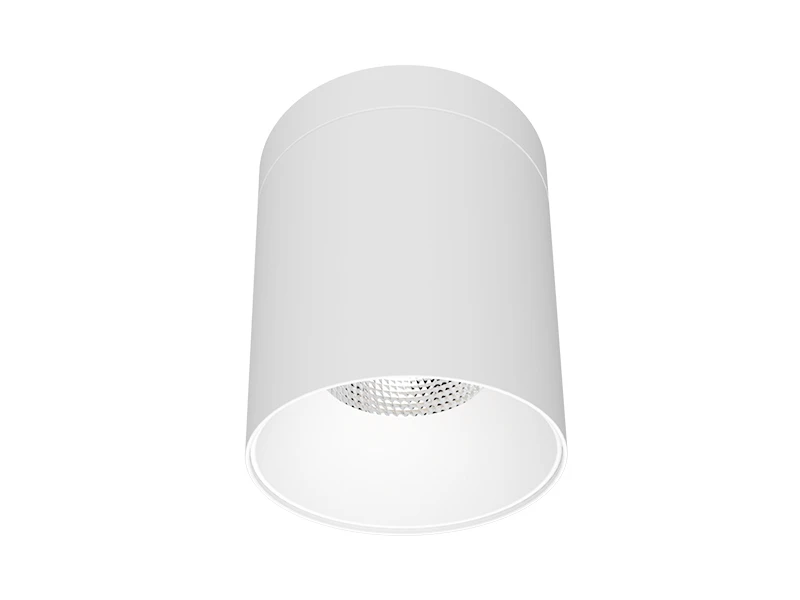


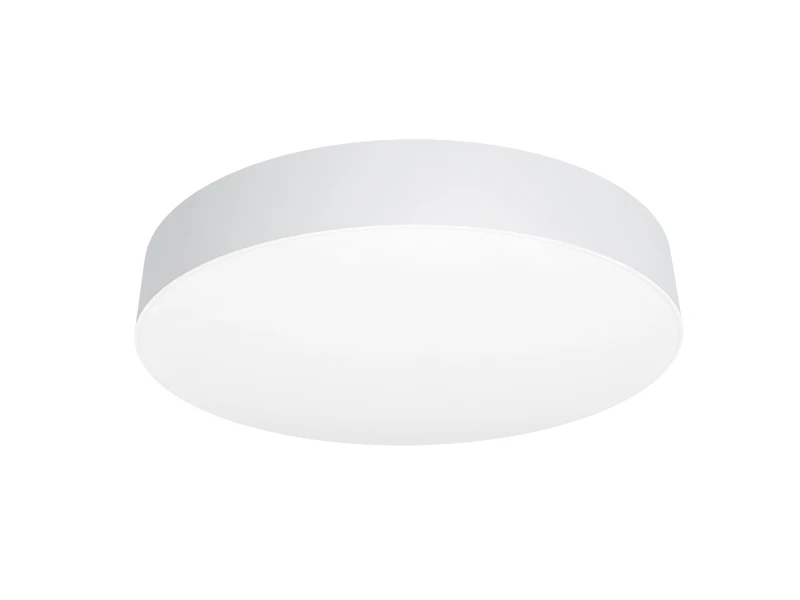


Lighting is the soul of a space, and a well - installed LED ceiling light can transform the ambiance of any room, be it a cozy living room, a productive office, or a bustling commercial area. At IMIGY Lighting, we are committed to providing not only the best ceiling light options, such as our renowned Halo Ceiling Lights and Floria Ceiling Lights, but also comprehensive guidance on how to install them. In this step - by - step installation guide, we will walk you through the process of installing our circular ceiling light led products, ensuring a smooth and successful installation.
The Significance of Proper LED Ceiling Light Installation
Installing an LED ceiling light correctly is crucial for several reasons. Firstly, it ensures optimal lighting performance. A well - installed light fixture will distribute light evenly across the room, eliminating dark spots and providing a bright, comfortable environment. For example, our Halo Ceiling Lights, with their circular design, are engineered to offer an even spread of light, but this can only be fully realized with proper installation. Secondly, proper installation is essential for safety. Incorrect wiring or mounting can lead to electrical hazards, such as short - circuits or the fixture falling. By following the correct installation procedures, you can avoid these risks. Additionally, a correctly installed dimmable ceiling light, like our Floria Ceiling Lights, will function smoothly, allowing you to adjust the brightness according to your needs and creating the perfect ambiance.

Installation Preparation
Tools and Materials Needed
Before starting the installation of either the Halo Ceiling Lights or Floria Ceiling Lights, gather the necessary tools and materials. You will need a drill, screwdriver, wire stripper, electrical tape, and the mounting hardware provided with the light fixture. For the Halo Ceiling Lights, which come in different finishes like brushed nickel, black, and white, ensure that all the components match the fixture. The same applies to the Floria Ceiling Lights, available in finishes such as matte white, brushed nickel, and gold - plated. Also, make sure you have a voltage tester to check the electrical connections safely.

Safety Precautions
Safety should be your top priority during the installation process. Always turn off the power supply to the area where you will be working at the circuit breaker. Use a voltage tester to double - check that there is no electricity flowing through the wires. Wear safety goggles to protect your eyes from any debris that may be generated during drilling or handling of the light fixture. If you are not comfortable working with electricity, it is advisable to consult a professional electrician.
Installing the Halo Ceiling Lights
Mounting the Fixture
Mark the Ceiling: Use a measuring tape and a pencil to mark the position on the ceiling where you want to install the Halo Ceiling Lights. Consider the layout of the room and the desired light distribution. For example, if you want to evenly illuminate a rectangular living room, mark the center of the room or space the lights evenly along the length or width.
Drill Holes: Drill holes at the marked positions on the ceiling. The size of the holes should match the mounting hardware provided with the Halo Ceiling Lights. Be careful not to drill too deep and damage any pipes or wires in the ceiling.
Insert Wall Plugs: Insert wall plugs into the drilled holes. These wall plugs will provide a secure base for the mounting screws.
Attach the Mounting Brackets: Using screws, attach the mounting brackets that come with the Halo Ceiling Lights to the ceiling through the wall plugs. Make sure the brackets are firmly in place and level.
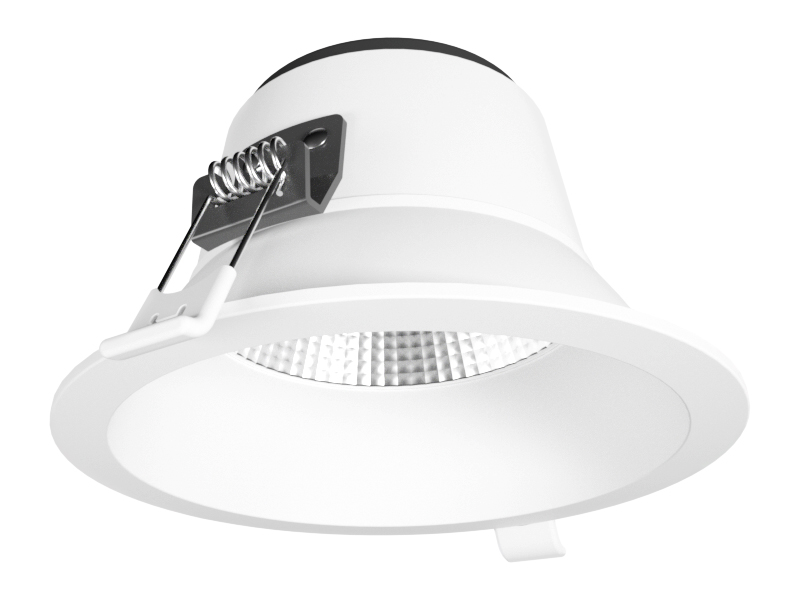
Install the Light Fixture: Place the circular ceiling light led unit of the Halo Ceiling Lights onto the mounting brackets and secure it with the provided screws. The unique halo - inspired design of the Halo Ceiling Lights should be carefully aligned during installation.
Wiring
Strip the Wires: Use a wire stripper to strip the ends of the electrical wires. The wires from the power supply and the wires connected to the Halo Ceiling Lights need to be stripped to expose the copper conductors.
Connect the Wires: Connect the wires according to the color - coding. Typically, the black wire is the live wire, the white wire is the neutral wire, and the green or bare wire is the ground wire. Twist the exposed ends of the corresponding wires together and secure them with wire nuts. Then, wrap the connections with electrical tape to ensure insulation.
Test the Connection: Before fully securing the light fixture and covering the wiring, turn on the power at the circuit breaker briefly to test if the Halo Ceiling Lights are working. If the lights do not turn on, turn off the power immediately and check the connections.
Finish the Installation: Once the lights are working, carefully tuck the wires into the electrical box (if provided) and secure the light fixture in place. You can now adjust the position of the Halo Ceiling Lights to ensure it is centered and looks aesthetically pleasing.
Dimming Setup (if applicable)
If you have purchased the dimmable version of the Halo Ceiling Lights, setting up the dimming functionality is the next step. The Halo Ceiling Lights are compatible with most standard dimming switches. Connect the dimming switch according to the manufacturer's instructions. You can also integrate the Halo Ceiling Lights with smart home systems. This allows you to control the dimming of the lights using your smartphone or voice commands, adding an extra layer of convenience.
Installing the Floria Ceiling Lights
Mounting the Fixture
Measure and Mark: Similar to the Halo Ceiling Lights, start by measuring and marking the ceiling for the installation of the Floria Ceiling Lights. Consider the size of the room and the desired lighting effect. The Floria Ceiling Lights come in multiple sizes, so choose the appropriate size for your space and mark the ceiling accordingly.
Drill and Mount: Drill holes in the ceiling at the marked positions. Insert the provided anchors into the holes. Then, attach the mounting plate of the Floria Ceiling Lights to the ceiling using screws. Make sure the mounting plate is level and firmly attached.
Install the Light Unit: Carefully place the circular ceiling light led unit of the Floria Ceiling Lights onto the mounting plate. The elegant and timeless design of the Floria Ceiling Lights should be centered on the mounting plate. Secure the light unit with the provided screws.
Wiring
Prepare the Wires: Strip the ends of the power supply wires and the wires connected to the Floria Ceiling Lights using a wire stripper.
Connect the Wires: Connect the wires following the standard color - coding for electrical wiring. Ensure that the connections are secure by using wire nuts and wrapping them with electrical tape.
Test the Light: Turn on the power at the circuit breaker to test if the Floria Ceiling Lights are functioning properly. If there are any issues, turn off the power and check the connections.
Complete the Installation: Once the lights are working, adjust the position of the Floria Ceiling Lights to your satisfaction. Tuck the wires neatly into the electrical box and cover it if necessary.
Dimming Setup (if applicable)
The Floria Ceiling Lights also offer a dimming option. Connect the dimming switch to the light fixture following the instructions provided. The smooth - operating dimming mechanism of the Floria Ceiling Lights allows you to adjust the brightness to create different lighting scenes. Whether you want a bright light for a family gathering or a dimmed light for a relaxing evening, the Floria Ceiling Lights can meet your needs. You can also integrate the Floria Ceiling Lights with smart home setups for convenient control.
Conclusion
In conclusion, at IMIGY Lighting, our Halo Ceiling Lights and Floria Ceiling Lights are not only among the best ceiling led panel light options in the market but also designed for easy installation. By following this step - by - step installation guide, you can successfully install these circular ceiling light led products in your home or office. The proper installation of these dimmable ceiling lights will not only enhance the lighting performance but also add a touch of style to your space. We encourage you to take on the installation project and experience the difference that high - quality, well - installed ceiling lights can make in your environment.
It is recommended that you upgrade the latest browser
 Edge
Edge


