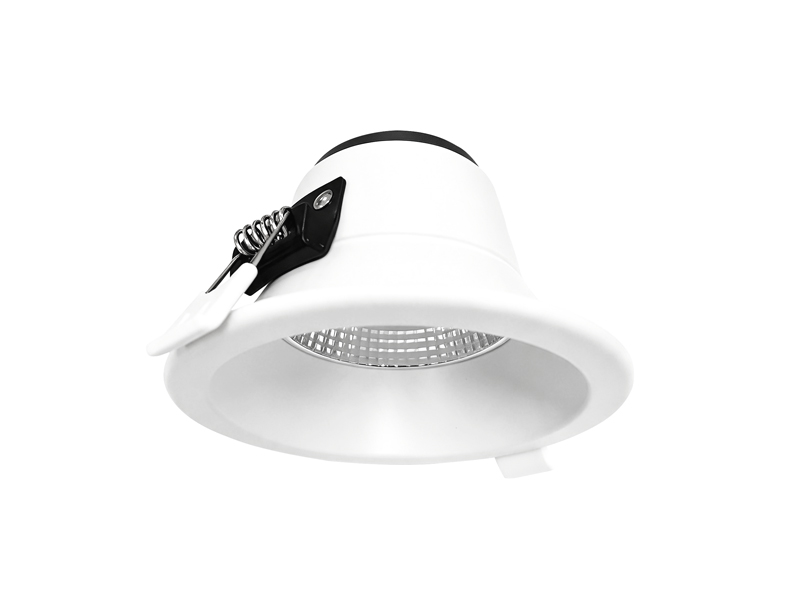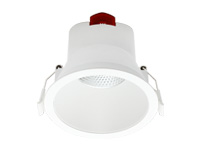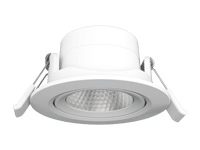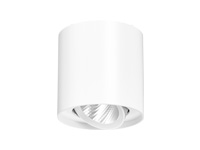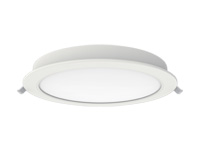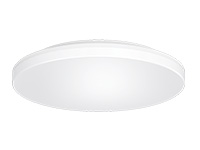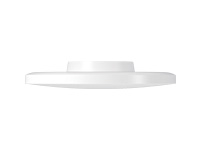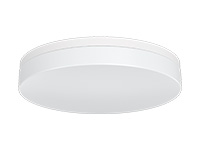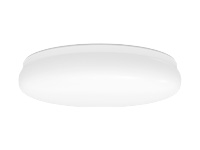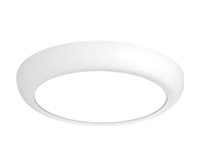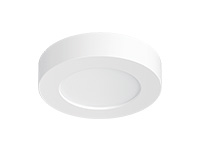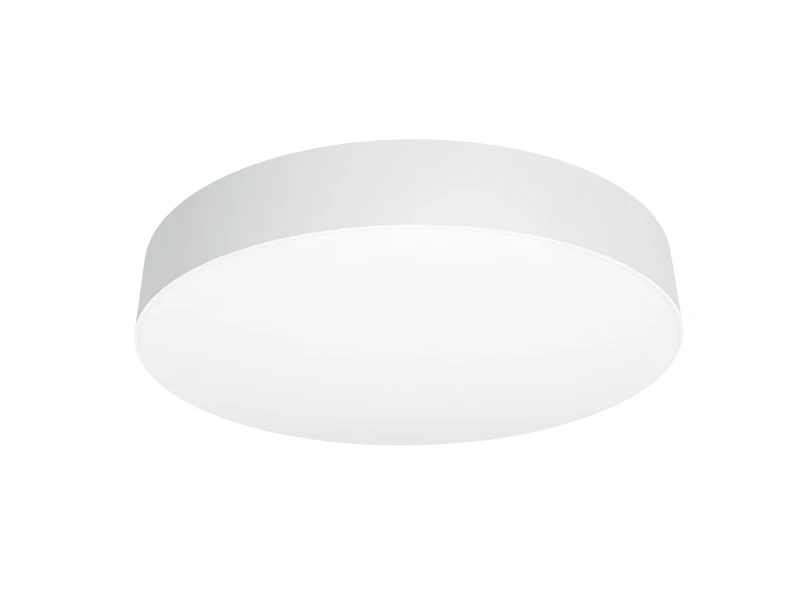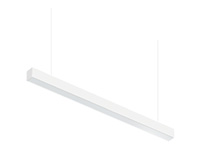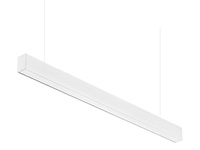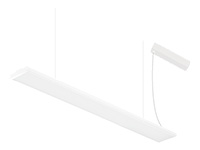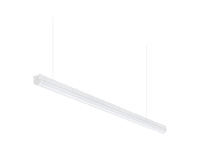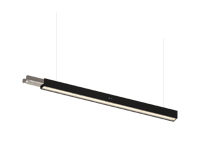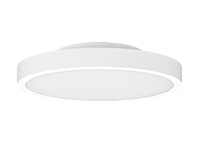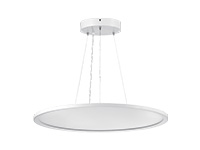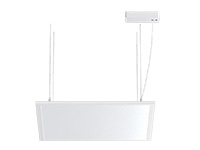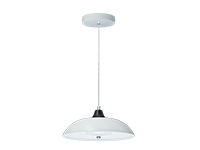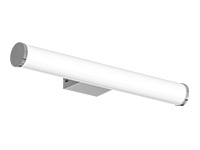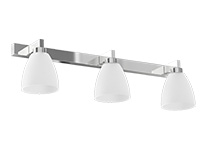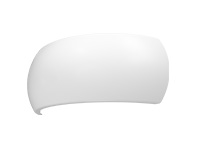

Arrange LED Panel Lights for Hospitals around normal viewing directions and the surfaces that people need to see. At IMIGY Lighting, our Swan backlit panel lights and Cloud V2 Ceiling Panel Lights offer different beam and mounting configurations for that review. Begin by identifying the uncomfortable view, then compare fitting position, selected distribution and room use. Moving a symbol on a ceiling plan is useful only when the revised position addresses the actual viewing relationship.
We recommend separating a direct view of a bright aperture from a reflected image on a screen or glossy surface. These observations can lead to different layout questions. Record the normal seated or standing position before proposing a change so the comparison remains tied to the way the area is used.
A Hospital LED Panel Light needs a placement review as well as a product comparison. Nominal beam angle and total output do not establish the finished room’s glare performance. Preserve the required illumination while examining occupied views, and keep the exact optical version attached to each proposed position.
Mark seats, reception desks and circulation directions on the plan. Where a screen is involved, include its normal position and angle. Identify whether the panel itself is prominent or whether another surface carries its reflected image. This gives the review a specific observation to investigate instead of a general request to make the room less bright.
Compare one practical change at a time. A different panel position, a different optical selection and a change in furniture direction are separate interventions. If the furniture arrangement is fixed, retain that constraint during the comparison. A view that is comfortable only from an unusual sitting position does not answer the normal-use requirement.
An Energy Efficient LED Panel Light should still provide useful light where the task needs it. Reducing output can affect that task without removing the observed source. Likewise, changing colour temperature does not by itself establish a glare improvement. Assess the selected distribution and placement against the original observation before deciding which change is relevant.
Where the same panel is viewed from several directions, record which observation governs a proposed change. A reception position may have a fixed screen and seated view, while the adjoining route brings moving observers past the same fitting. Compare the relevant views before accepting a position that solves only one of them. If the room arrangement changes, revisit the affected relationship instead of assuming the earlier review covers a new screen angle or another seating direction.
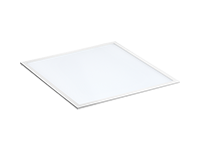
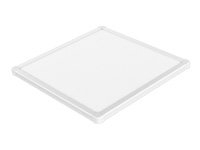
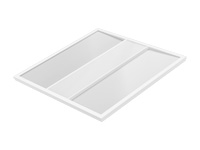
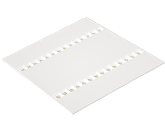
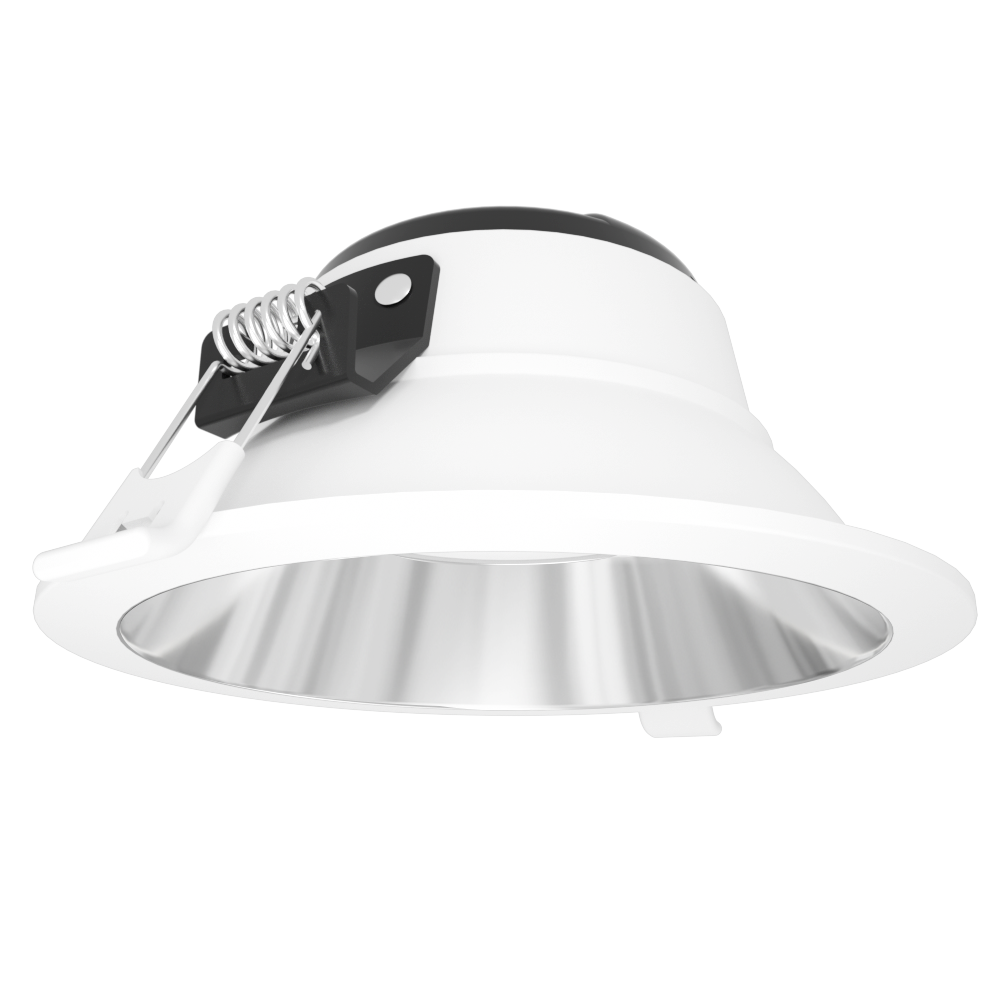
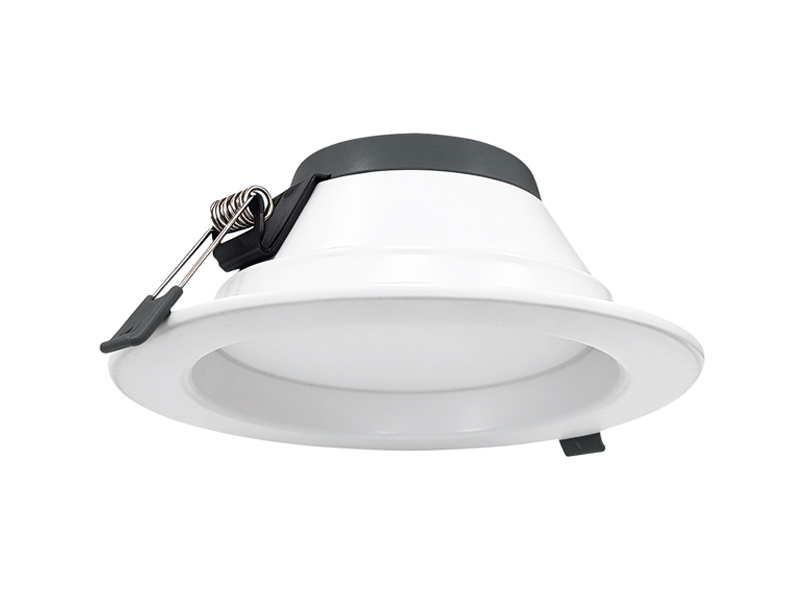
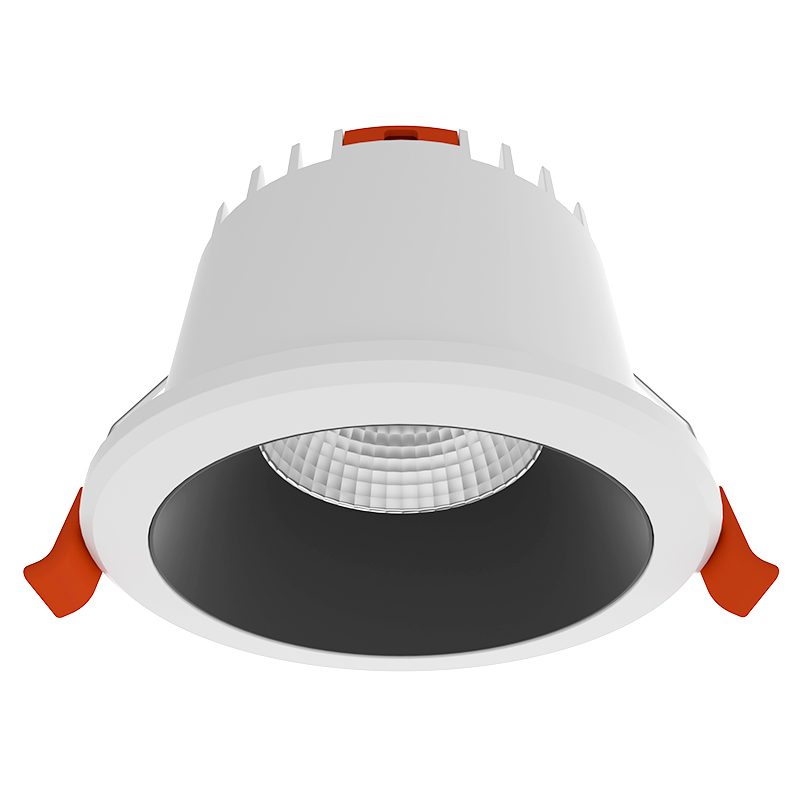
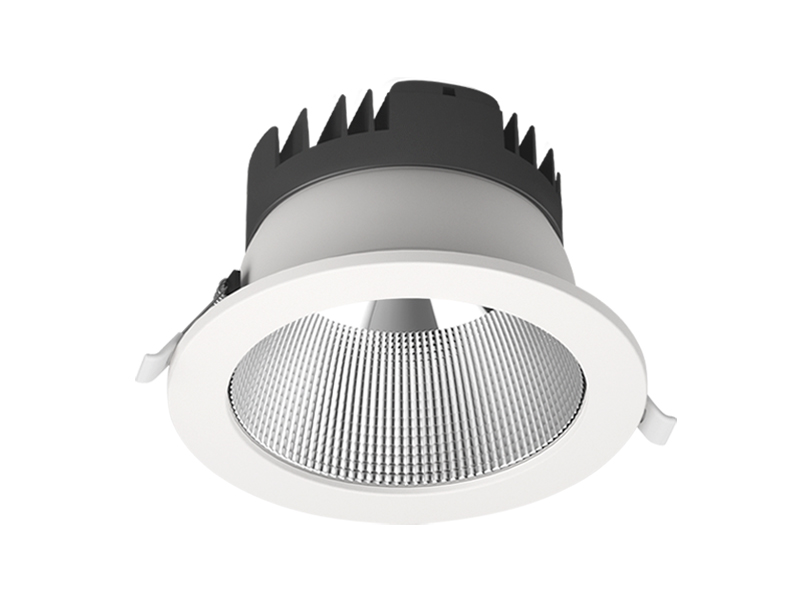
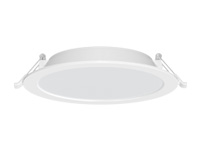
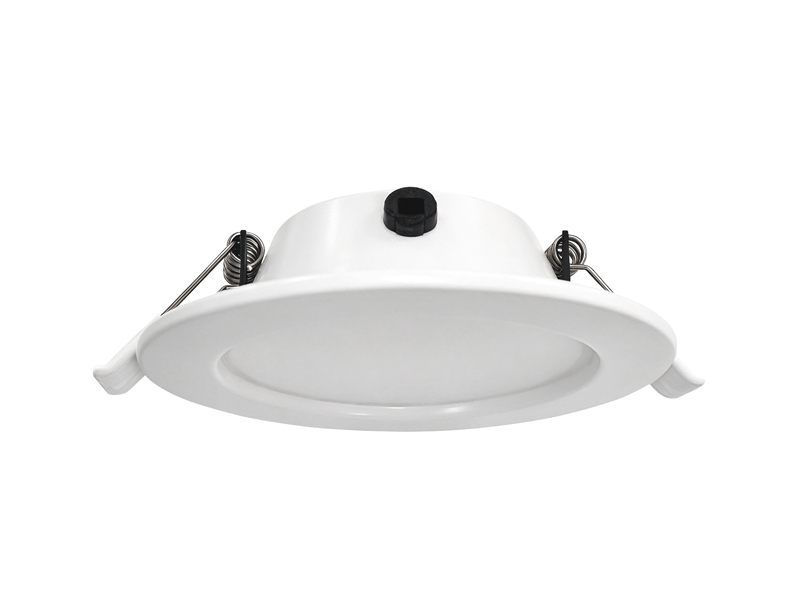
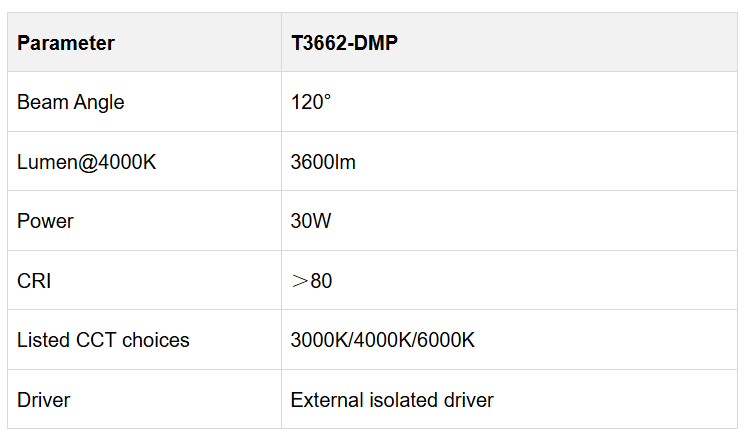
Our Swan backlit panel lights use lenses within a backlit construction. The T3662-DMP example below lists a 120° beam with its corresponding output. The beam helps identify the configuration under review; it does not specify a universal spacing or guarantee the same visual result in every room.
Keep the selected suffix in the layout notes. Several Swan configurations can share nominal dimensions while offering different outputs. If another version is proposed, review its own information before keeping the same placement decision. An optical comparison should describe the product actually being selected rather than a combination of entries from the range.
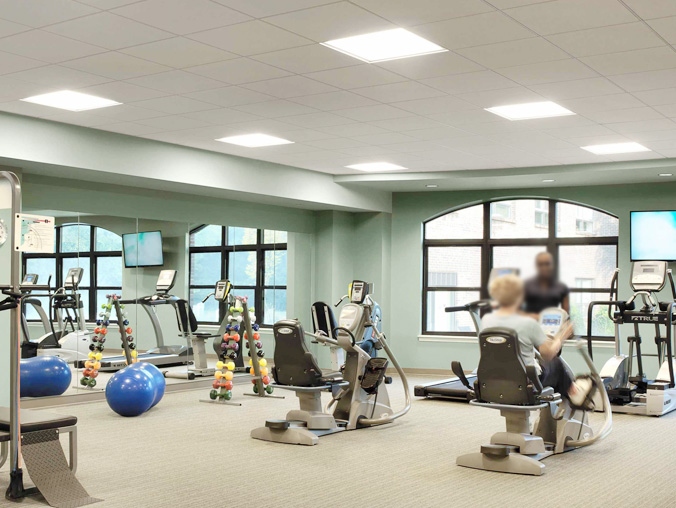
Swan lists recessed and surface-mounting accessories as well as suspension options. Confirm the relevant arrangement when preparing a Recessed panel light proposal. The mounting detail affects how the fitting relates to the ceiling and must remain associated with the position that has been reviewed from the occupied view.
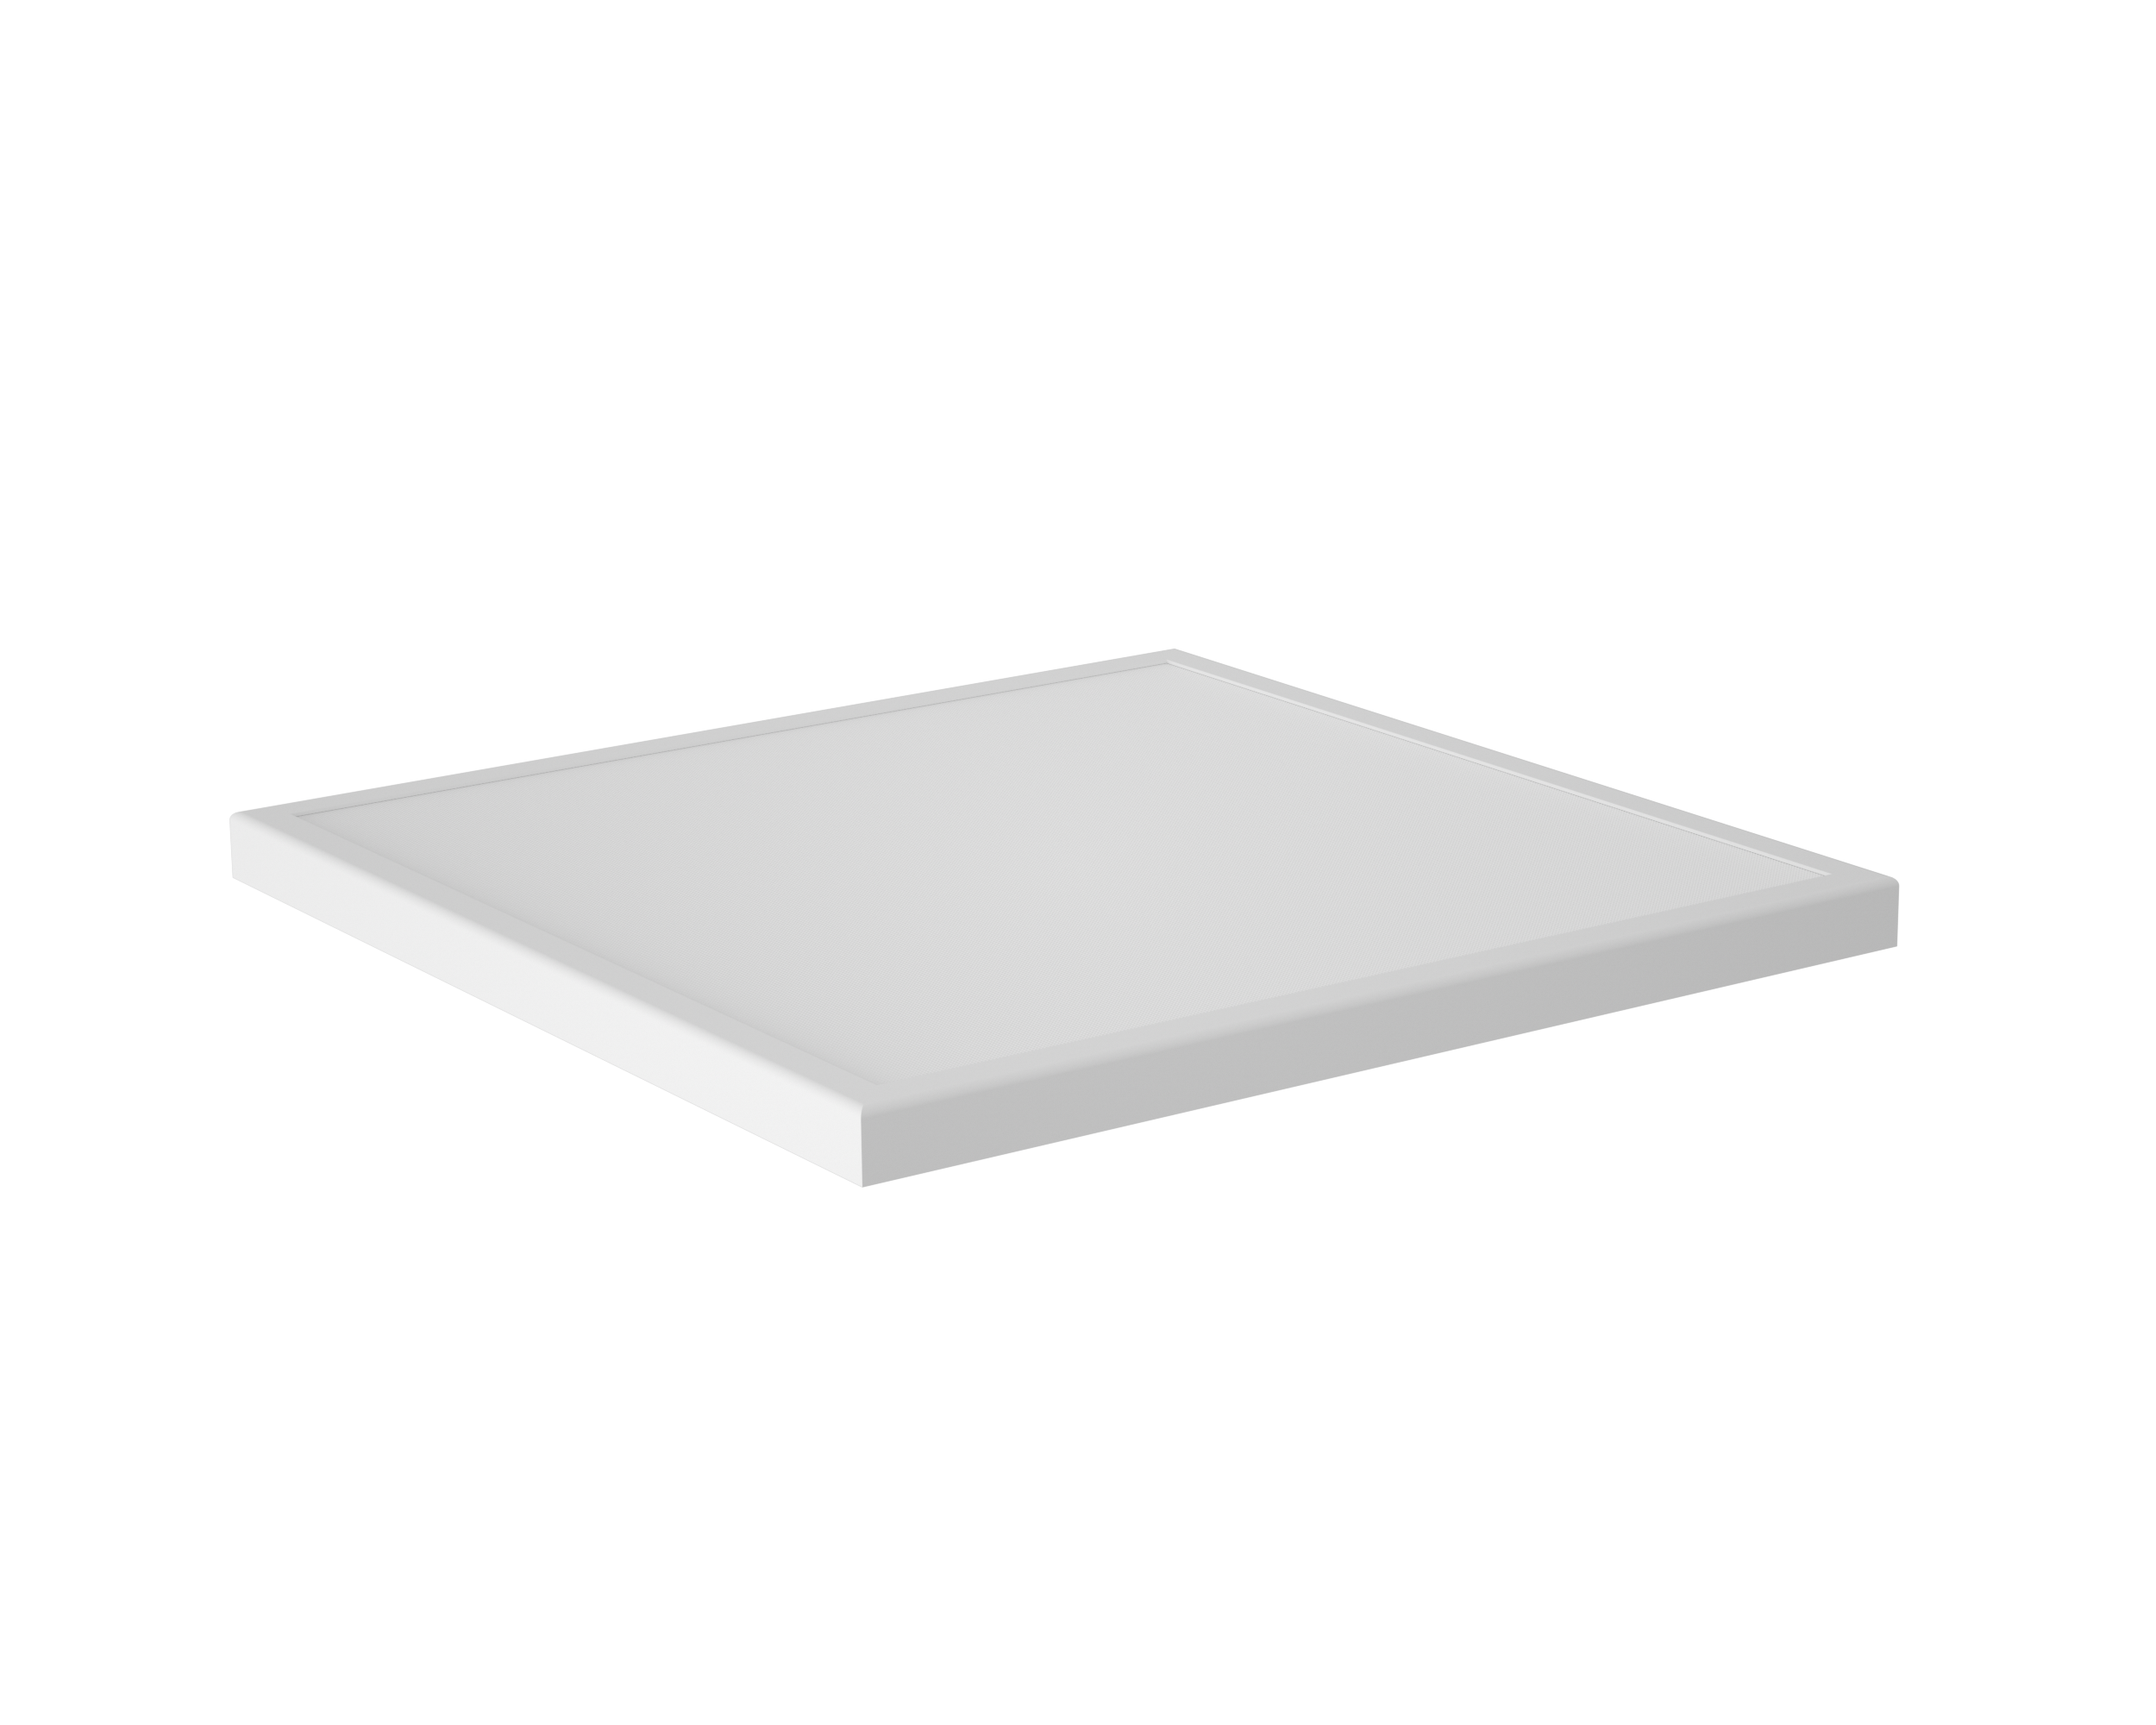
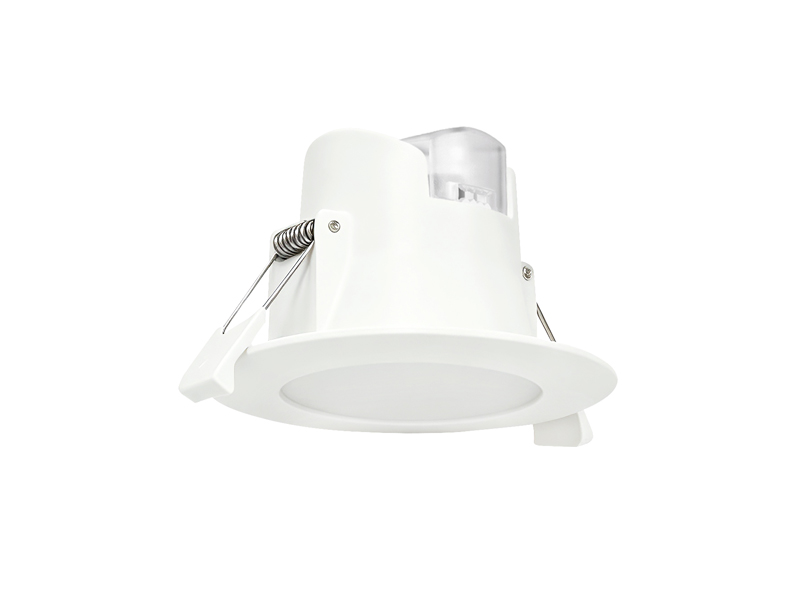
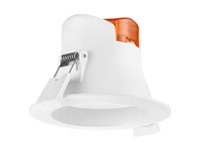
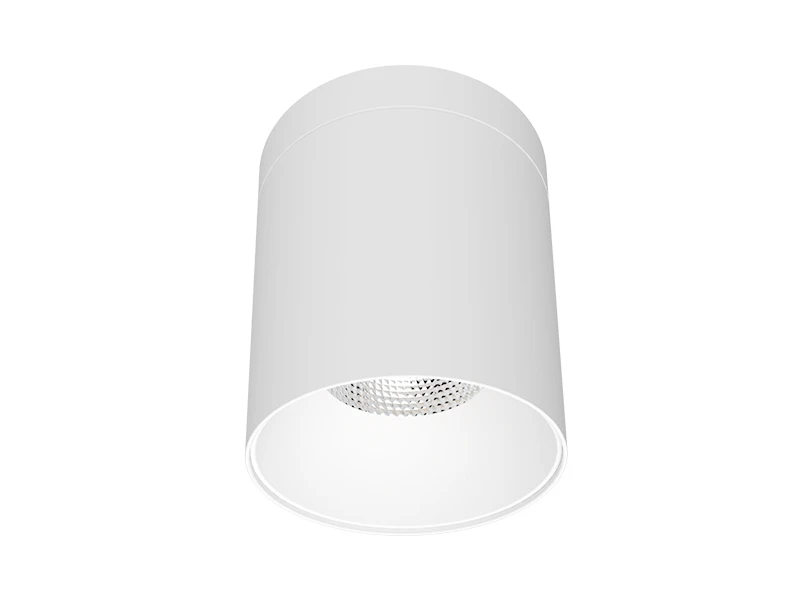
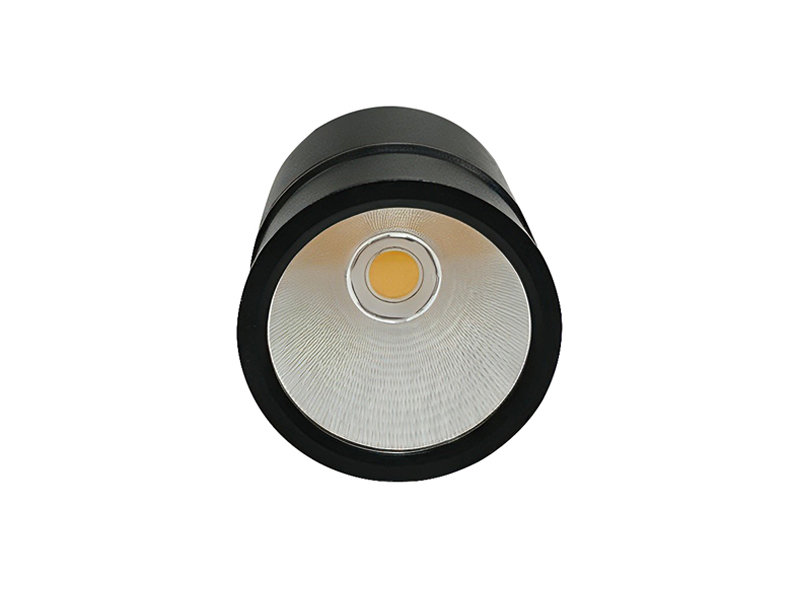
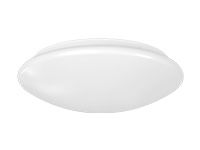
Our Cloud V2 Ceiling Panel Lights example below lists a 90° beam and an external isolated driver. The range provides surface installation using a mounting bracket. That arrangement should be considered as a complete installation, rather than assuming it has the same visible position and construction detail as a recessed Swan proposal.
The different beam entry creates another configuration to assess against the target area. It is not proof that one product will always produce less glare than the other. Compare the proposed location and normal view using the selected model’s information, and retain the room conditions that informed the decision.
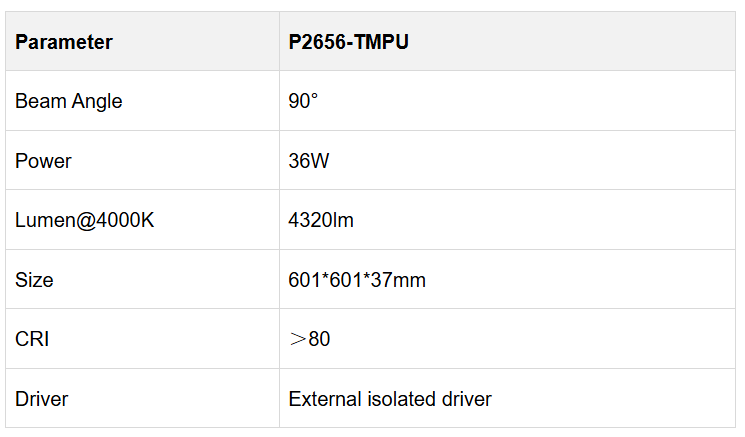

For a Surface mounted panel light proposal, include the bracket, driver accommodation and cable route in the installation review. Keep the panel’s body dimensions distinct from the complete installed arrangement. A visually preferable position still needs a feasible fixing and connection detail at that location.
Check the proposed change from the same occupied positions that established the problem. Also review the illuminated area so a reduction in visible brightness is not accepted simply because useful light has been removed. Keep any position that differs from the regular ceiling pattern identifiable, with the reason for the exception.
Share the plan and troublesome views with IMIGY Lighting when discussing Swan and Cloud V2. Retain the chosen model, mounting arrangement and optical information with the proposal. Where a screen, chair or reception desk later moves, revisit the affected view before repeating the original placement. This keeps the final arrangement connected to the actual room use and gives later revisions a clearer basis than a generic promise of glare-free lighting.
Keep the selected configuration consistent while checking a layout adjustment. If both the product and position change, identify which difference is intended to address the original observation. A sample can help review appearance, but it does not turn an isolated product characteristic into a room result. Retain the chosen mounting arrangement with the occupied-view information so the next review can compare a specific proposal rather than a different combination of assumptions. This helps preserve a useful reason for each exception when the drawing is revised.
Compare the same occupied view before and after changing a fitting position or selected optical configuration.
Q: Does Cloud V2’s narrower listed beam establish that it will always be more comfortable than Swan?
A: No. The beam entry identifies a distribution, while comfort depends on the selected position and occupied view. Compare each configuration in the intended layout. A narrower nominal angle alone does not prove a better result for every viewing direction.
Q: Is dimming the whole room the first solution whenever a panel appears bright from a chair?
A: First identify the source and the normal view. Dimming may also reduce useful illumination while leaving the source in the same position. Any control change needs the supported configuration, and the revised arrangement still needs review against the lighting task.
Q: Can a layout exception near reception be removed simply to restore a regular ceiling pattern?
A: Check why the exception was introduced. It may address a fixed viewing direction or another room constraint. Compare the revised position with that requirement before regularising the drawing, so an appearance change does not remove an adjustment made for a specific task.
It is recommended that you upgrade the latest browser
 Chrome
 Firefox
 Edge