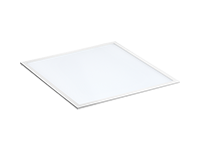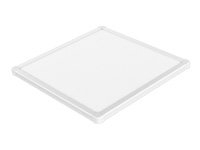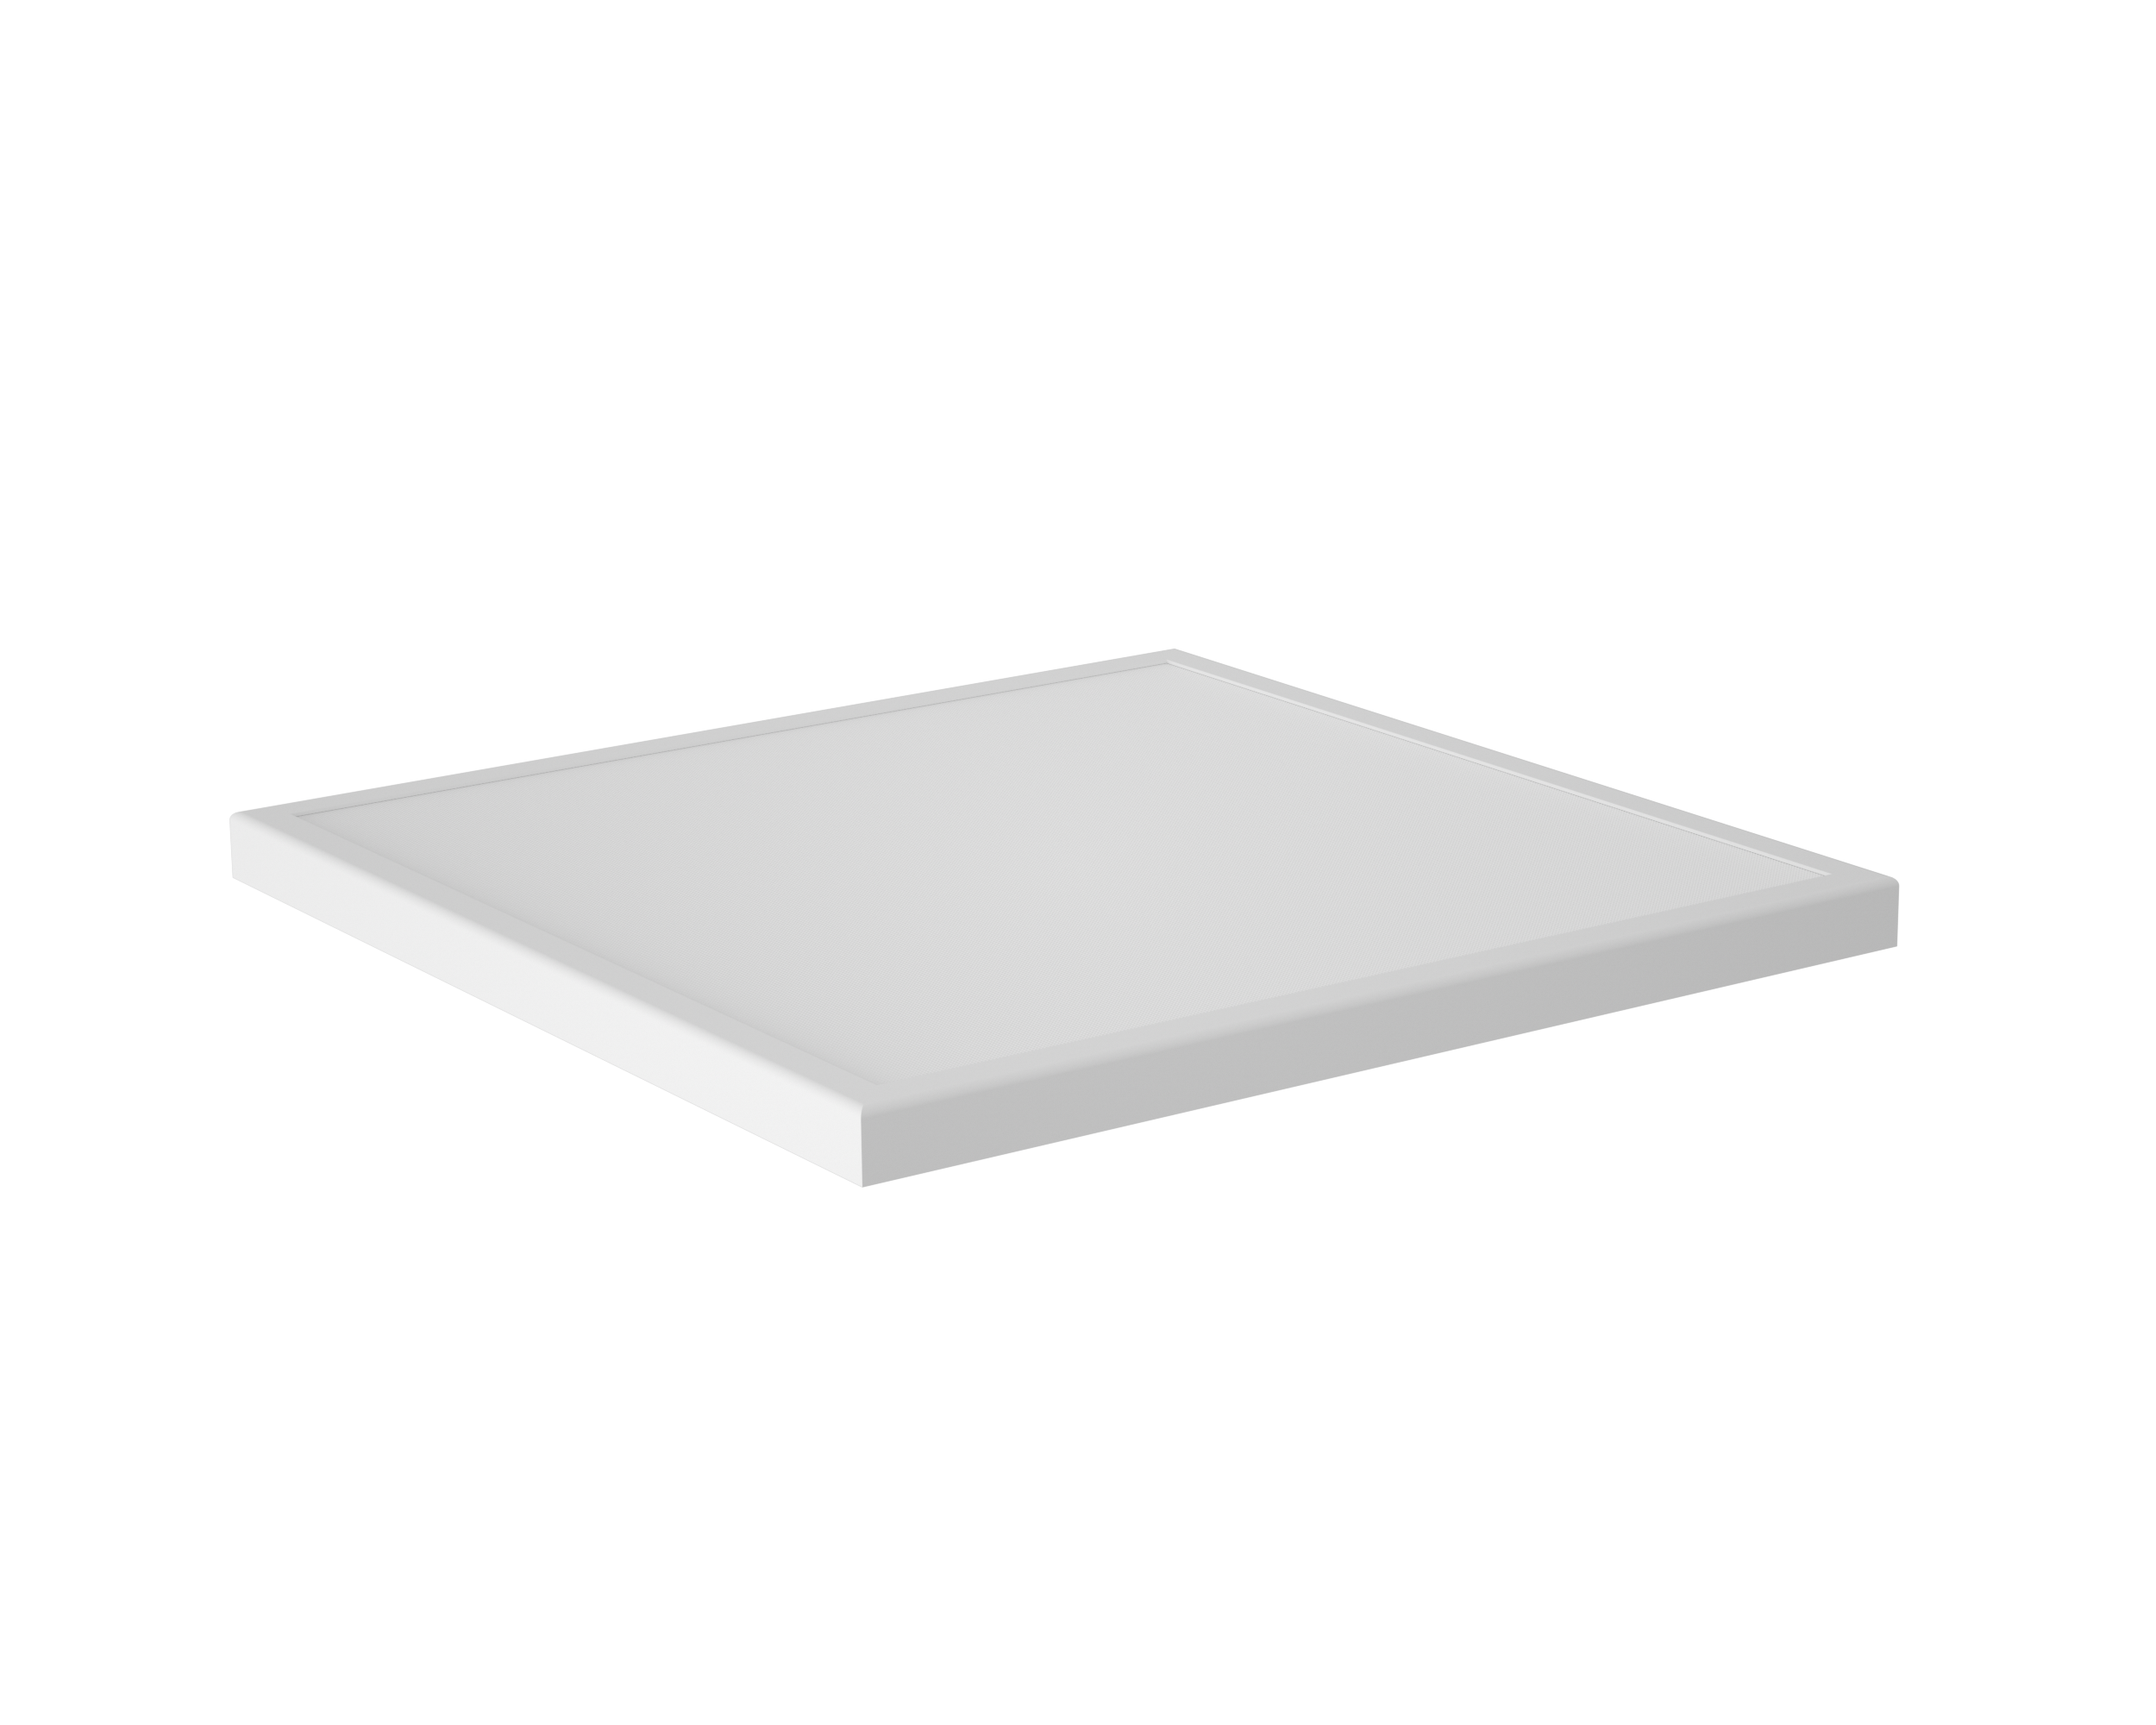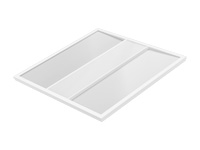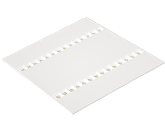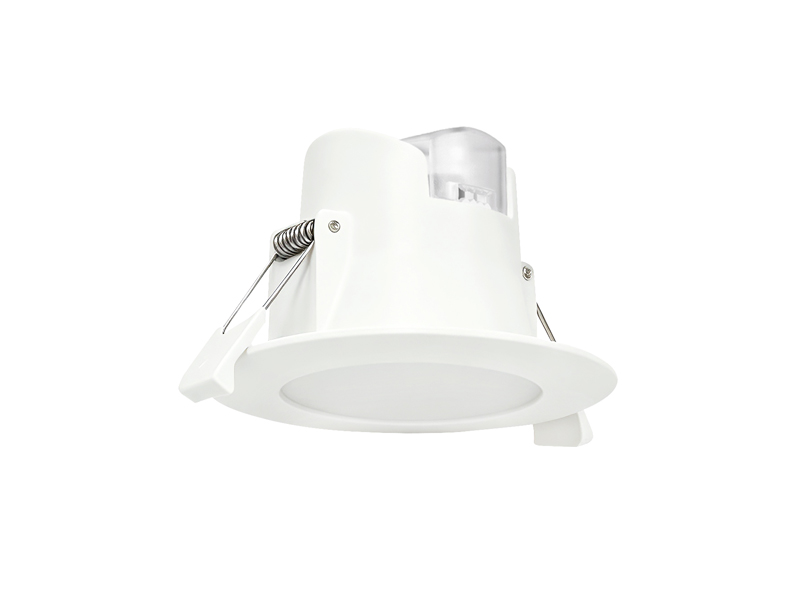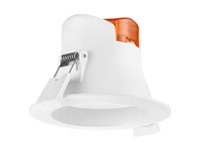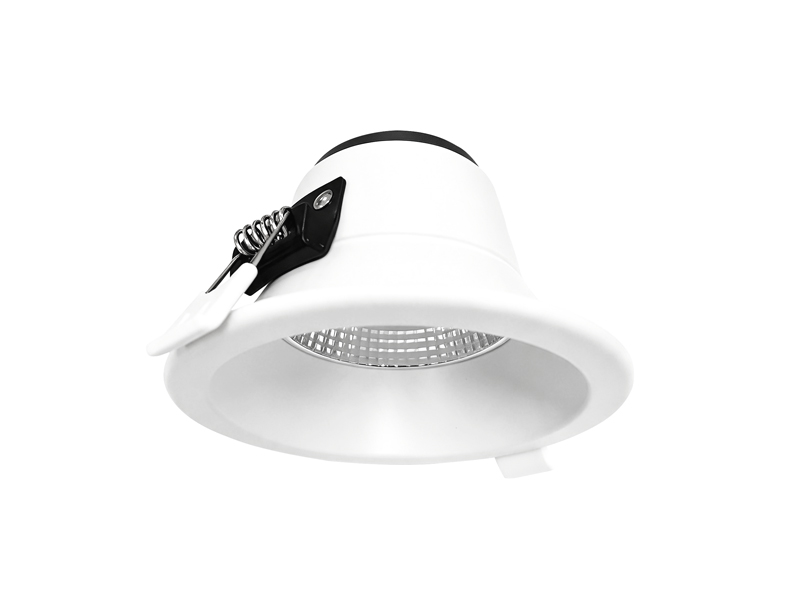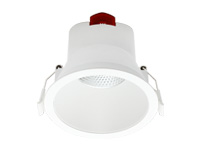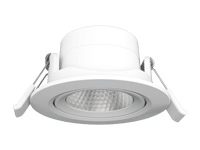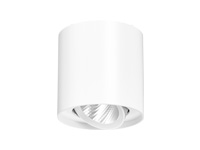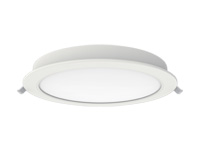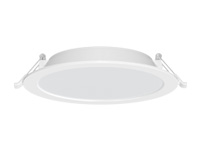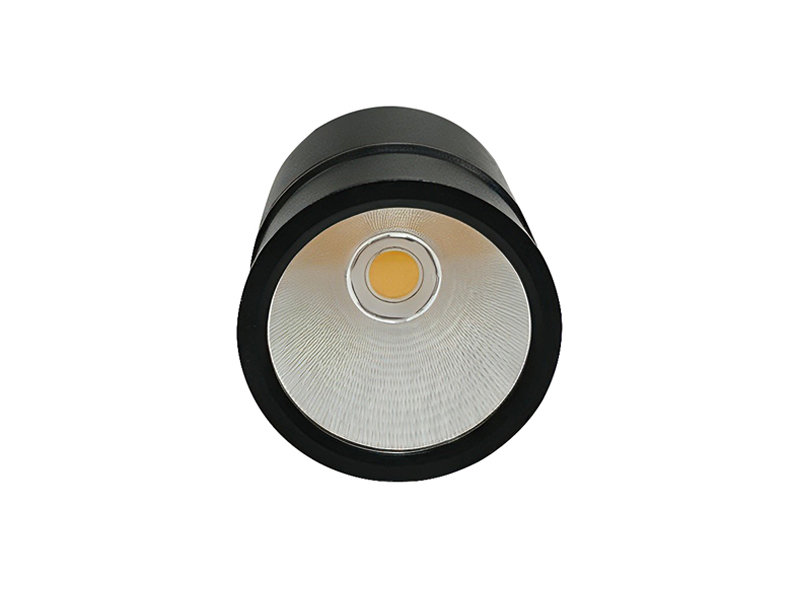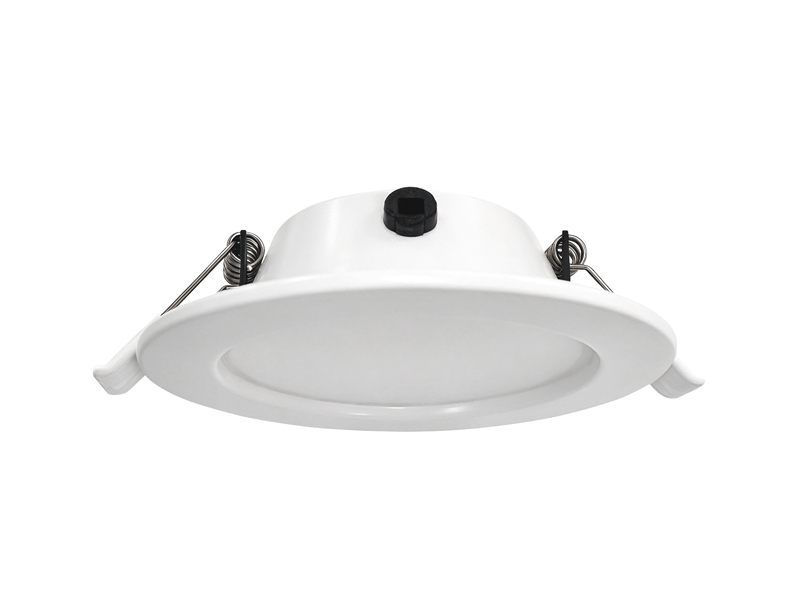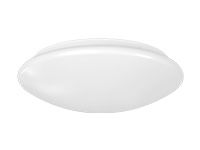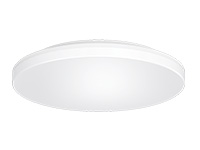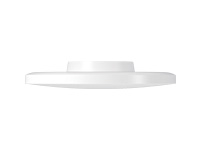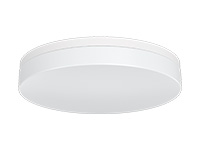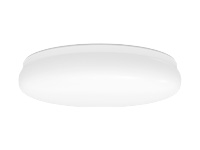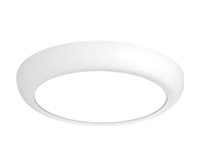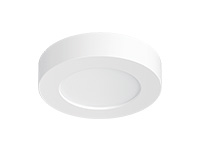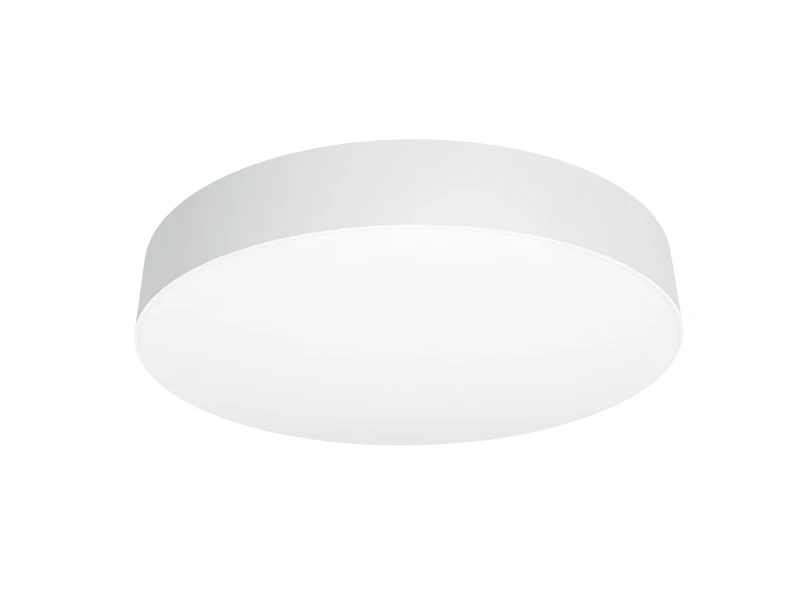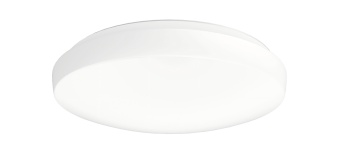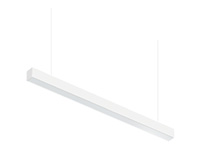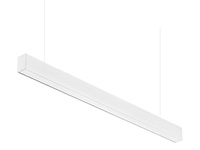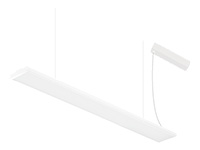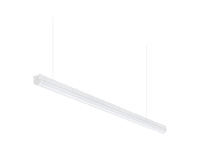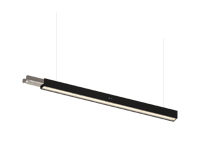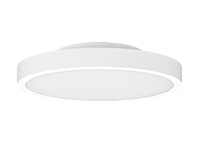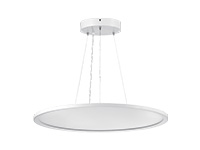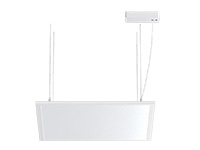

A Surface mounted panel light can provide an installation route when a recessed ceiling arrangement is unavailable, but the complete assembly still needs planning. At IMIGY Lighting, our Cloud V2 Ceiling Panel Lights use a mounting-bracket approach, while our Fairy edgelit panel lights offer a ceiling surface-mounting frame. Choose between these arrangements by reviewing the fixing surface, driver accommodation and cable route together. The panel body’s slim appearance does not establish that all components fit without additional space.
Begin with the existing ceiling and the intended visible profile. Confirm what can be fixed at the proposed location and where the supply reaches it. This gives the product enquiry a practical starting point and prevents a mounting solution from being chosen solely because the room has no ceiling void.
Compare the complete installed arrangement, not just the panel thickness. A Recessed panel light proposal cannot automatically be converted to surface mounting without the corresponding accessory. Keep the bracket or frame, driver position and connection arrangement attached to the selected product so the drawing describes what is actually intended.
Identify the ceiling substrate and the intended fixing position. Mark any existing connection point and constraints on the visible cable route. The lack of a void changes where components can be accommodated; it does not remove the need to locate them. Use the selected installation detail to review the proposed arrangement before repeating it across the room.
Distinguish panel body depth from the overall installed profile. A surface frame or bracket introduces its own geometry, and the driver arrangement also needs confirmation. Do not use the thin body measurement as a promise about the space required by every component. Retain the complete assembly information when discussing appearance and practical fit.
For a Hospital LED Panel Light in a waiting room or corridor, also review the visible position from the normal occupied views. The mounting method should work with the lighting task and room layout. A practical fixing point is not automatically the best lighting position, so resolve the construction and distribution decisions together.
Decide what information the finished ceiling drawing must show. The panel outline identifies the visible fitting, while the selected mounting detail explains its relationship to the substrate and other components. Keep these two views linked. If the existing connection is offset from the preferred lighting position, resolve that relationship within the proposed installation detail rather than moving the fitting solely to hide an unresolved cable arrangement. The lighting layout should continue to reflect the room’s use.
Our Cloud V2 Ceiling Panel Lights range documents surface installation with a mounting bracket. The P2352-TMPU configuration below identifies the panel body, output and external isolated driver. The mounting arrangement needs to account for the selected driver and connections rather than treating the bracket alone as the entire installation.
Keep the selected Cloud V2 version clear in the proposal. The available entries include different combinations of power and output. A shared body size does not make those configurations identical, and a change of version should remain visible in both the lighting and installation records.
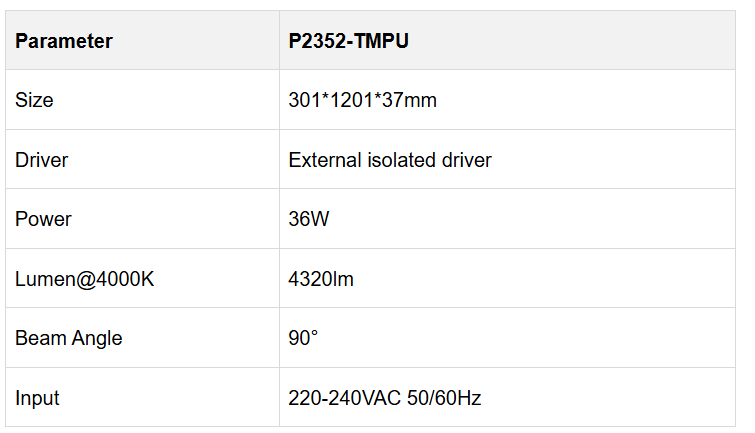

Review the bracket detail against the proposed ceiling location before accepting the visible profile. If another ceiling condition requires a different fixing arrangement, record that exception. The product’s surface-mounting description supports a route to assess; the actual substrate and complete assembly still need a compatible installation detail.
Our Fairy edgelit panel lights list a ceiling surface-mounting frame as an available accessory. The P0352-AMP example below describes the panel itself, including its body thickness. That value should not be used as the height of the framed installation, which also needs to accommodate the chosen accessory and driver arrangement.
The Fairy construction uses a light guide plate and diffuser. Its optical selection remains part of the lighting review even when the main constraint is installation space. Choose the complete code and frame together, then assess the proposed position against the target area rather than assuming every available fixing position gives an equivalent result.
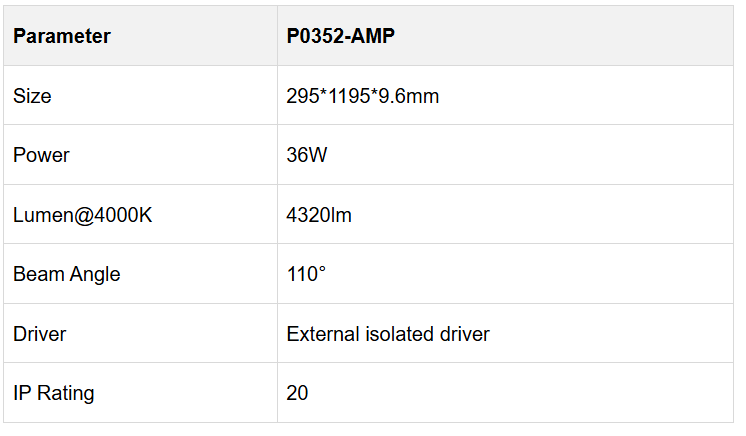

Fairy also lists recessed and suspension accessories, but they represent other mounting choices. Do not interchange their dimensions or assembly requirements with the surface frame. For a room without a void, obtain the relevant surface detail and keep it with the selected model rather than adapting a drawing for another installation method.
An Energy Efficient LED Panel Light still needs an arrangement that can be installed and used as intended. When comparing LED Panel Lights for Hospitals, retain the occupied views, required distribution and practical ceiling constraints together. The best proposal explains both how the assembly is accommodated and how its selected position supports the room’s lighting task.
Send IMIGY Lighting your ceiling information, connection location and intended visible profile when comparing Cloud V2 and Fairy. Identify whether the proposal uses the bracket arrangement or a surface frame, and confirm the associated driver position. Review a representative complete detail before repeating the selection across several locations. Keep exceptions visible so the project team can distinguish a confirmed installation arrangement from a panel body measurement or a general description of surface mounting.
Compare the bracket and frame proposals through their complete details before choosing the preferred appearance. Retain the exact panel code and relevant accessory so a later change can be checked against the same intended profile. Where the room has more than one ceiling condition, identify which arrangement applies at each location. This prevents a successful detail at one point from being treated as confirmation for every other position without a corresponding review of the actual conditions.
Check the selected assembly against the ceiling substrate and intended visible profile before repeating it.
Q: Does a thin Fairy panel mean the framed installation will have the same overall height as the panel body?
A: No. The listed thickness describes the panel. The surface frame and driver arrangement form part of the installed assembly and need their own detail. Compare that complete arrangement with the intended profile rather than using the body measurement alone.
Q: Does Cloud V2’s mounting bracket remove the need to identify a location for the external driver?
A: No. The selected model lists an external driver, so its accommodation and connections remain part of the installation review. Confirm the complete arrangement with the relevant mounting detail before treating a proposed surface position as ready to install.
Q: Can a surface-mounted panel be placed anywhere that provides a practical fixing point?
A: Review the lighting task as well as the fixing. The selected position needs to work with the intended area, distribution and occupied views. Keep both sets of requirements visible so a construction convenience does not become the only reason for the final lighting layout.
It is recommended that you upgrade the latest browser
 Chrome
 Firefox
 Edge