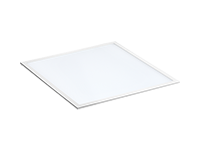

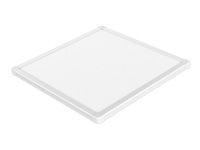
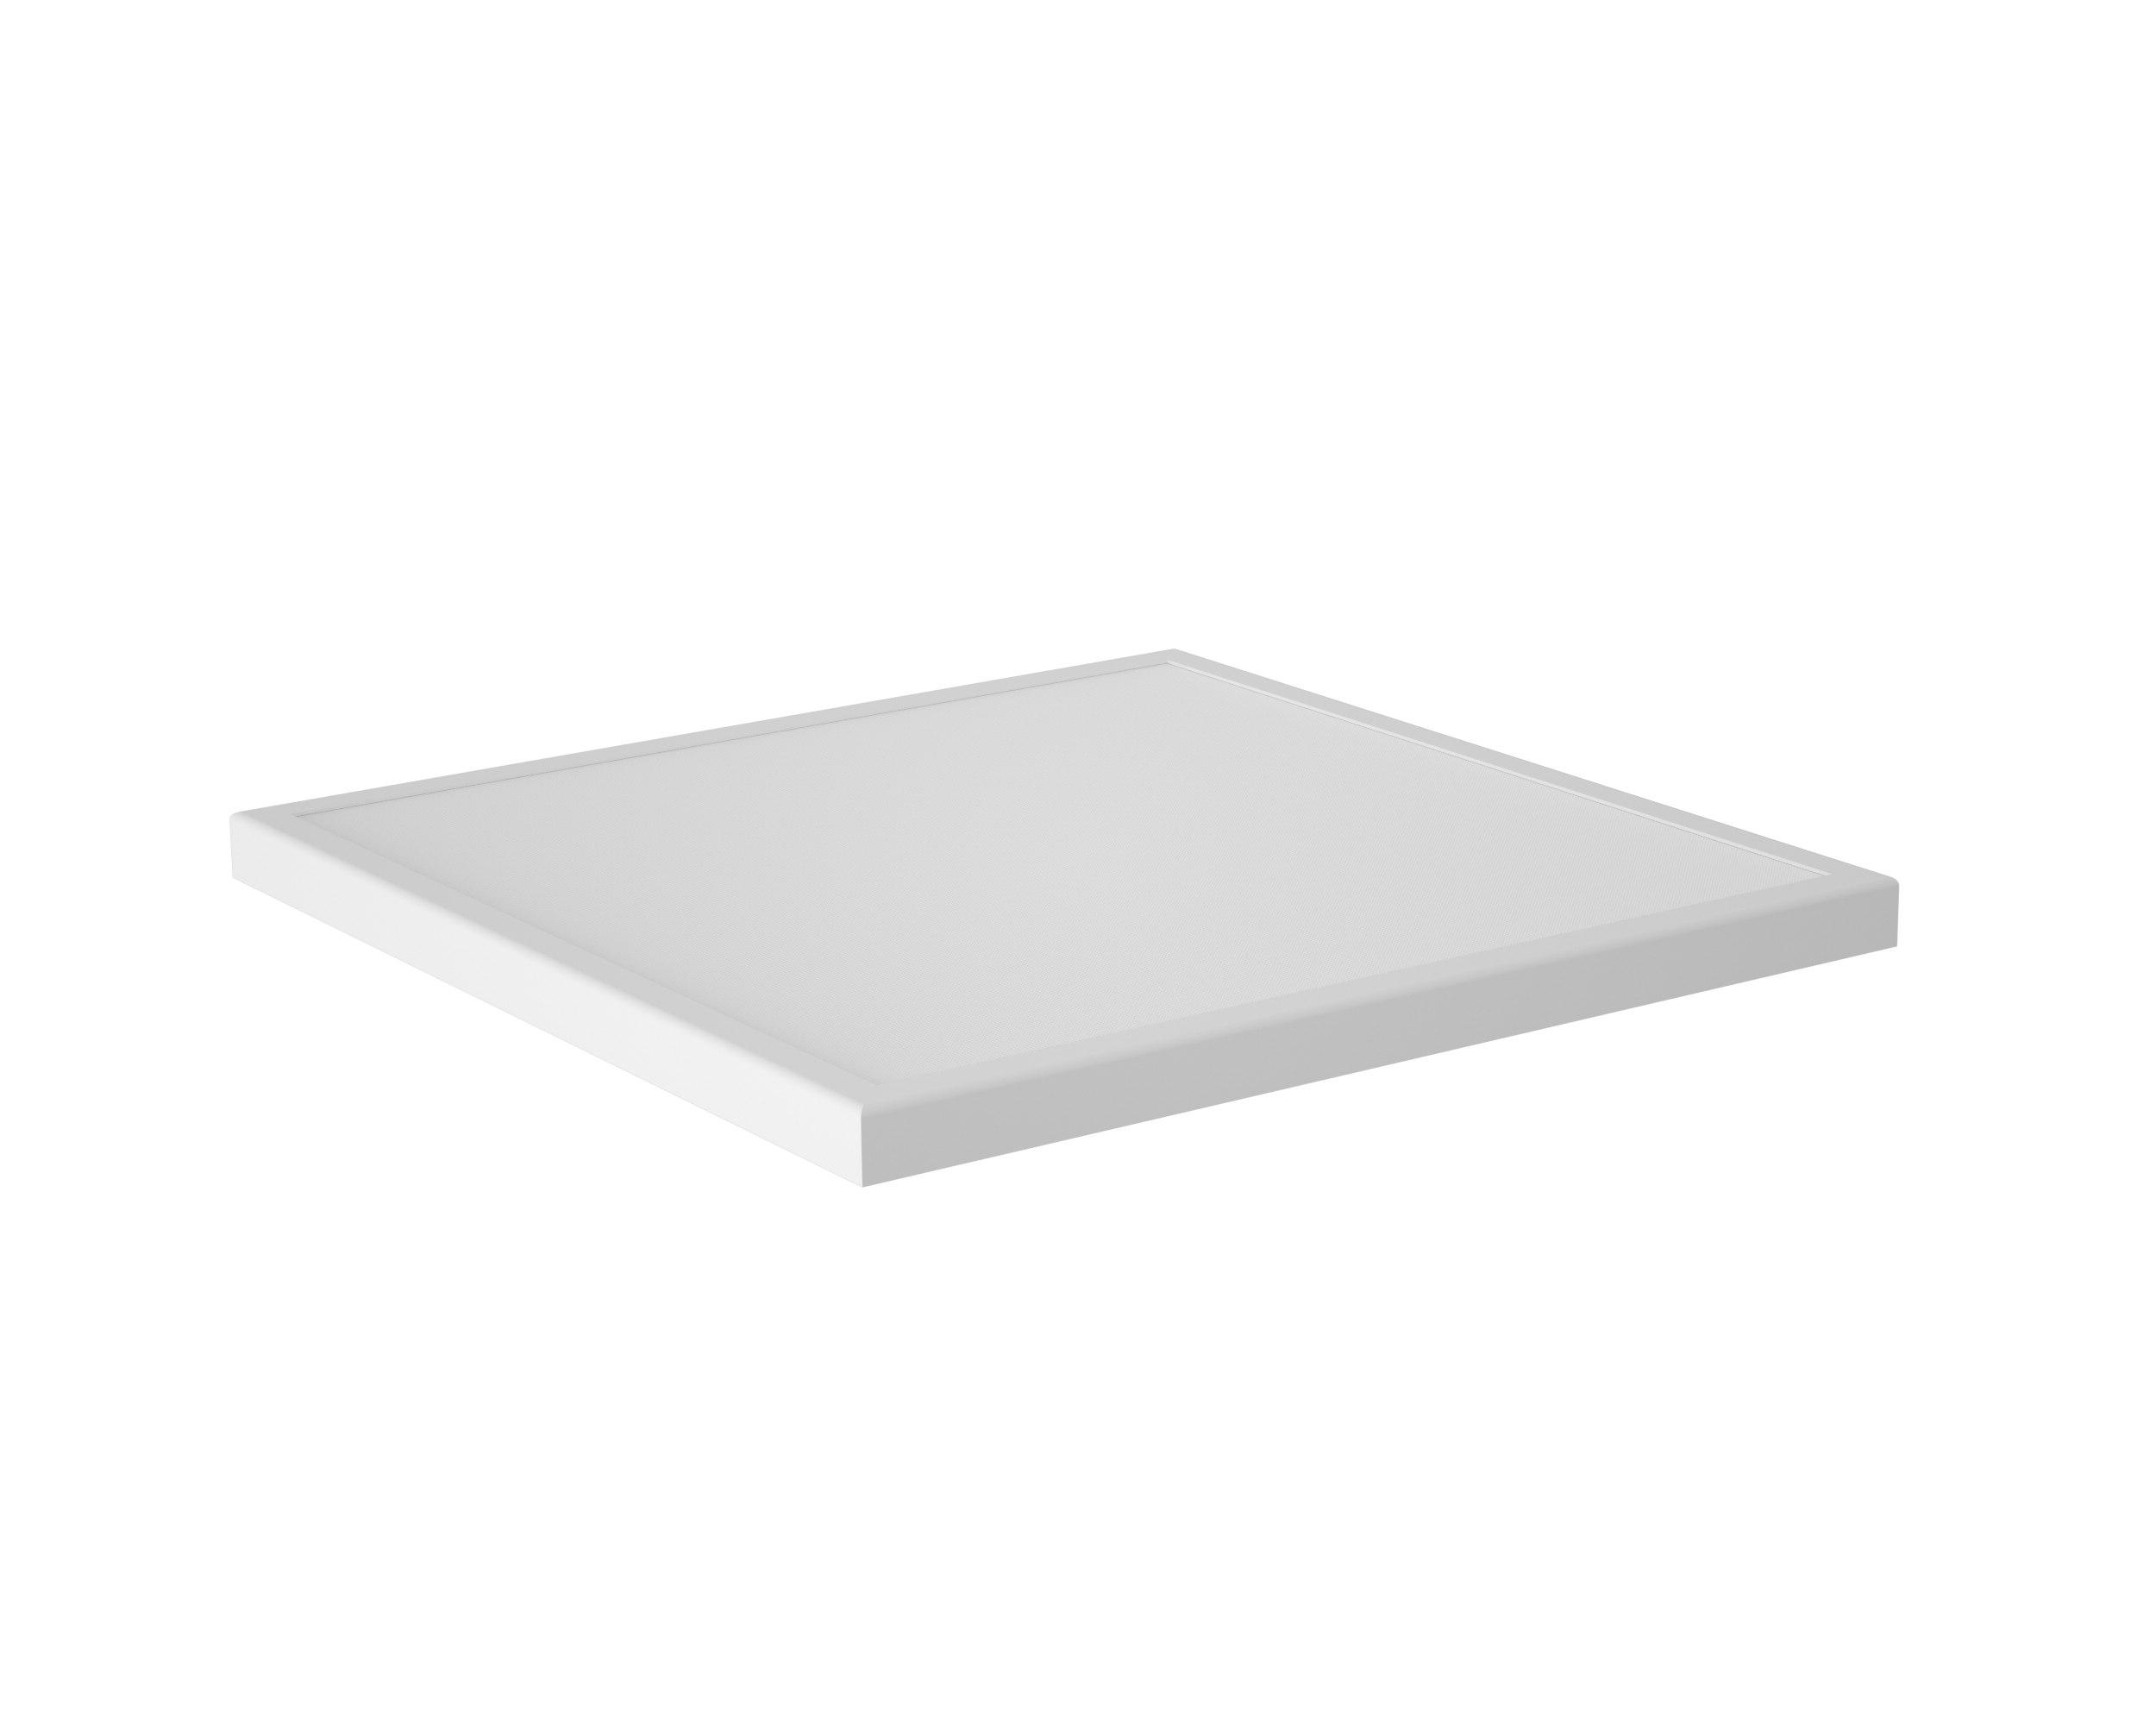
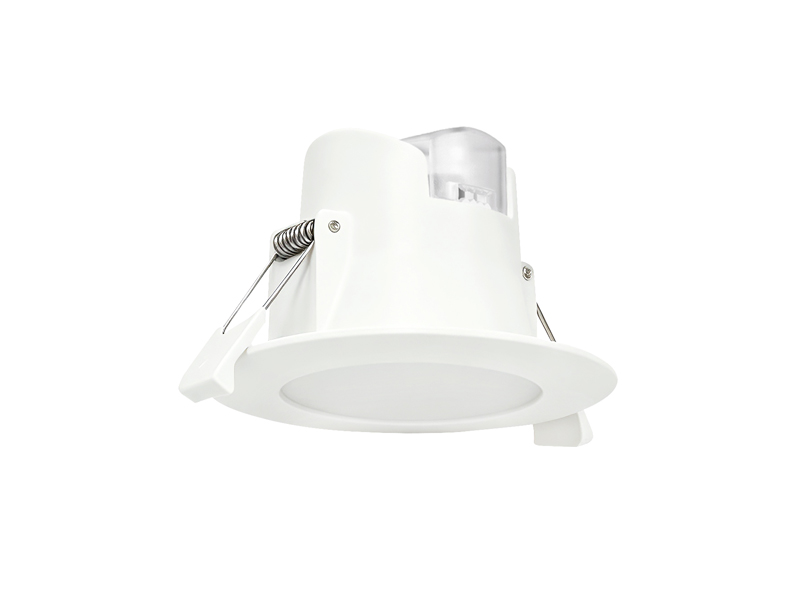
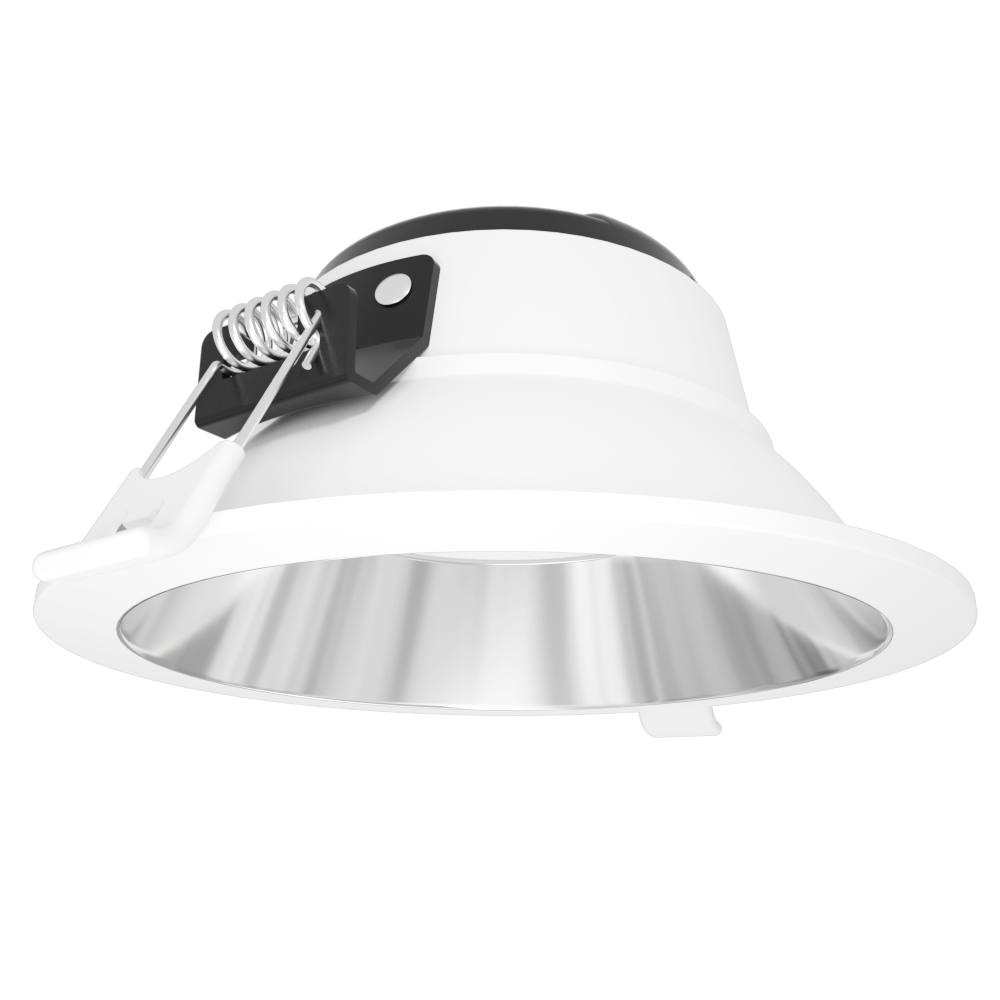
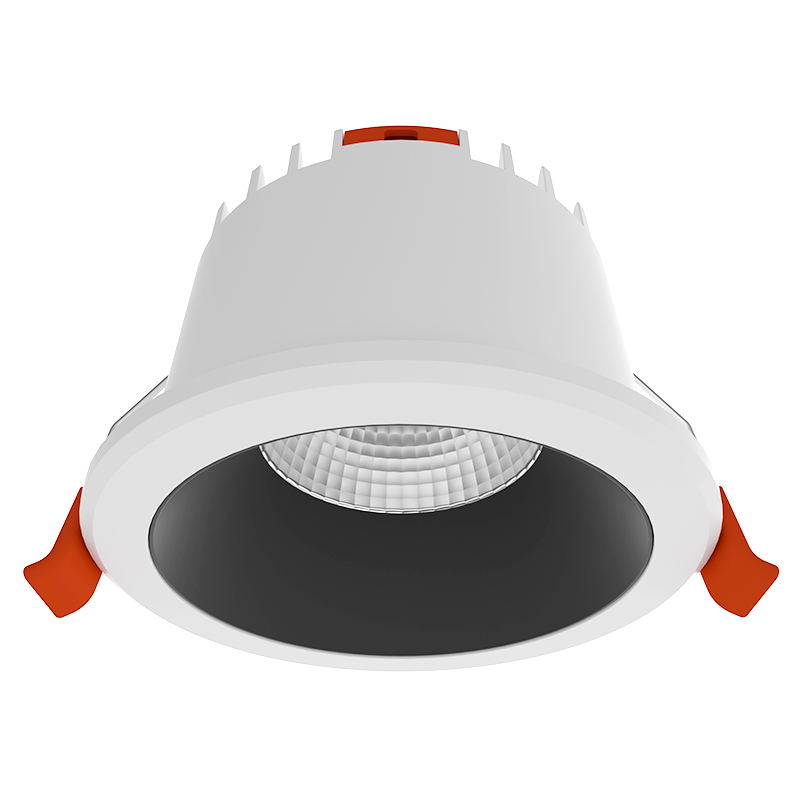
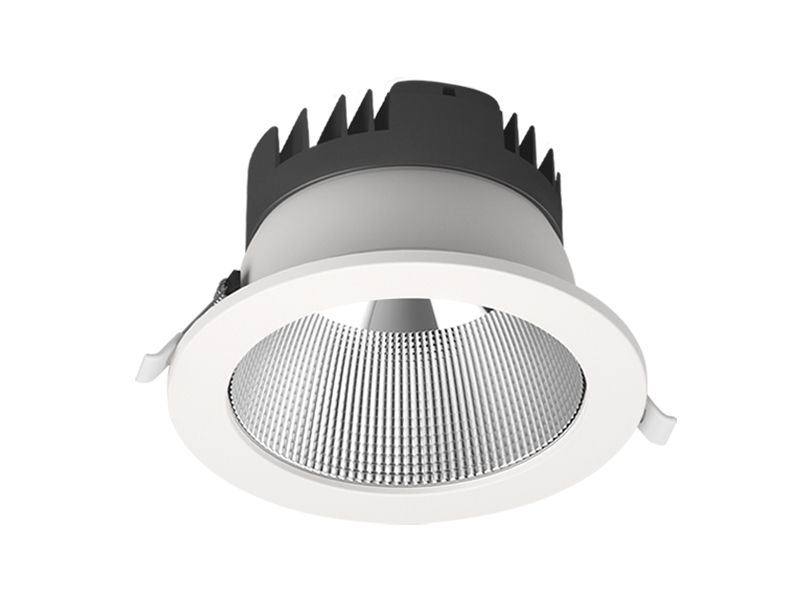
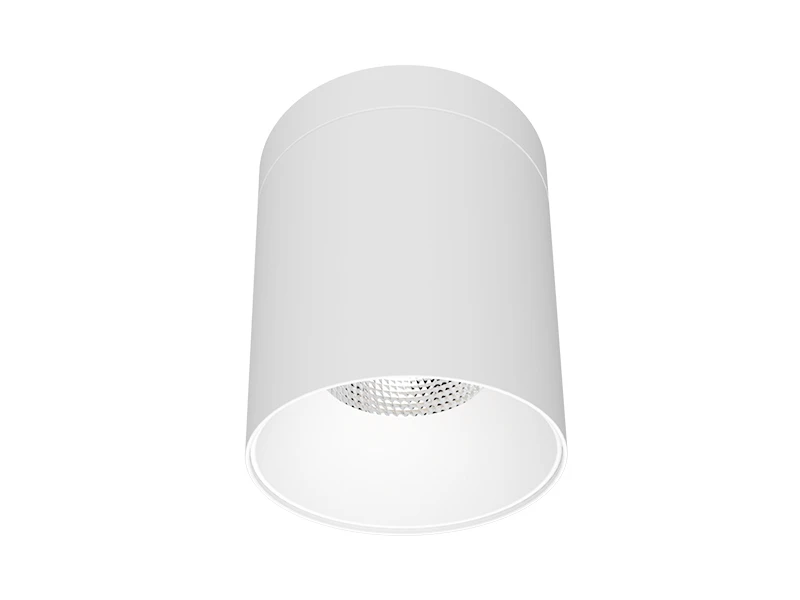
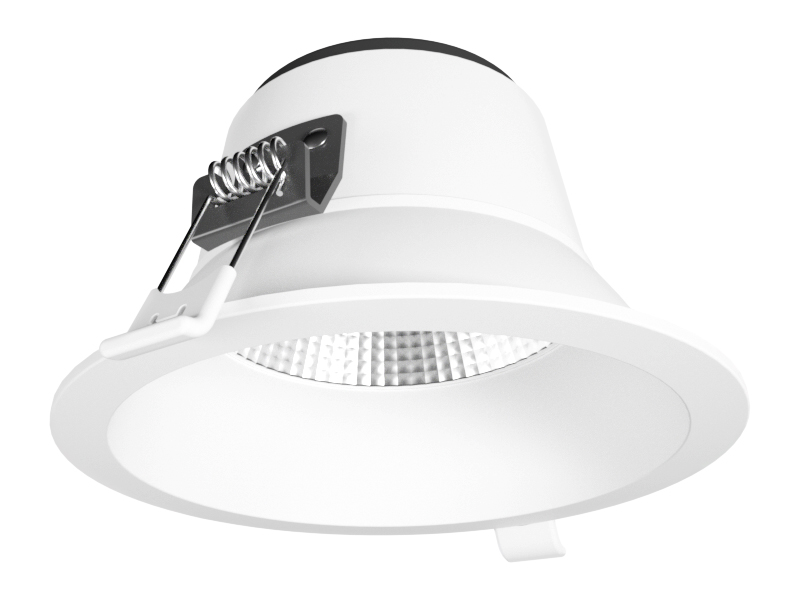
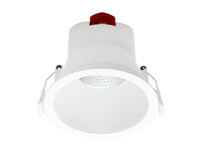
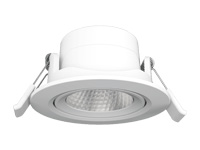
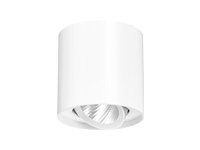
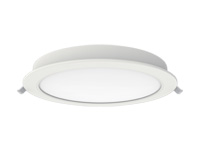
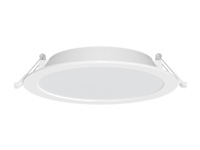
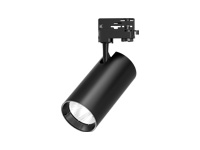
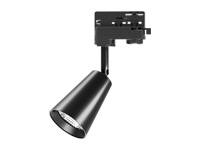
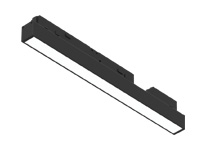
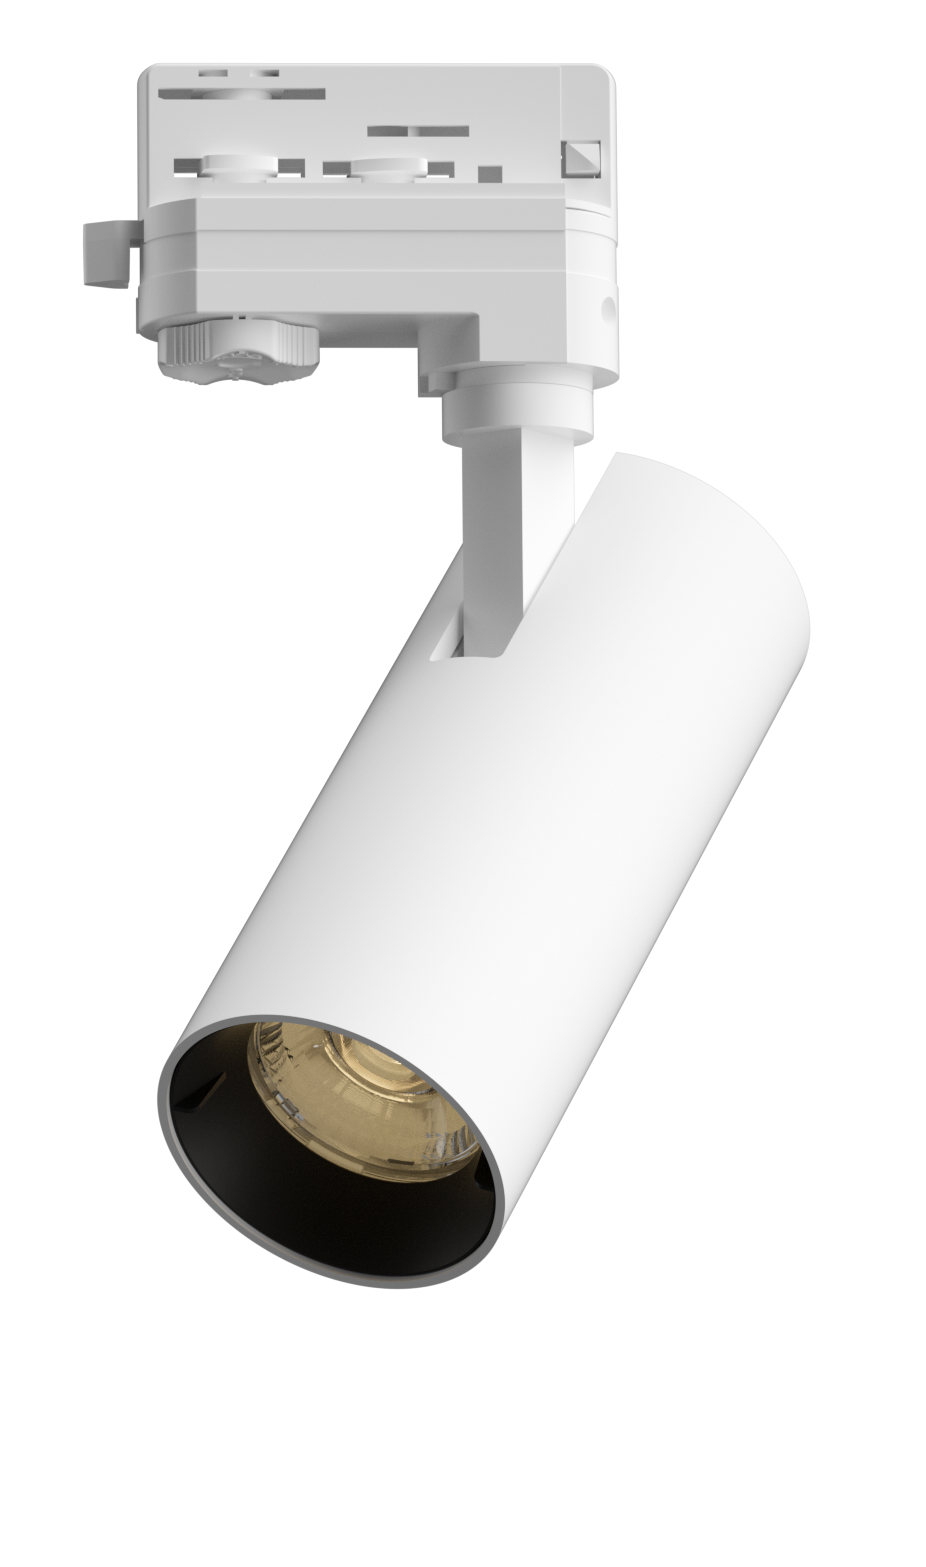
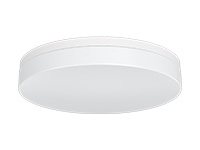
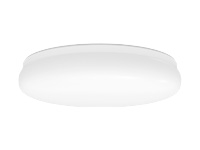
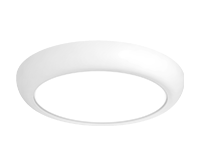
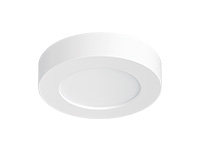
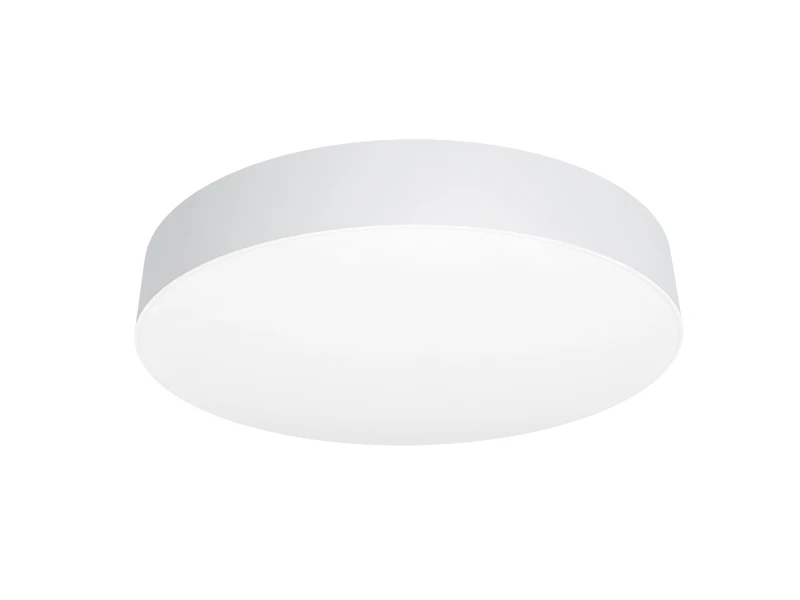
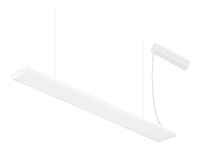
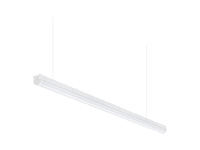
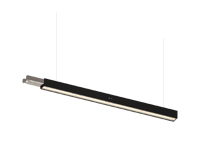
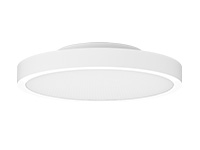

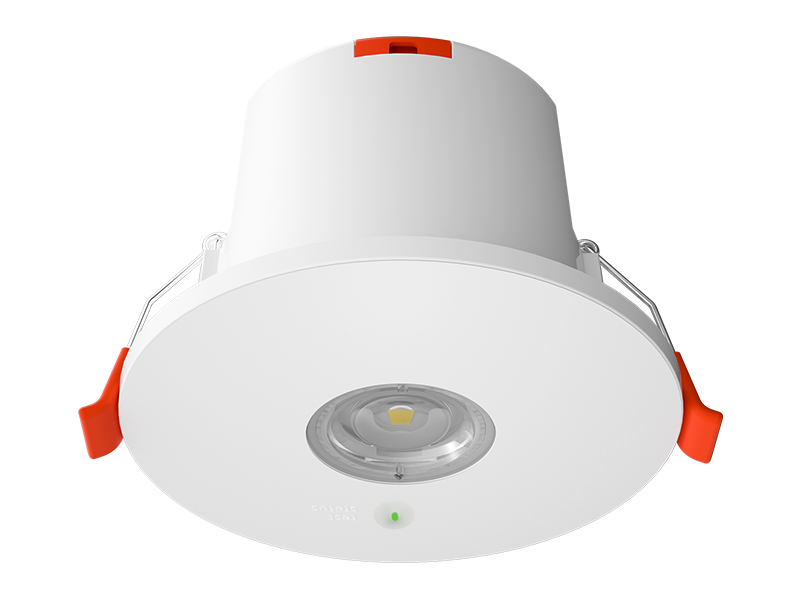

Installing a downlight recessed fixture correctly is critical to ensure optimal light distribution, thermal safety, and long-term reliability. At IMIGY Lighting, we have engineered our Cyclone Down Lights and Cyclone Slim Down Lights to simplify the installation process while maintaining professional-grade performance. Whether you are working with a downlight slim led in a tight ceiling void or positioning a downlight spotlight for accent lighting, following the right preparation and step-by-step method will save time and prevent costly mistakes. This guide covers everything from pre-installation checks to final testing, with practical insights from our engineering team.
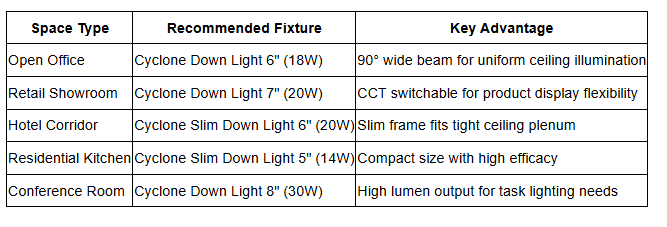
· Always verify ceiling void depth before selecting a downlight recessed fixture — Cyclone Slim series is ideal for limited spaces.
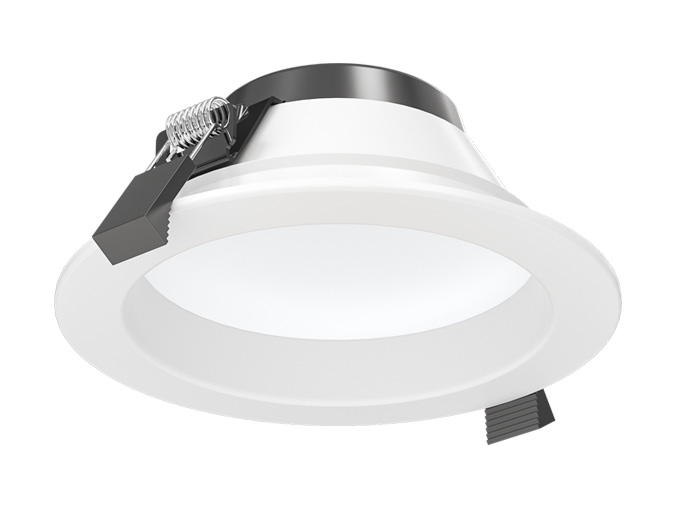
· The Cyclone Down Light series offers power options from 10W to 40W with a wide 90° beam angle, suitable for general and task lighting.
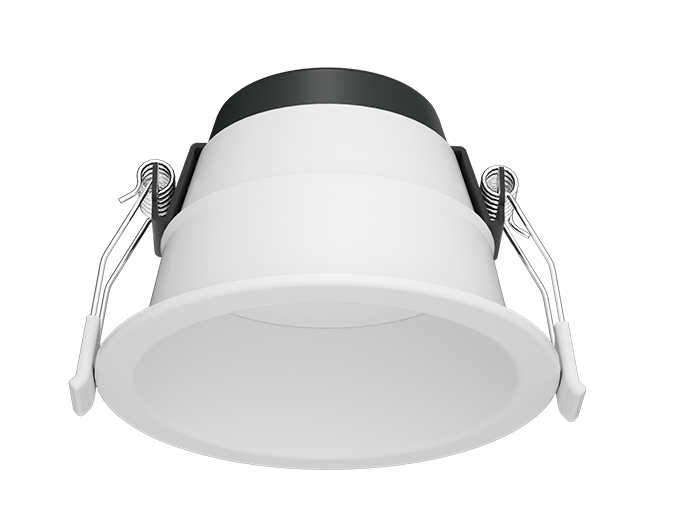
· downlight slim led models like Cyclone Slim feature an external isolated driver, simplifying maintenance and heat management.
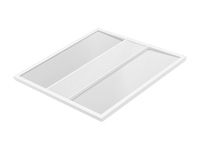
· A downlight square layout requires precise cutout spacing for uniform illumination across the room.
· Both Cyclone series use aluminum housing construction with dedicated coolers, ensuring reliable heat dissipation during continuous operation.
Verify Ceiling Type and Clearance
Before installing a downlight recessed fixture, confirm your ceiling plenum depth. For standard suspended ceilings, most Cyclone Down Lights require a minimum clearance of 150mm. The Cyclone Slim Down Light series, with its ultra-slim frame, fits into tighter spaces while maintaining excellent heat sinking through its aluminum housing.
Select the Correct Cutout Size
Each model in the Cyclone family has a specific cutout diameter range. For example, the 6" Cyclone Down Light requires a cutout of Φ135-145mm, while the 6" Cyclone Slim Down Light uses Φ145-155mm. Always measure twice and cut once to avoid gaps or rework.
Prepare the Electrical Supply
Ensure the power supply matches the fixture input requirements. Both Cyclone series operate on 220-240Vac 50/60Hz, with an external isolated driver that simplifies connection and future replacement.
Step 1: Mark and Cut the Ceiling Opening
Use the provided cutout template or measure the required diameter directly. For a downlight square layout, mark center points along the grid and verify equal spacing. A hole saw or drywall saw works best for clean edges.
Step 2: Connect the Driver
The Cyclone Down Light and Cyclone Slim Down Lightboth use an outside isolated driver. Connect the driver to the mains supply first, then connect the driver output to the fixture. This design allows the driver to stay accessible for future maintenance without removing the entire luminaire.
Step 3: Insert and Secure the Fixture
Push the downlight recessed fixture into the cutout until the mounting clips snap into place. The Cyclone series uses spring-loaded clips that grip the ceiling material securely. No special tools are required for this step.
Step 4: Test the Light Output
Turn on the power and verify the light output. For Cyclone Down Lights with CCT switchable function, adjust the color temperature between 3000K, 4000K, and 6000K to match the room ambiance. The 90° beam angle provides wide coverage, making it suitable for both general and task lighting.
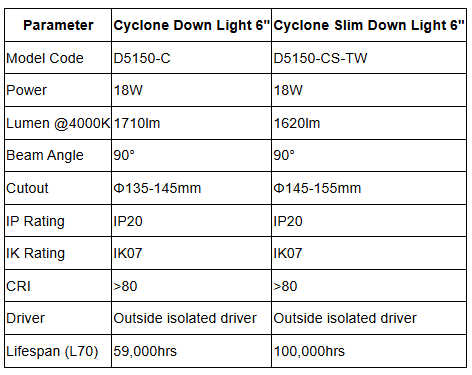
· Certifications: Verify compliance with IEC 60529 and EN60598. Both Cyclone series meet IP20 and IK07 for indoor use.
· Driver Location: Choose external driver models for easier maintenance access. Cyclone series uses outside isolated driver as standard.
· Thermal Management: Aluminum housing with dedicated cooler ensures LED longevity. Both Cyclone Down Light and Cyclone Slim Down Light use aluminum construction.
· Lifespan Requirements: Specify L70 targets. Cyclone Slim Down Light offers L70 up to 100,000 hours.
· Dimming Compatibility: Variable dimming methods available by changing drivers. Confirm with project requirements.
· Warranty: Standard 5-year warranty for Cyclone series.
Can I install a downlight recessed fixture in a bathroom?
Cyclone Down Light series is rated IP20, suitable for indoor dry locations. For bathroom zones 2 and 3, consider our Phoenix Slim series with IP64 protection.
What is the difference between Cyclone Down Light and Cyclone Slim Down Light?
Cyclone Down Light uses a standard housing depth for general ceiling installations, while Cyclone Slim Down Light features a thinner profile for spaces with limited plenum depth. Both use aluminum housing with excellent heat sinking.
Do I need special tools for installation?
No. The spring-loaded clip system allows tool-free installation into the cutout opening.
Can I adjust the color temperature after installation?
Yes. Cyclone Down Light models with code ending in -TW support CCT switchable between 3000K, 4000K, and 6000K.
How do I choose between a downlight spotlight and a wide beam fixture?
A downlight spotlight with a narrower beam angle is ideal for accent lighting on displays or artwork. For general ambient lighting, Cyclone's 90° wide beam provides better coverage.
Is the downlight slim led suitable for new construction and retrofit?
The Cyclone Slim Down Light series is designed for both new construction and retrofit projects, thanks to its thin profile and external driver.
What is the minimum distance between multiple downlight recessed fixtures?
For uniform illumination, maintain at least 1.5x the ceiling height between fixtures. A 90° beam angle allows wider spacing compared to narrower beam options.
It is recommended that you upgrade the latest browser
 Chrome
 Firefox
 Edge
Edge