


Replacing a cob led downlight replacement on your own is simple and safe—especially with user-friendly, DIY-optimized models like IMIGY’s Wave Down Lights (a slim, easy-to-install option) and Grace Down Lights (a flexible, tool-light design). Many people worry about electrical risks or complex disassembly, but modern downlights (like IMIGY’s) are engineered with “plug-and-play” features, tool-free clips, and clear labeling—eliminating the need for professional help. Whether you’re swapping an old incandescent downlight for an energy-saving smart led downlight or replacing a faulty unit, following 5 basic steps ensures a smooth, risk-free replacement. Below is a detailed guide, with tips tailored to IMIGY’s slim downlight and smart downlight designs.

1. Prepare Tools & Safety First
Before starting, prioritize safety and gather simple tools:
Voltage tester: Confirm the power to the downlight is off (critical to avoid shocks).
Flathead screwdriver: For prying off trim rings (if needed—IMIGY’s models often have hand-removable rings).
New IMIGY downlight: Choose a compatible model (e.g., Wave Down Lights as a recessed slim panel led downlight for shallow ceilings, or Grace Down Lights as a smart downlight for app control).
Never work with live wires—turn off the circuit breaker for the room (not just the light switch) and test the wires with a voltage tester to ensure no current flows.
2. Remove the Old Downlight
The disassembly process varies slightly by model, but IMIGY’s design makes it easy:
Step 1: Gently pull the old downlight’s trim ring downward—most models (including old IMIGY units) have spring clips that release when pulled. For stuck rings, use a flathead screwdriver to pry gently (wrap the tip in tape to avoid scratching the ceiling).
Step 2: Once the trim is off, disconnect the wires—old downlights typically have wire nuts connecting the light’s wires to the ceiling’s wires (black = hot, white = neutral, green/bare = ground). Twist the wire nuts counterclockwise to remove them, then separate the wires.
Step 3: Remove the old downlight from the ceiling cavity—spring clips or screws may hold it in place; squeeze the clips to pull the unit out.
3. Choose the Right IMIGY Replacement
Selecting a compatible cob led downlight replacement ensures easy installation:
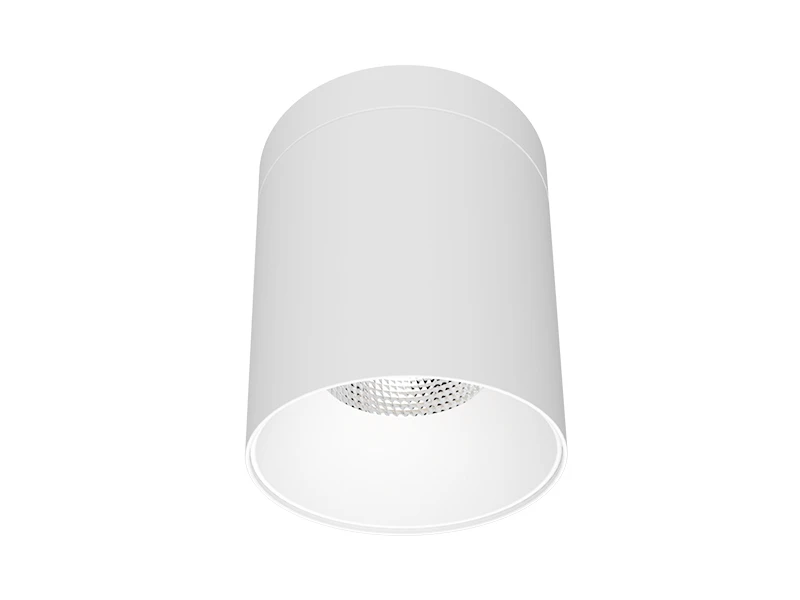
For shallow ceilings: Pick Wave Down Lights (a recessed slim panel led downlight with only 30mm depth). It fits the same ceiling cutout as most standard downlights (150–200mm), so you don’t need to drill new holes.
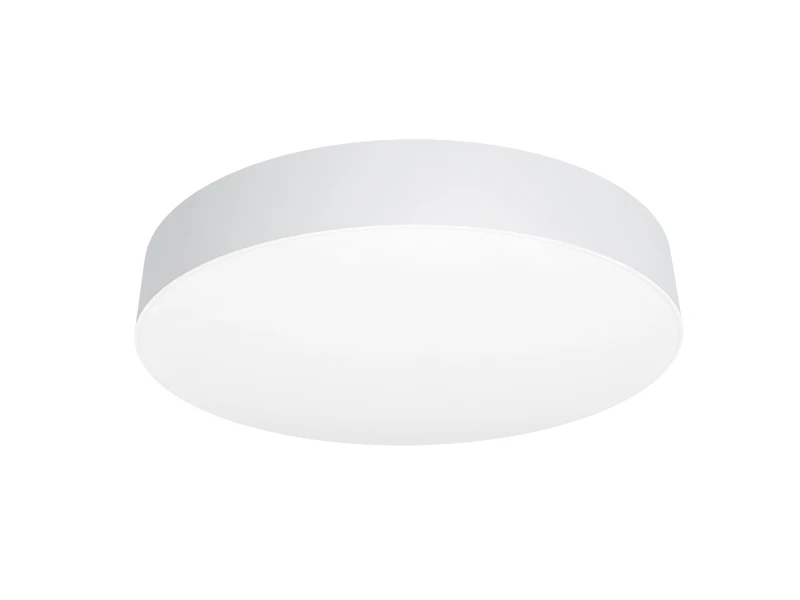
For smart control: Opt for Grace Down Lights (a smart led downlight with Wi-Fi connectivity). It has the same wire configuration as old downlights, so no extra wiring is needed—just connect and pair with the IMIGY app later.
Check wattage: IMIGY’s replacements (10–18W) match most residential downlight wattages, so you won’t overload the circuit.
4. Install the New IMIGY Downlight
IMIGY’s designs simplify installation with tool-free features:
Step 1: Connect the wires—match the new downlight’s wires to the ceiling’s wires (black to black, white to white, ground to ground). Twist on the included wire nuts (IMIGY provides them in the box) clockwise until tight.
Step 2: Insert the downlight into the ceiling cavity—for Wave Down Lights (a slim downlight), gently push the unit up until the spring clips snap into place (no screws needed). For Grace Down Lights, squeeze the clips before inserting, then release to secure.
Step 3: Attach the trim ring—IMIGY’s trim rings snap on by hand (align the tabs with the downlight and push until it clicks), so no tools are required.
5. Test & Finalize
Step 1: Turn the circuit breaker back on and flip the light switch—if the downlight doesn’t turn on, double-check the wire connections (turn power off first!) and ensure the wire nuts are tight.
Step 2: For smart downlight models (like Grace), open the IMIGY app, follow the in-app instructions to pair the light with your Wi-Fi, and test dimming or color control to confirm it works.
Step 3: Clean the trim ring with a dry cloth to remove dust—your cob led downlight replacement is now ready to use!
Replacing a cob led downlight replacement without an electrician is entirely doable—especially with IMIGY’s Wave Down Lights (recessed slim panel led downlight) and Grace Down Lights (smart led downlight) designed for DIY installation. Their tool-free clips, plug-and-play wiring, and compatible cutout sizes eliminate the hardest parts of replacement. By following safety steps, choosing the right model, and using IMIGY’s included accessories, you can save time and money while upgrading to energy-efficient, smart lighting. If you hit a snag (e.g., mismatched wires), IMIGY’s customer support offers video tutorials or live chat help—ensuring your replacement goes smoothly. With IMIGY, you don’t need professional skills to get a professional-looking result.
It is recommended that you upgrade the latest browser
 Edge
Edge


